"A viceroy is an official who runs a polity in the name of and as the representative of the monarch of the territory."
-- Wackopedia
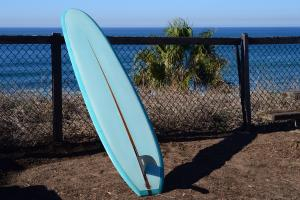
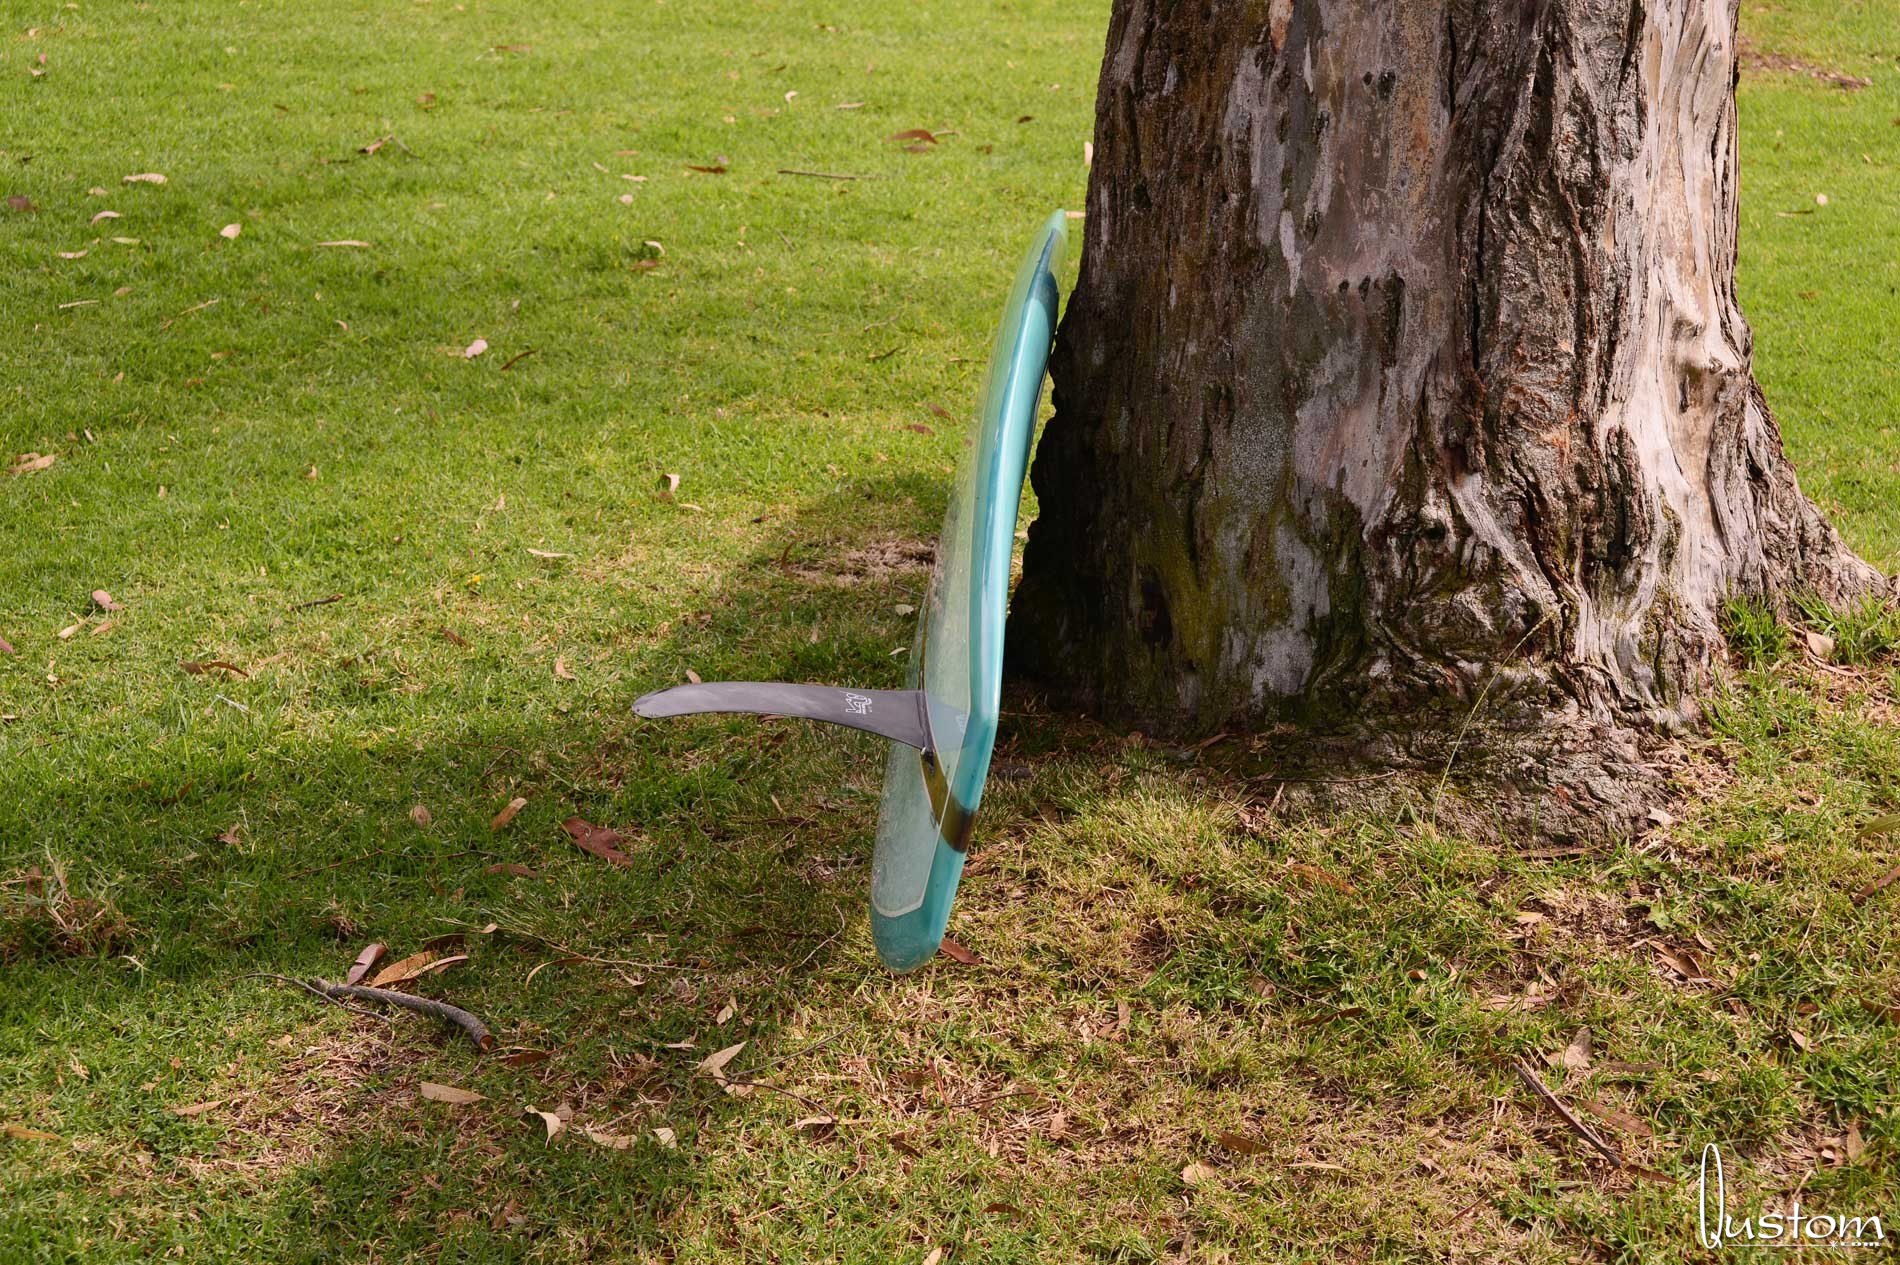
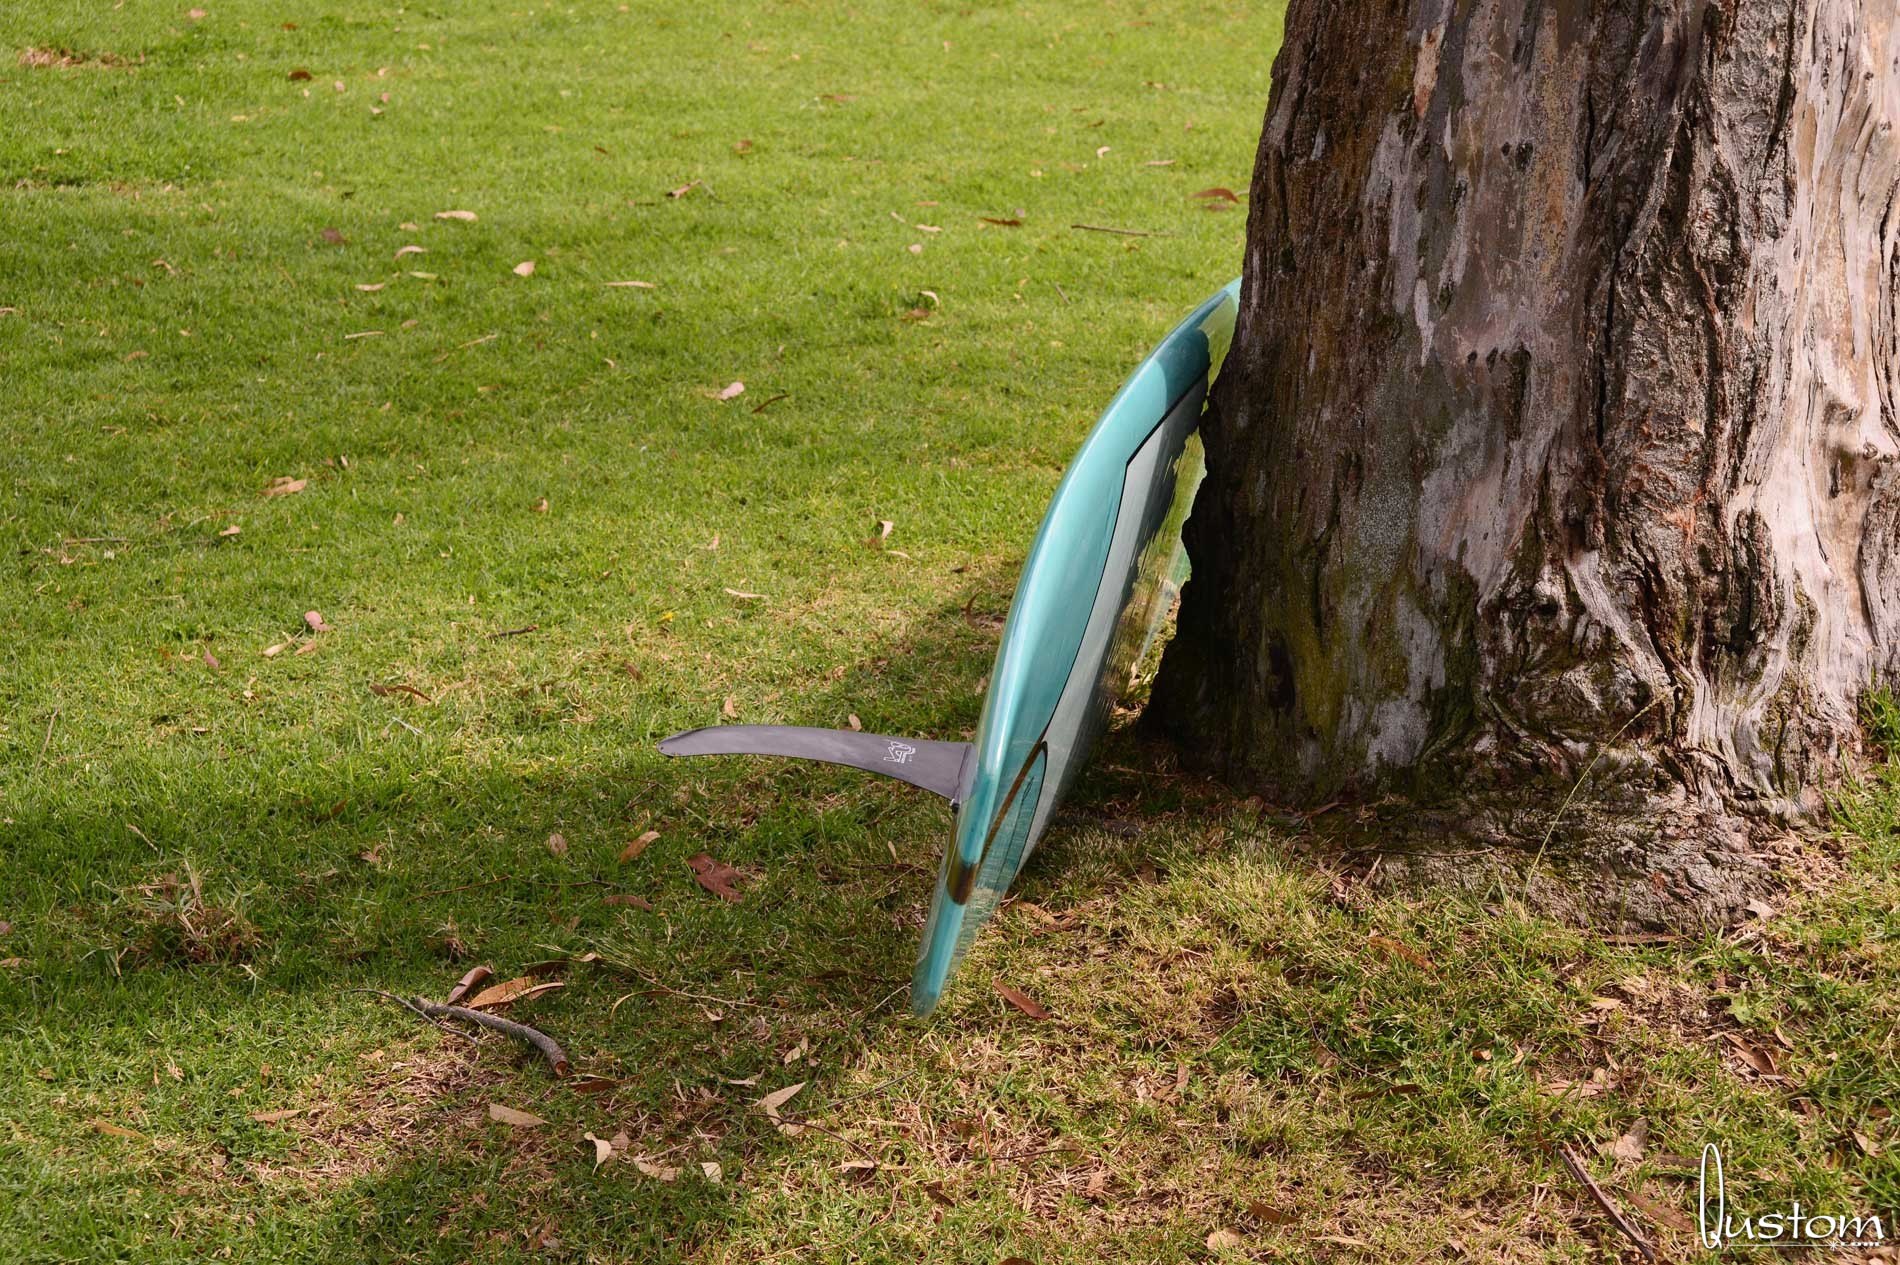
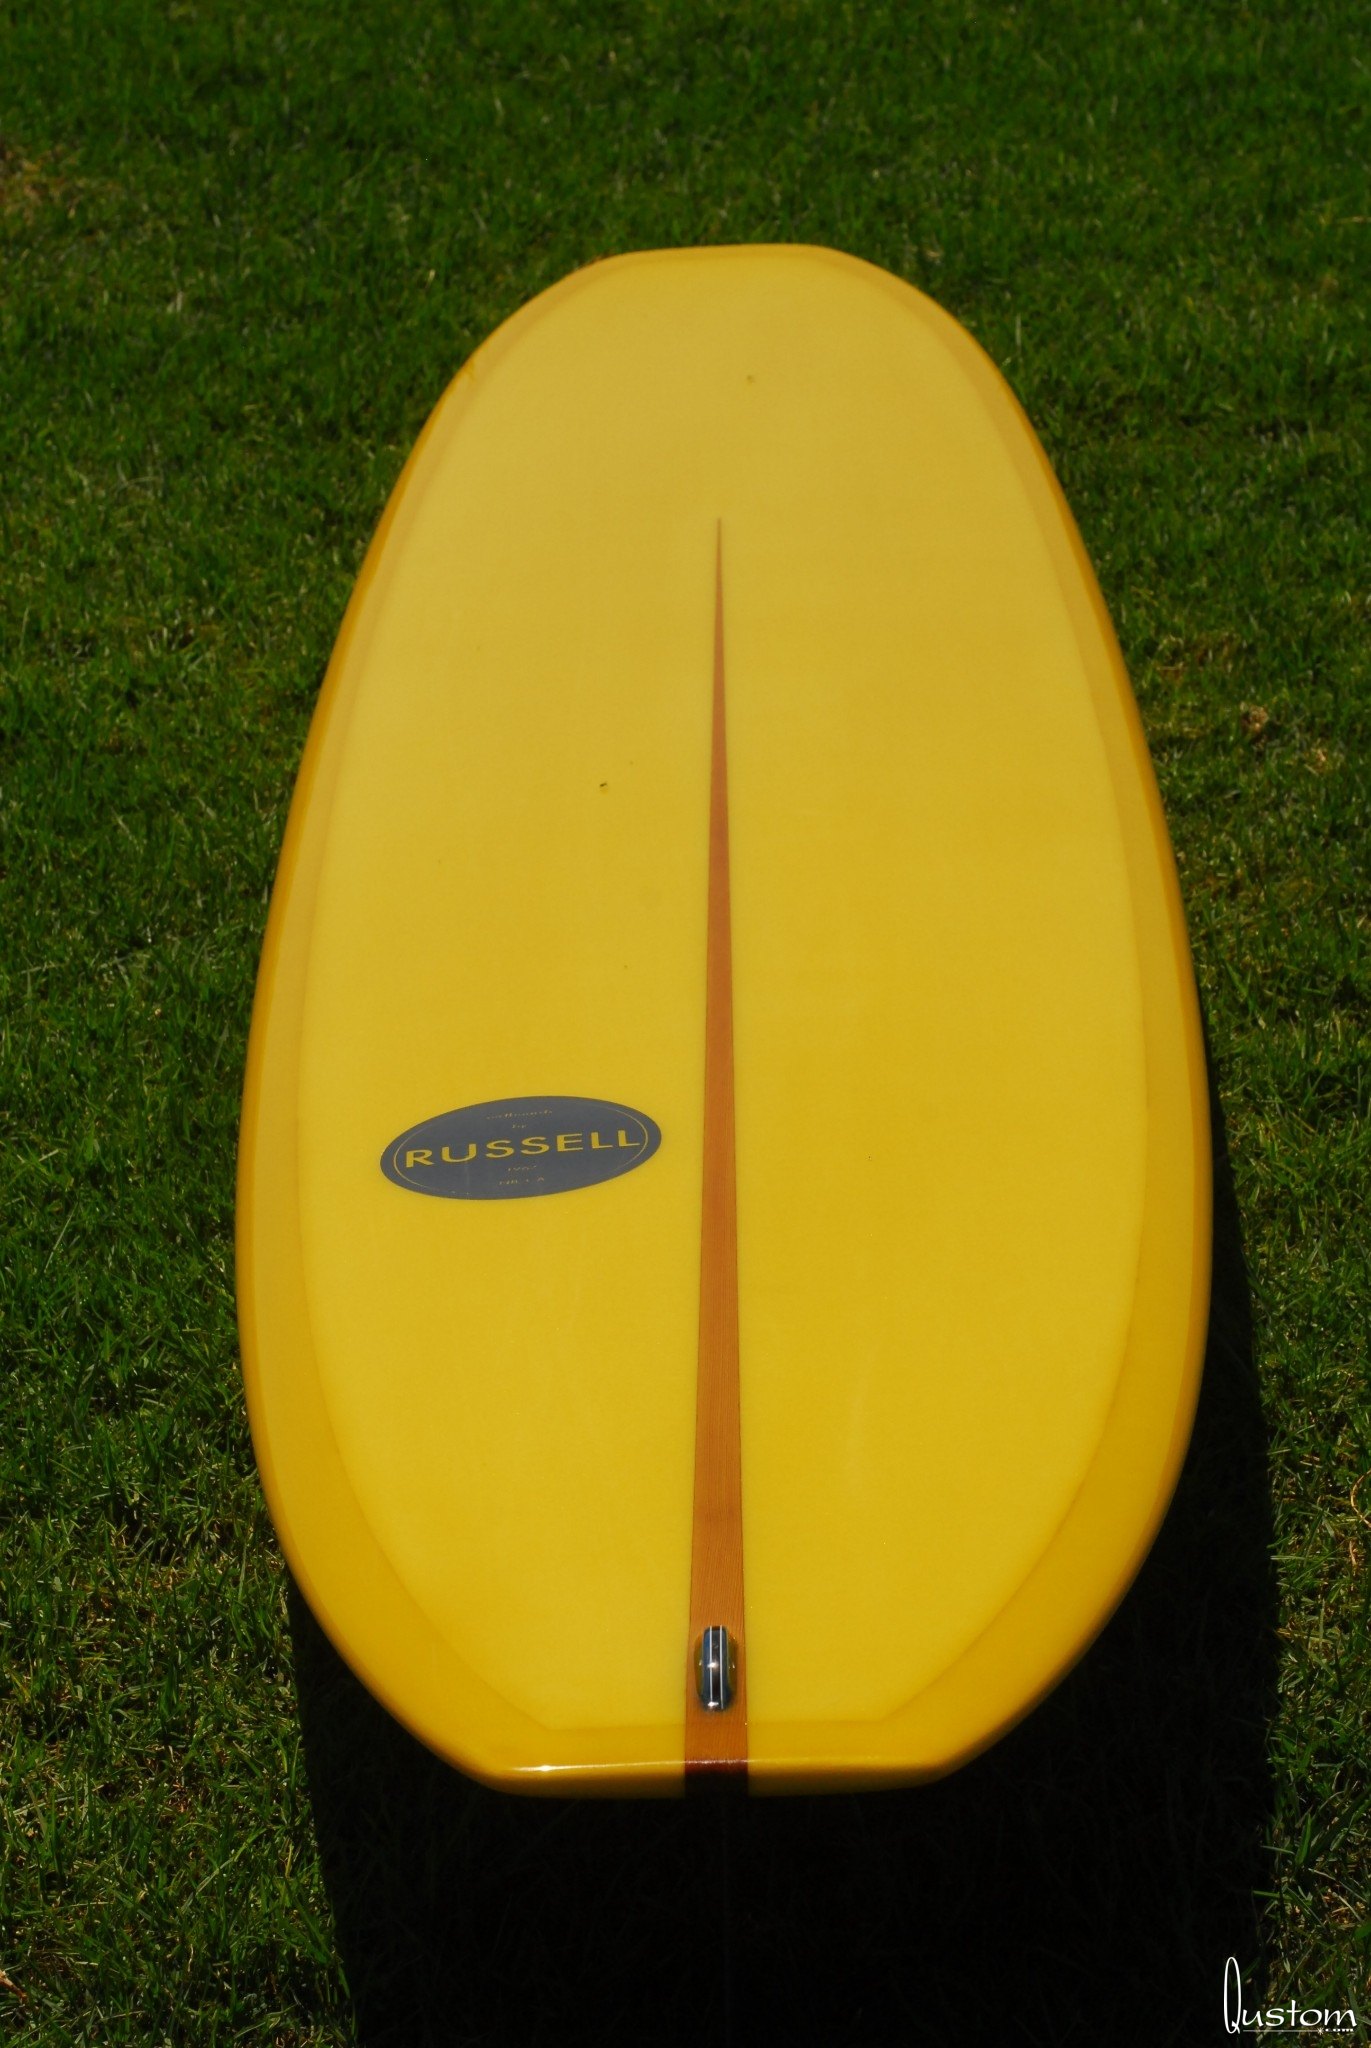
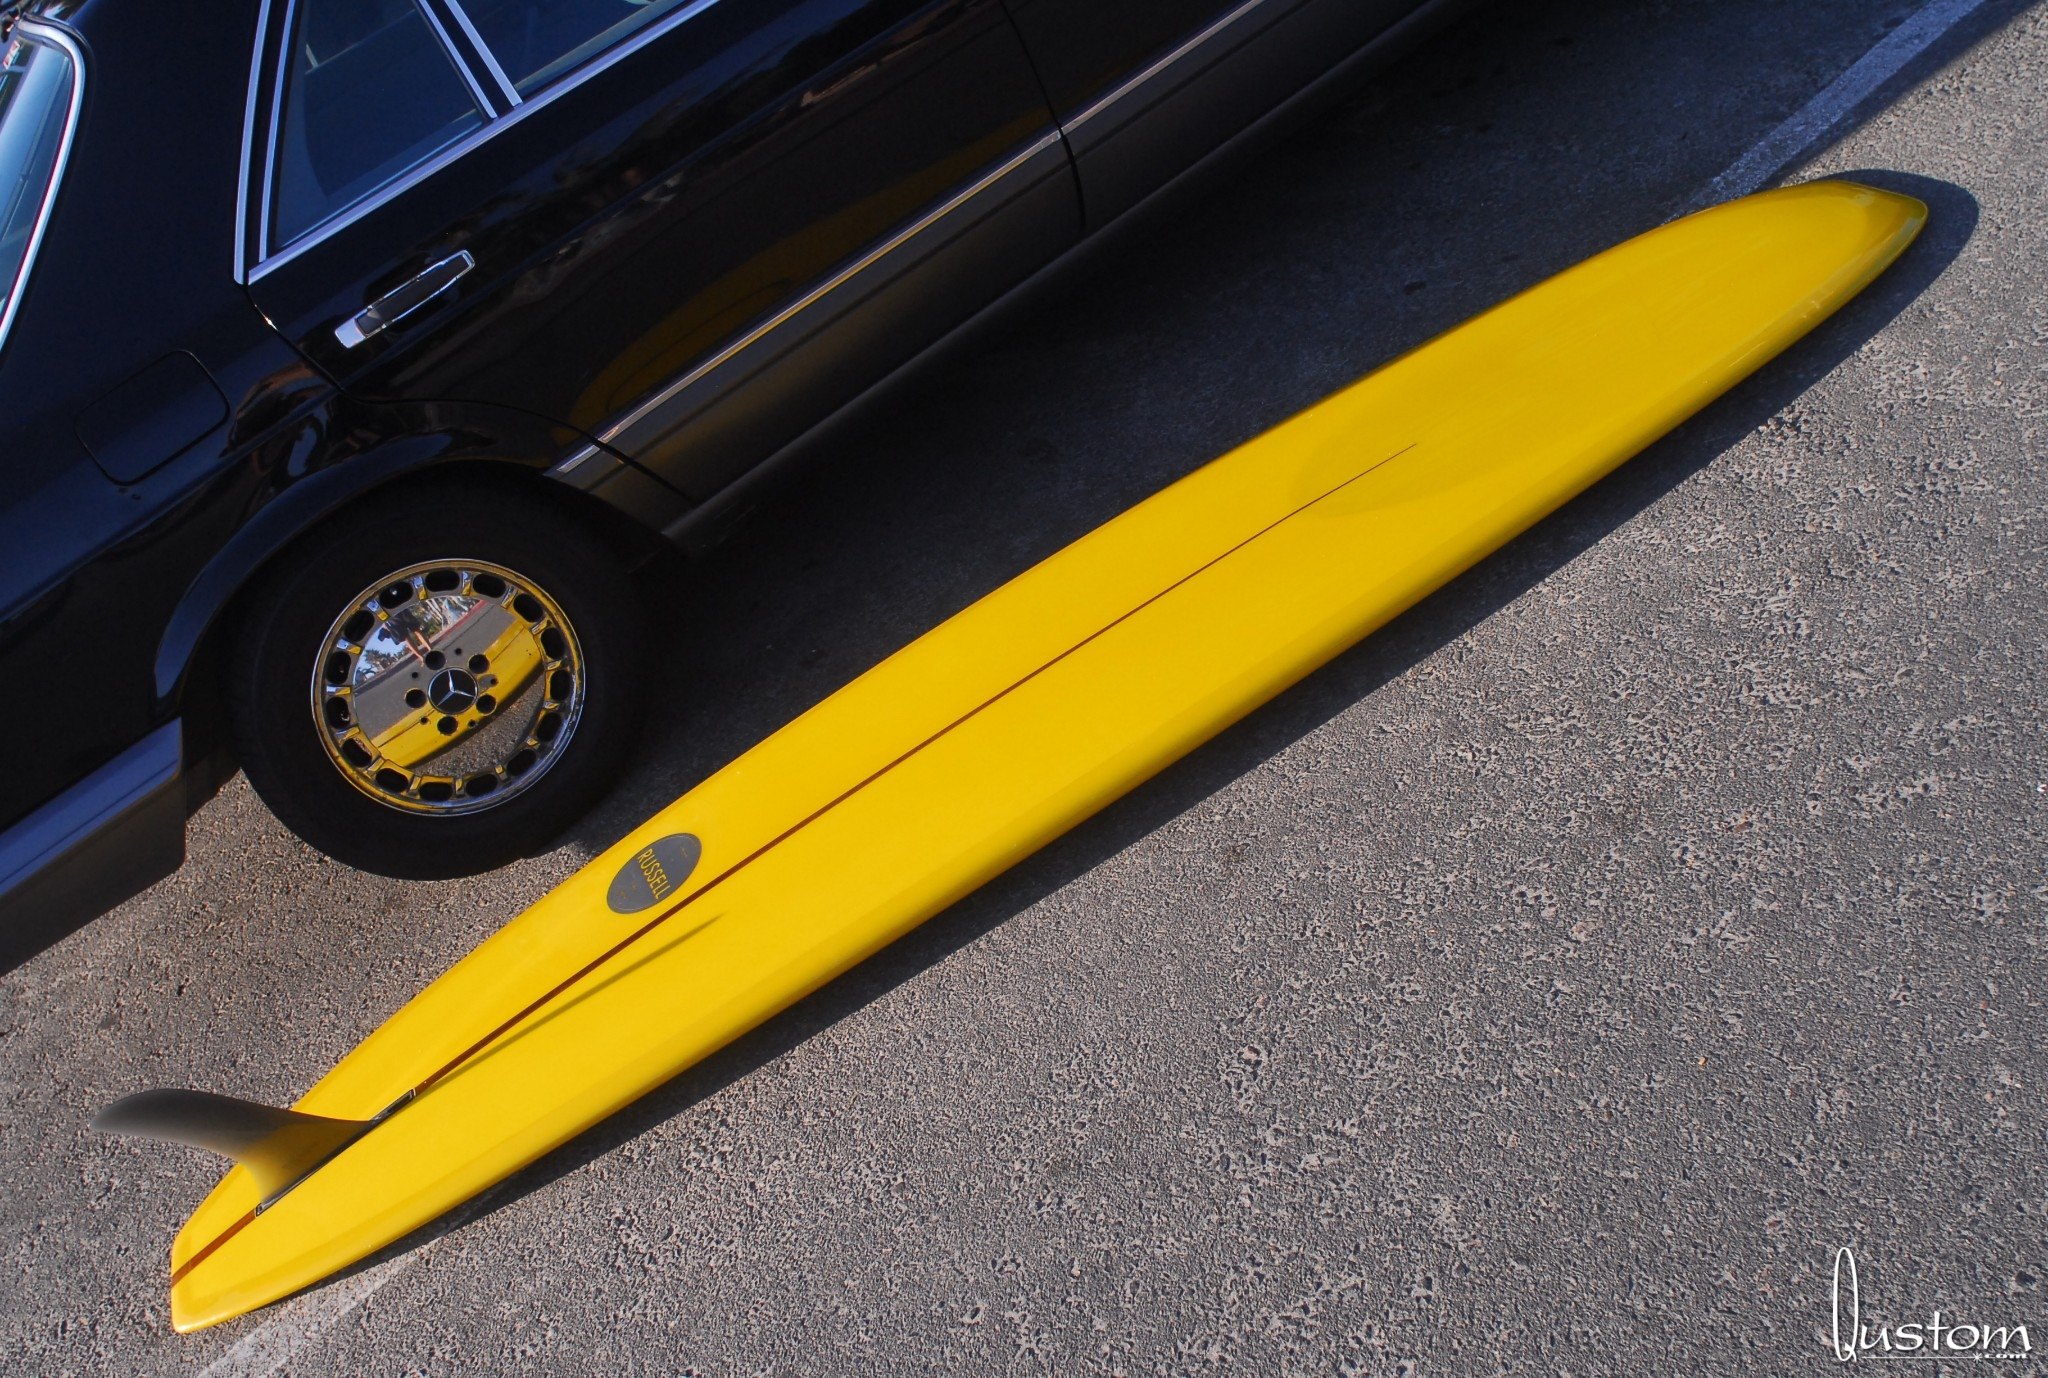
This board began as an idea to replicate the tail of a 9'4" Steve Seebold shaped noserider that I had acquired a few years back, only in a lighter and more maneuverable 9'0" length. That board had been shaped backwards with reverse rocker and loads of kick in the tail. I loved how flickable it was when you stepped back, even though it was a fairly beefy noserider with a wide nose and lots of concave.
My goal with the Viceroy was to get a similar feeling at the back, but with a more pulled in nose and less rocker to maximize speed. The 93AX blank I was using was going to limit me to a 9'0" maximum length, which would just get me in the door at longboard contests.


Aside from the above mentioned Seebold board, some of my other inspirations for this shape were:
- Wayne Lynch's original "Evolution" boards - wide point back Aussie style!
- The Cooperfish Hornet that Gene shaped me in 2004 - meat in the middle, wrapped in foil (sounds like a San Francisco burrito.)
- Dane Perlee's Osprey Speed Demons - wide tails and killer rails
- Pretty much all of Michael Takayama's boards - hot rods on water!
- Skip Frye's gliders - speed and trim galore from the master!
- Marc Andreini's "edge" boards - who says bottoms and rails have to blend perfectly?
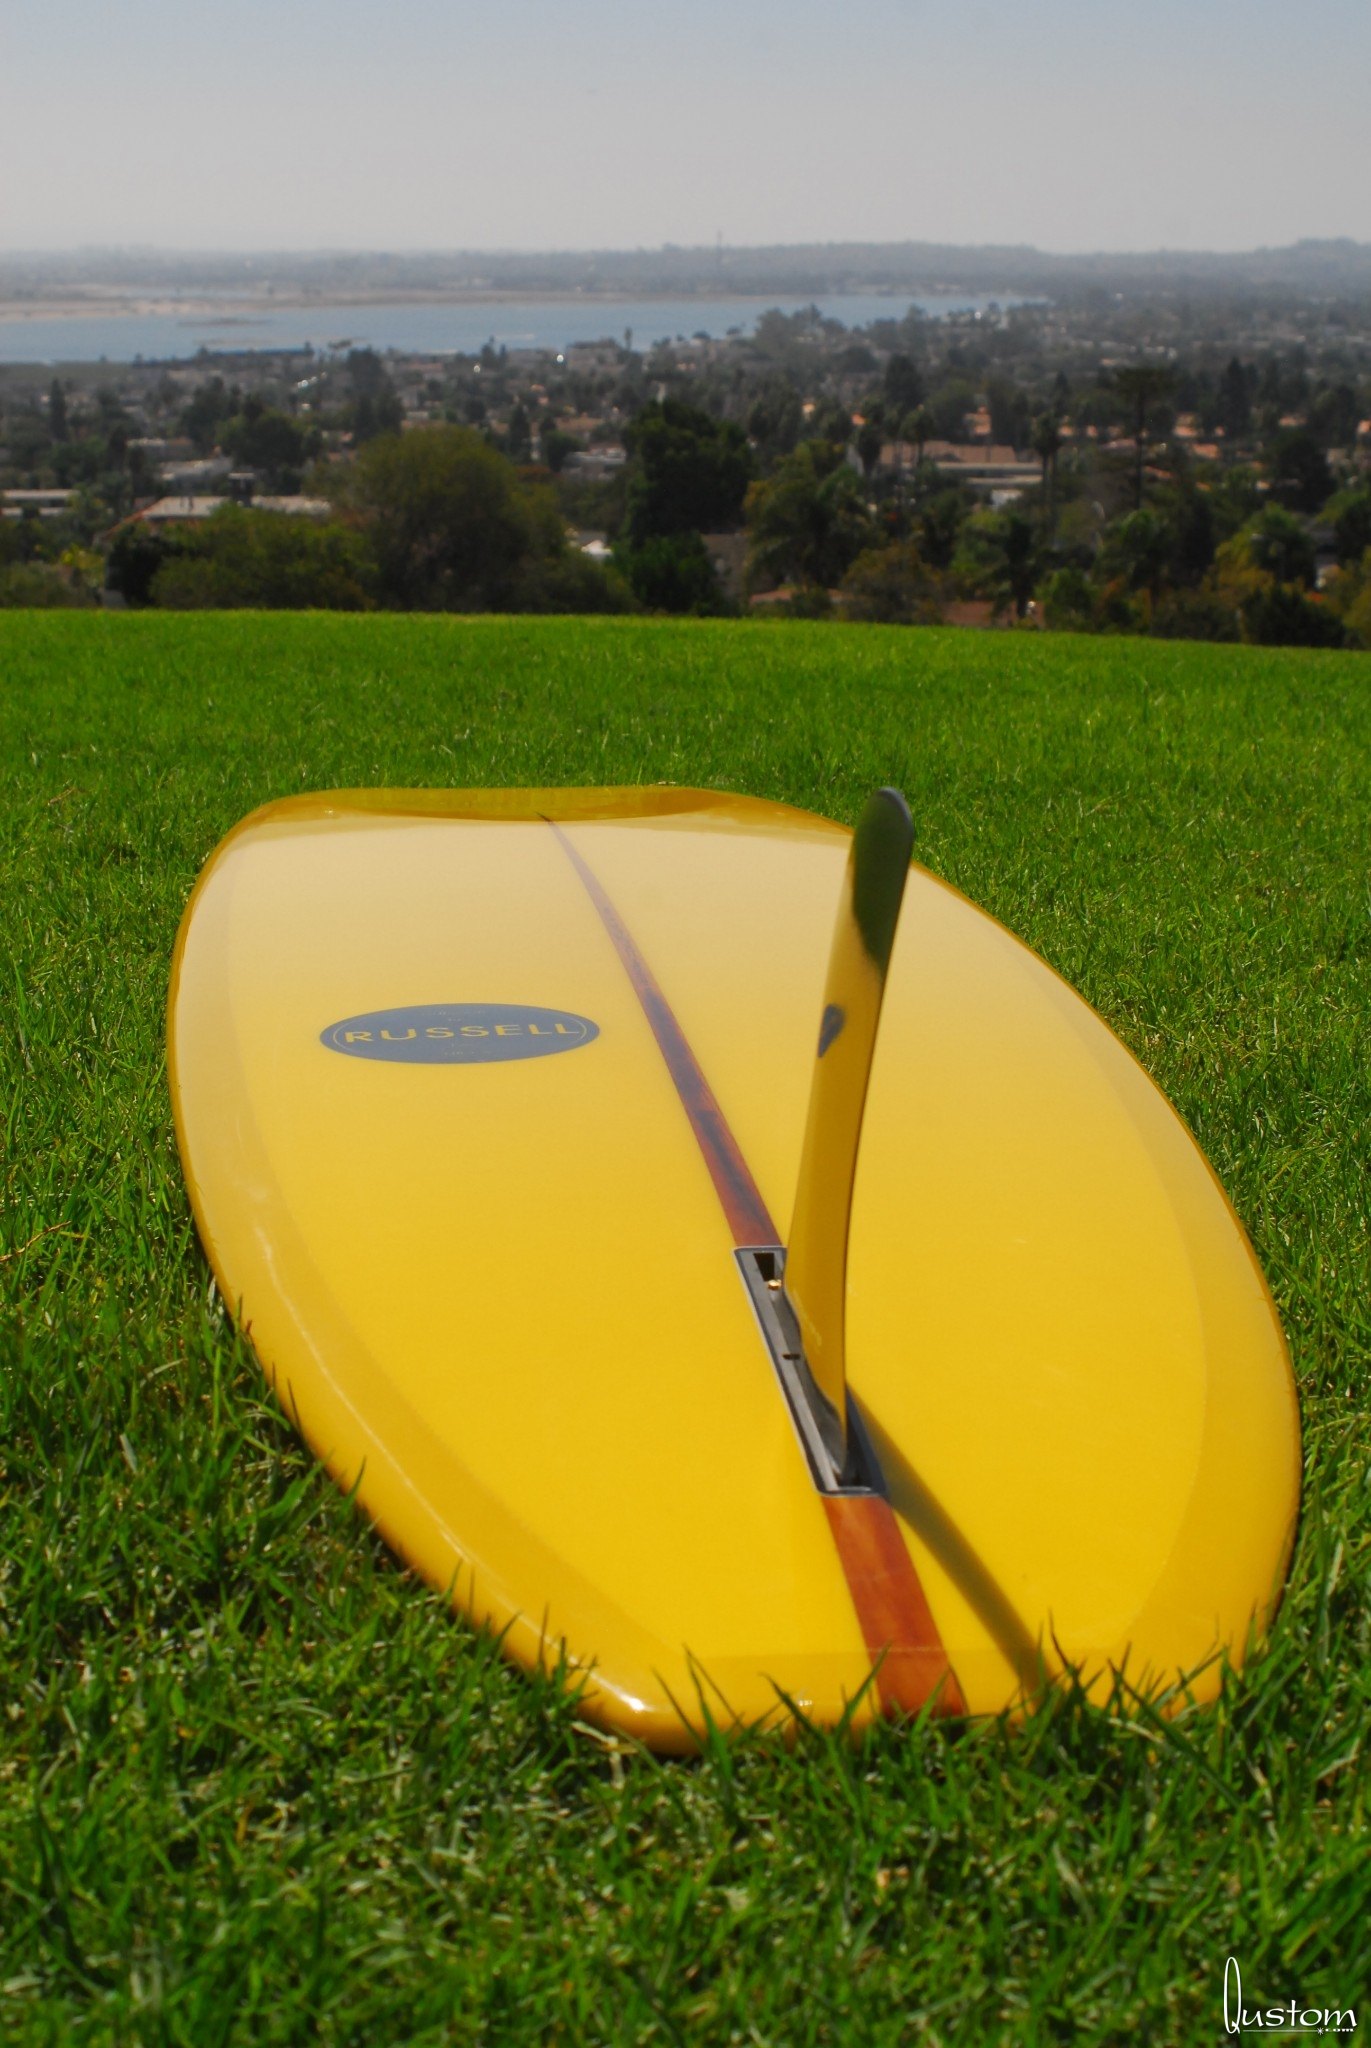
- A 9'7" Russell double ender with a tapered stringer that I purchased new at Icons of Surf in 2014
- A 1967 Bahne pintail I bought from Bird a couple years ago
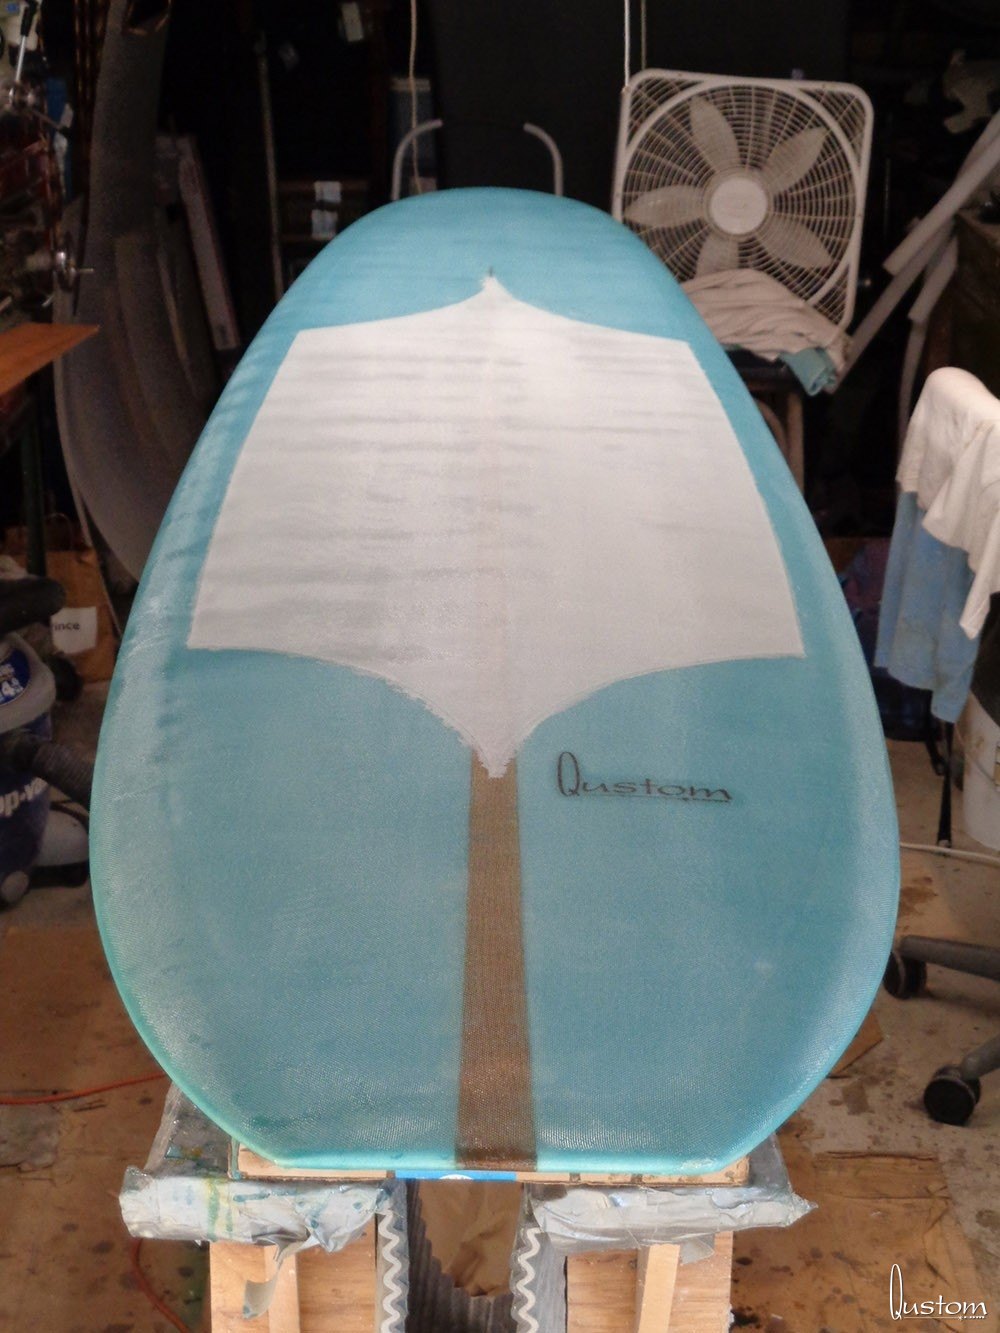
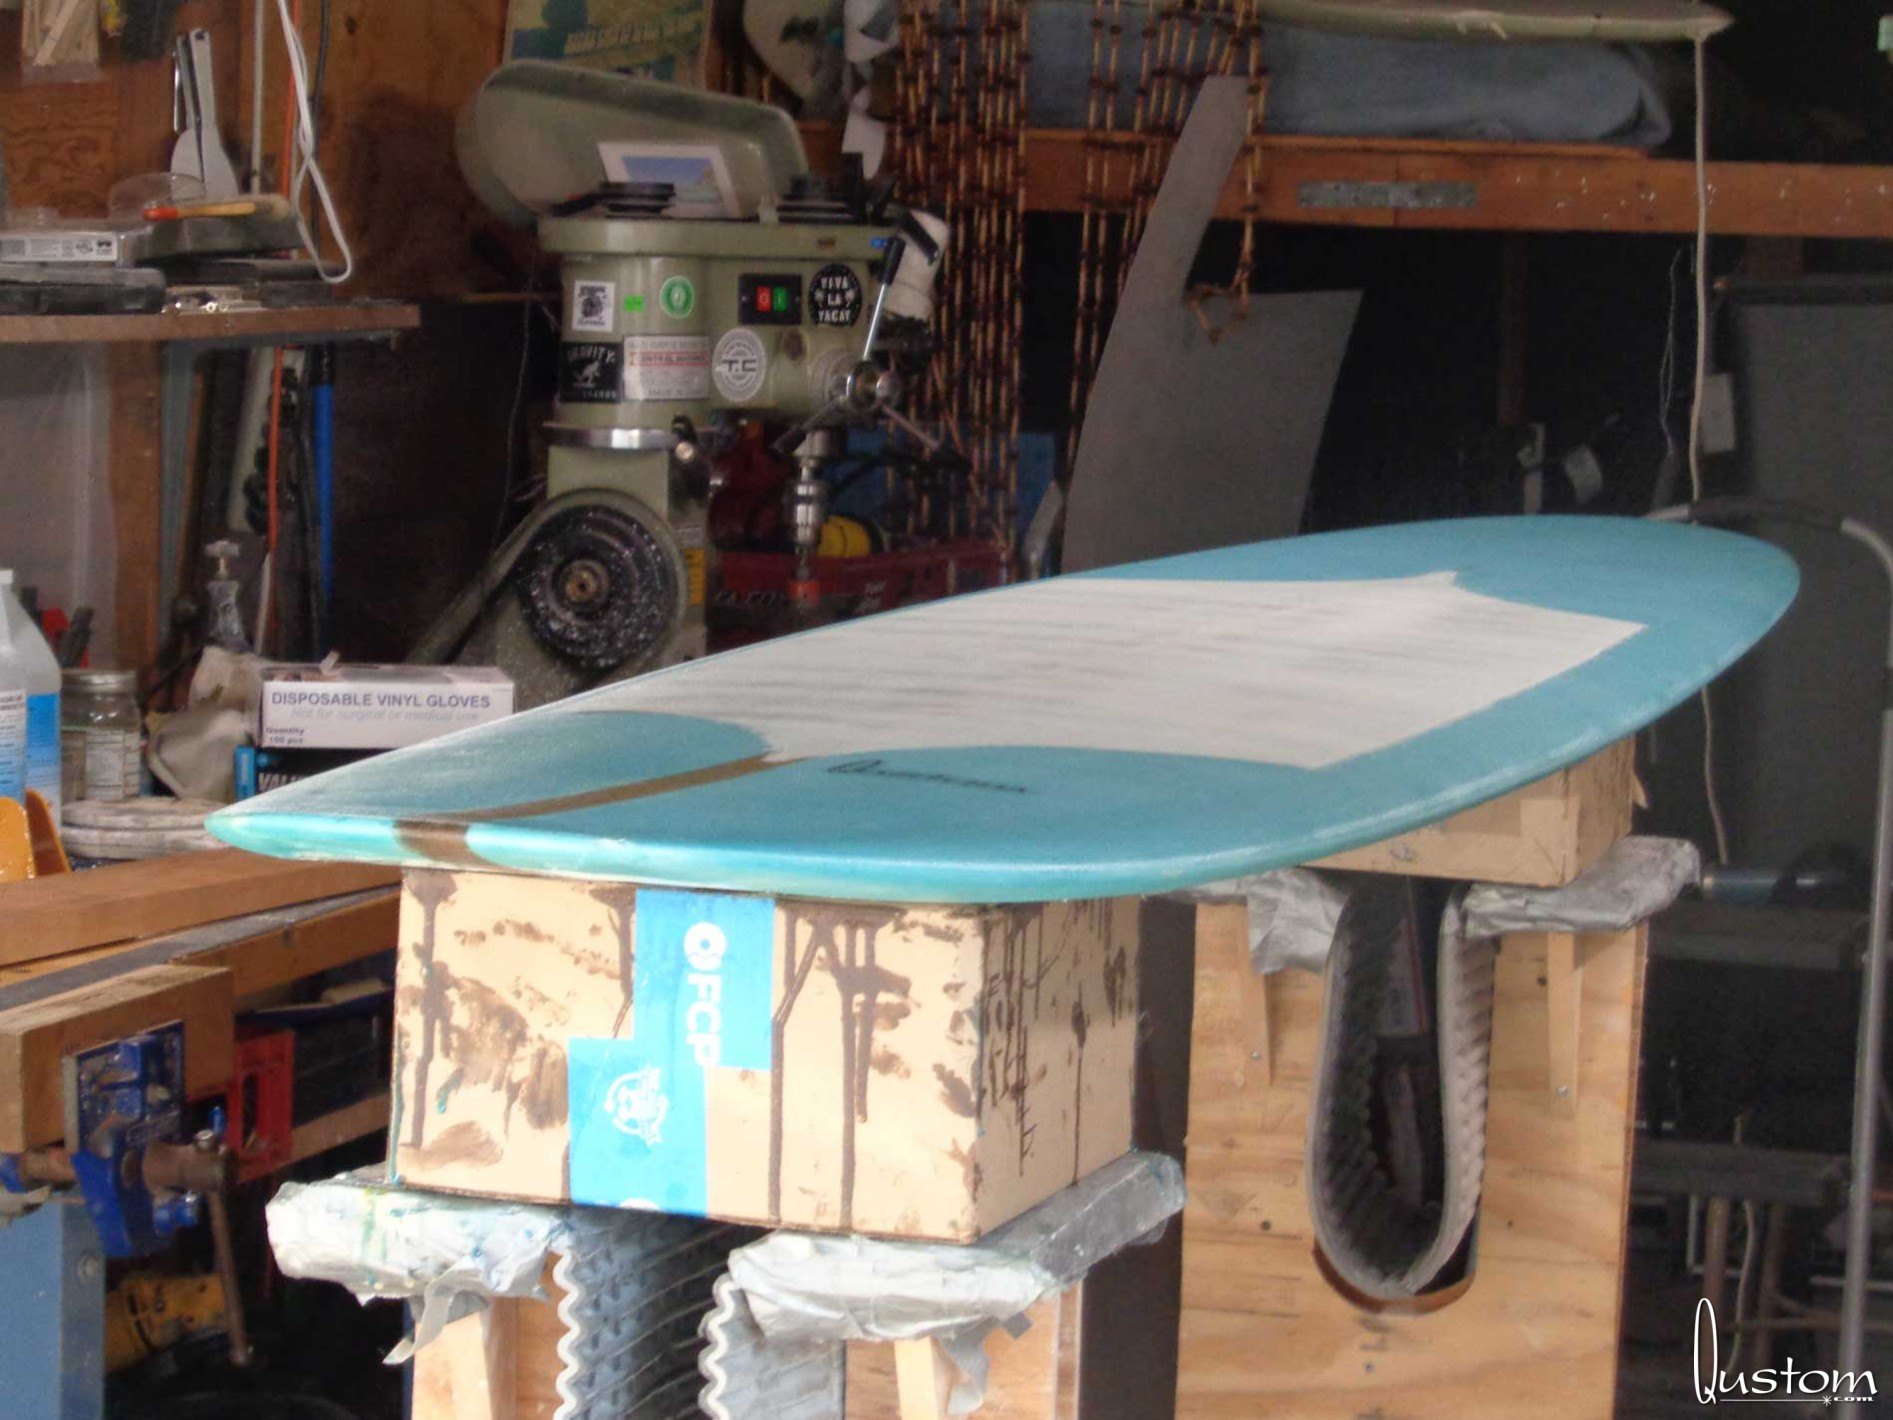
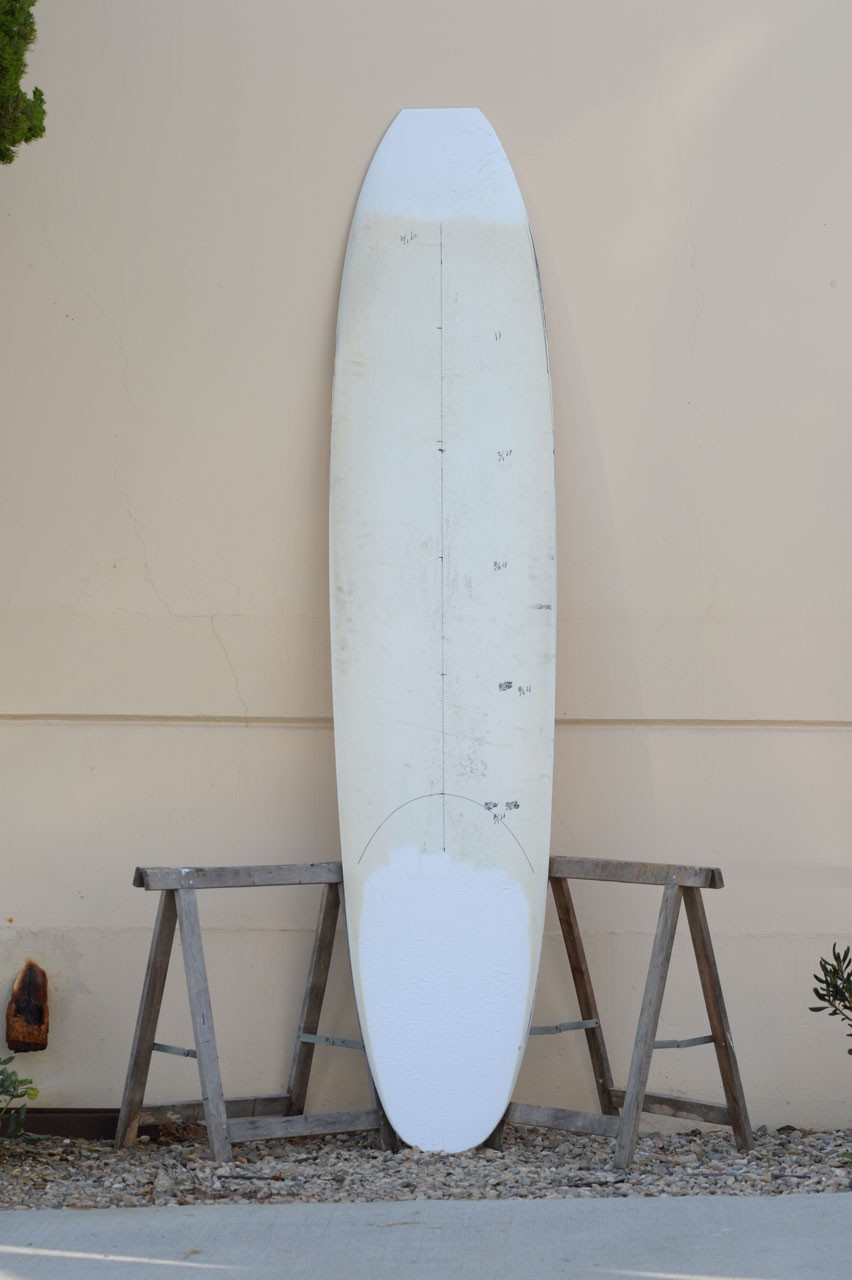
The square tail of the blank (which would become the nose of the board) pretty much dictated what my maximum nose width would be. All I really had to do was round the corners off and blend it with the rest of the outline.
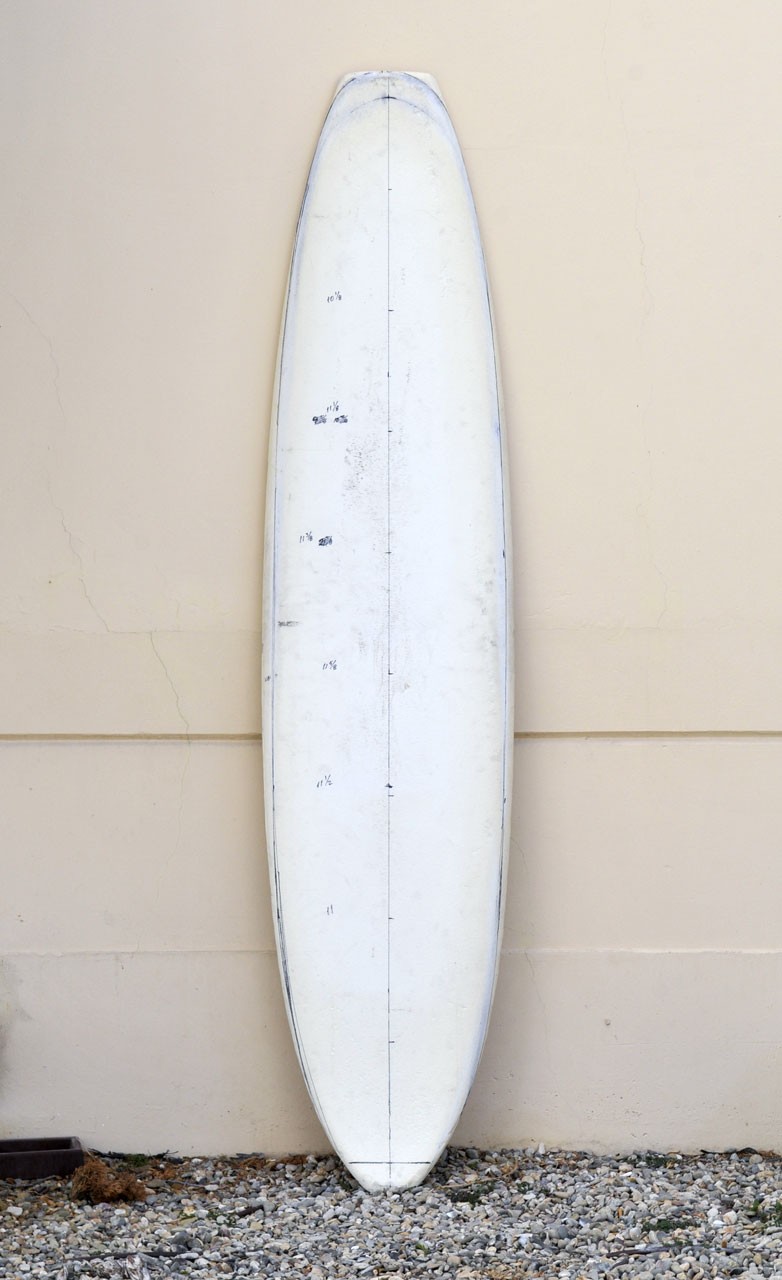
I then proceeded to hack 3" off the nose of the blank to give me my finished length. Because I was shaping the blank backwards, this resulted in a nice square tail about 7" wide, with some pretty radical curves that would create the final exaggerated pig shape that I was after.
And that was about it for the plan shape - I took maybe 1-¼" max off the rest of the outline.
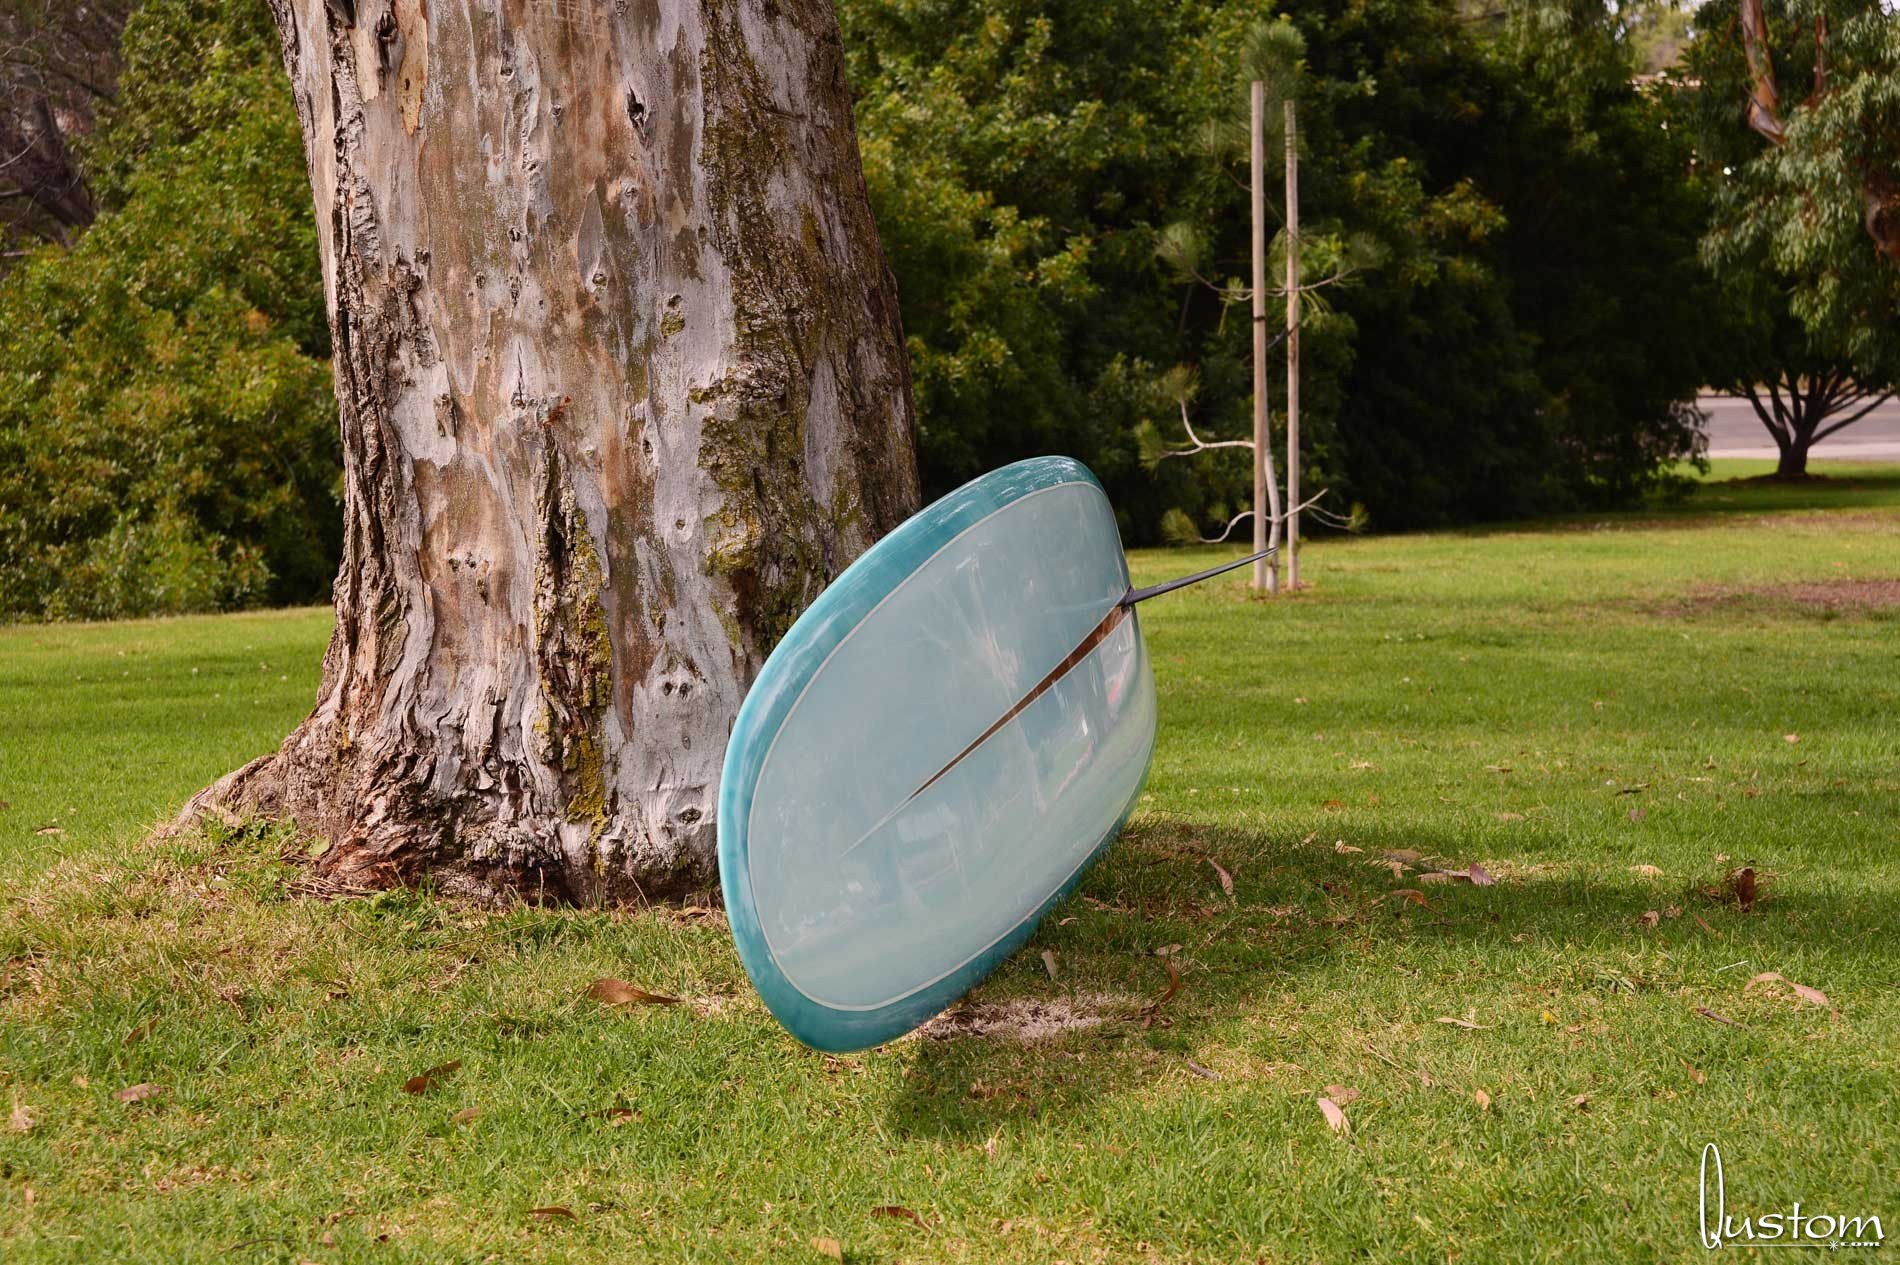
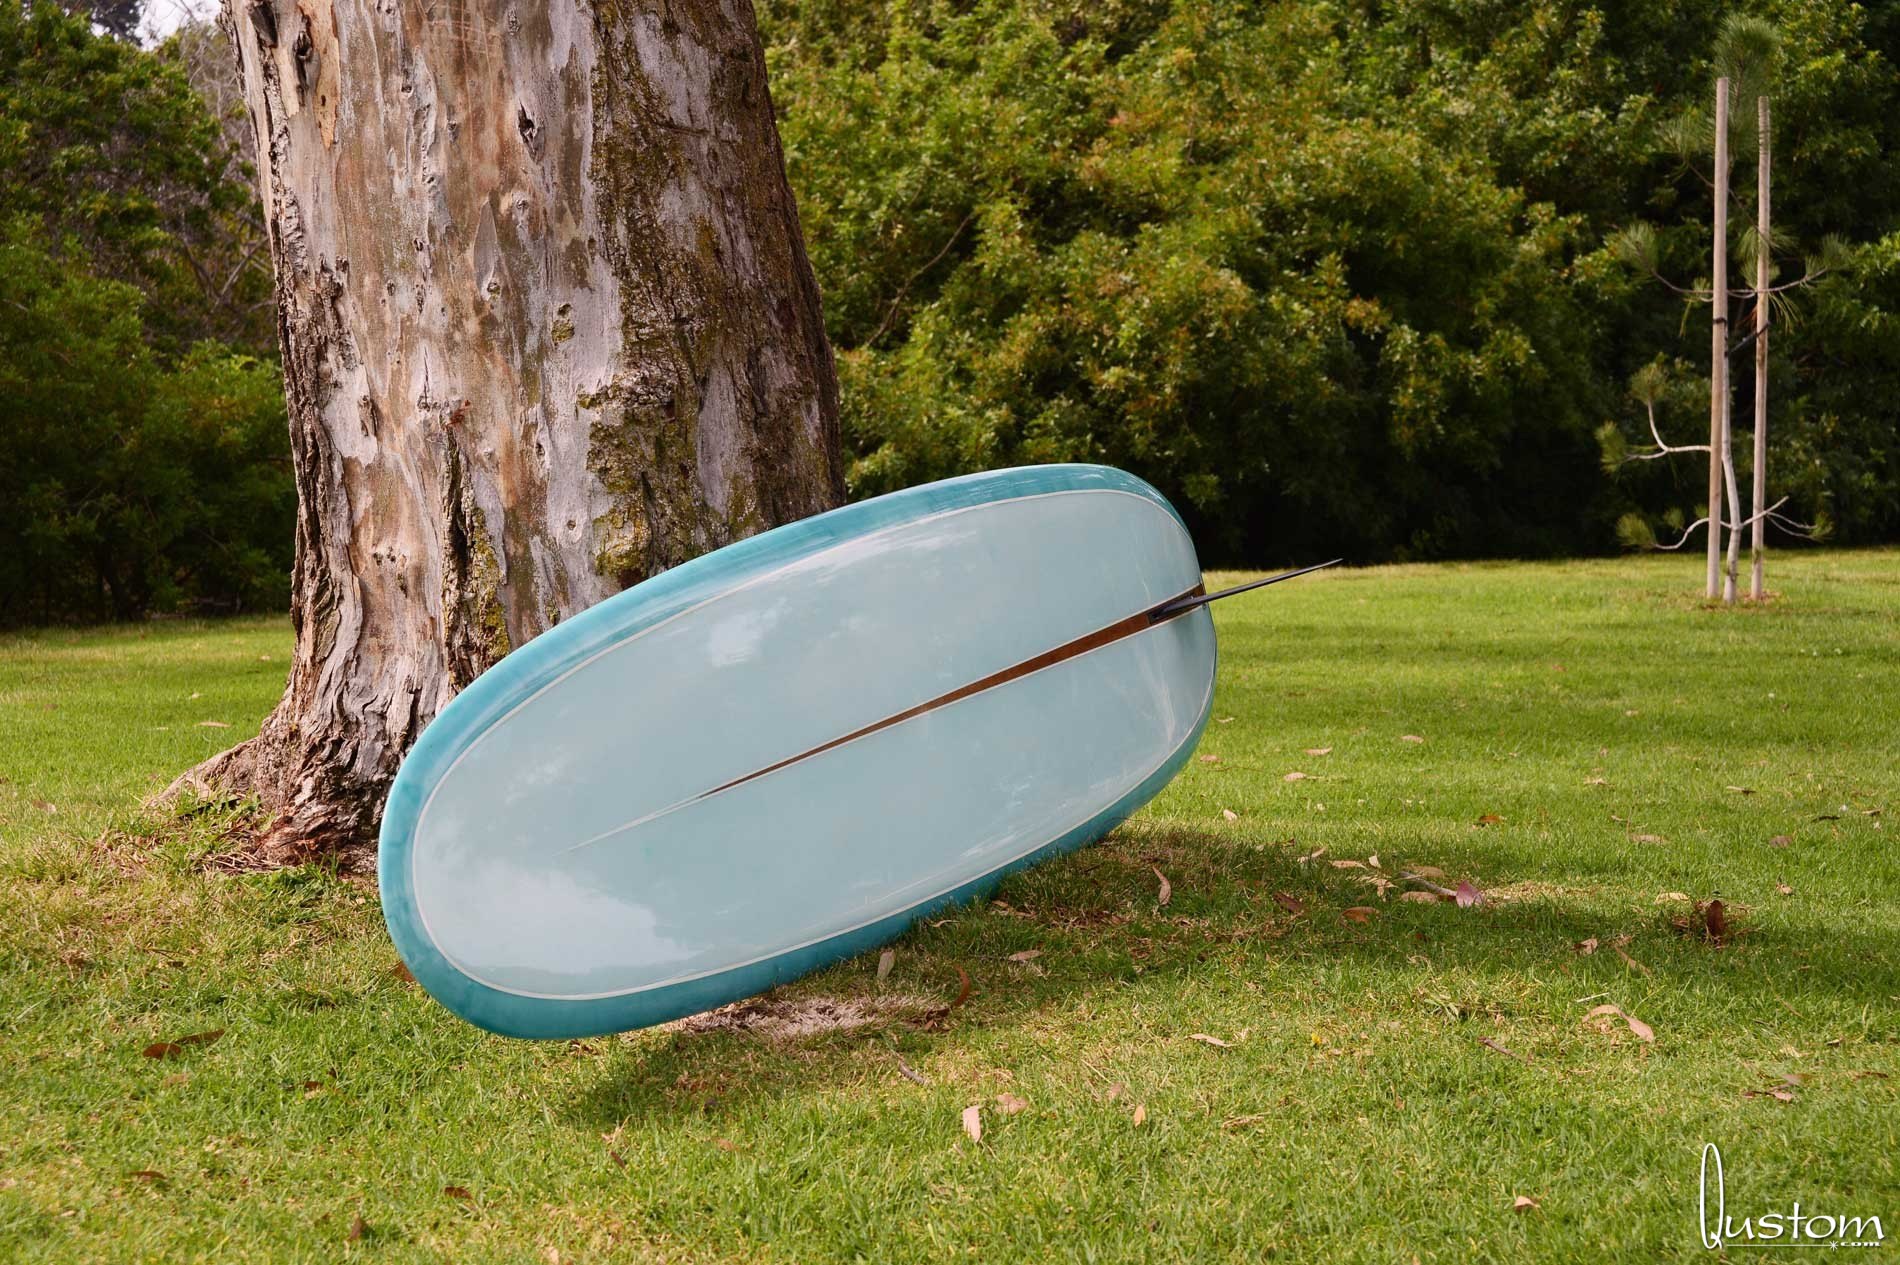
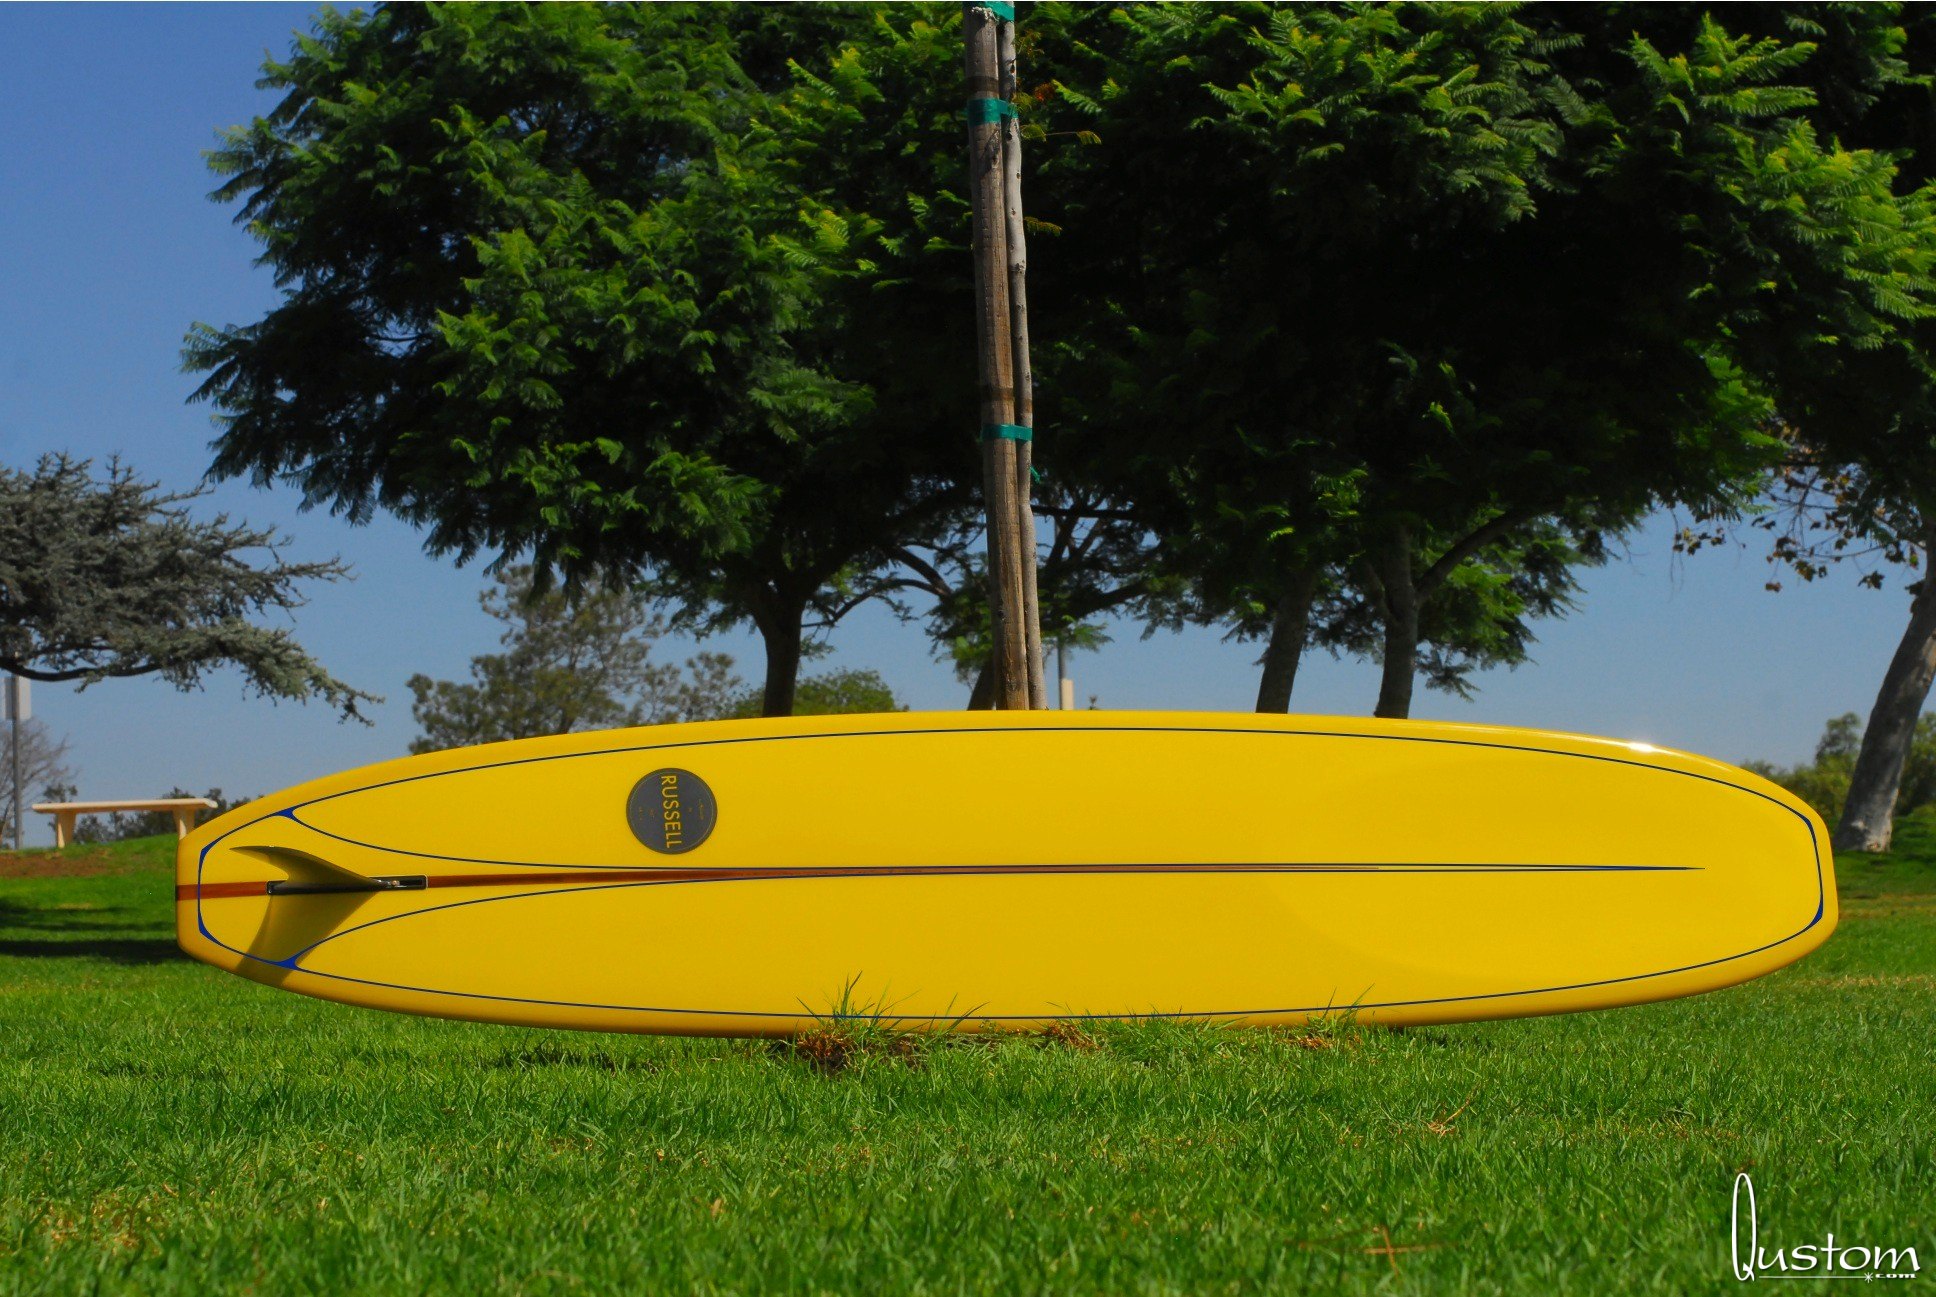
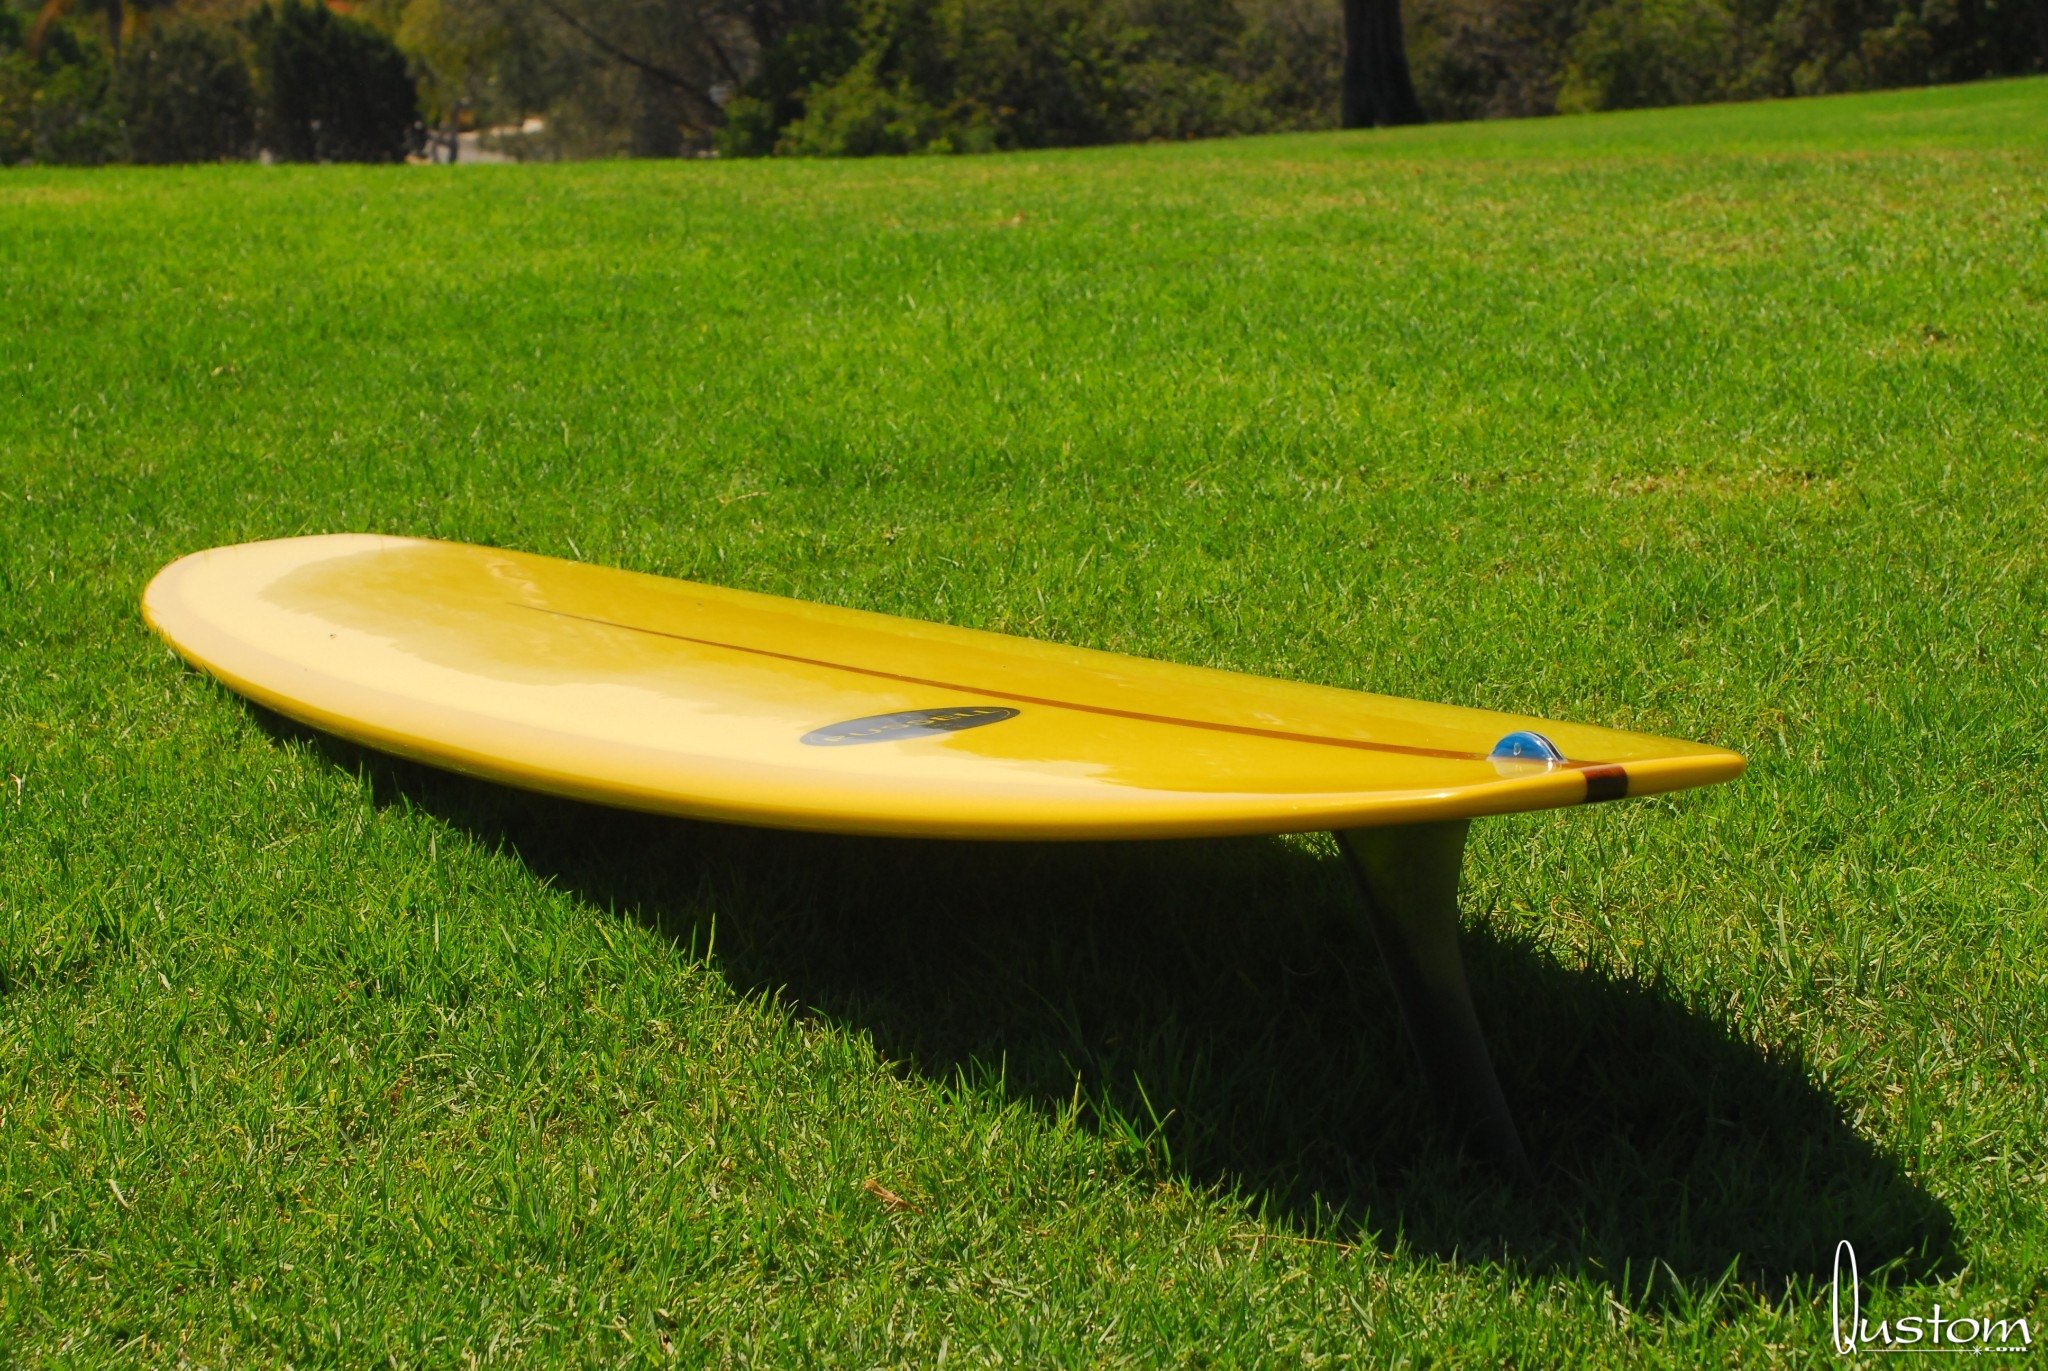
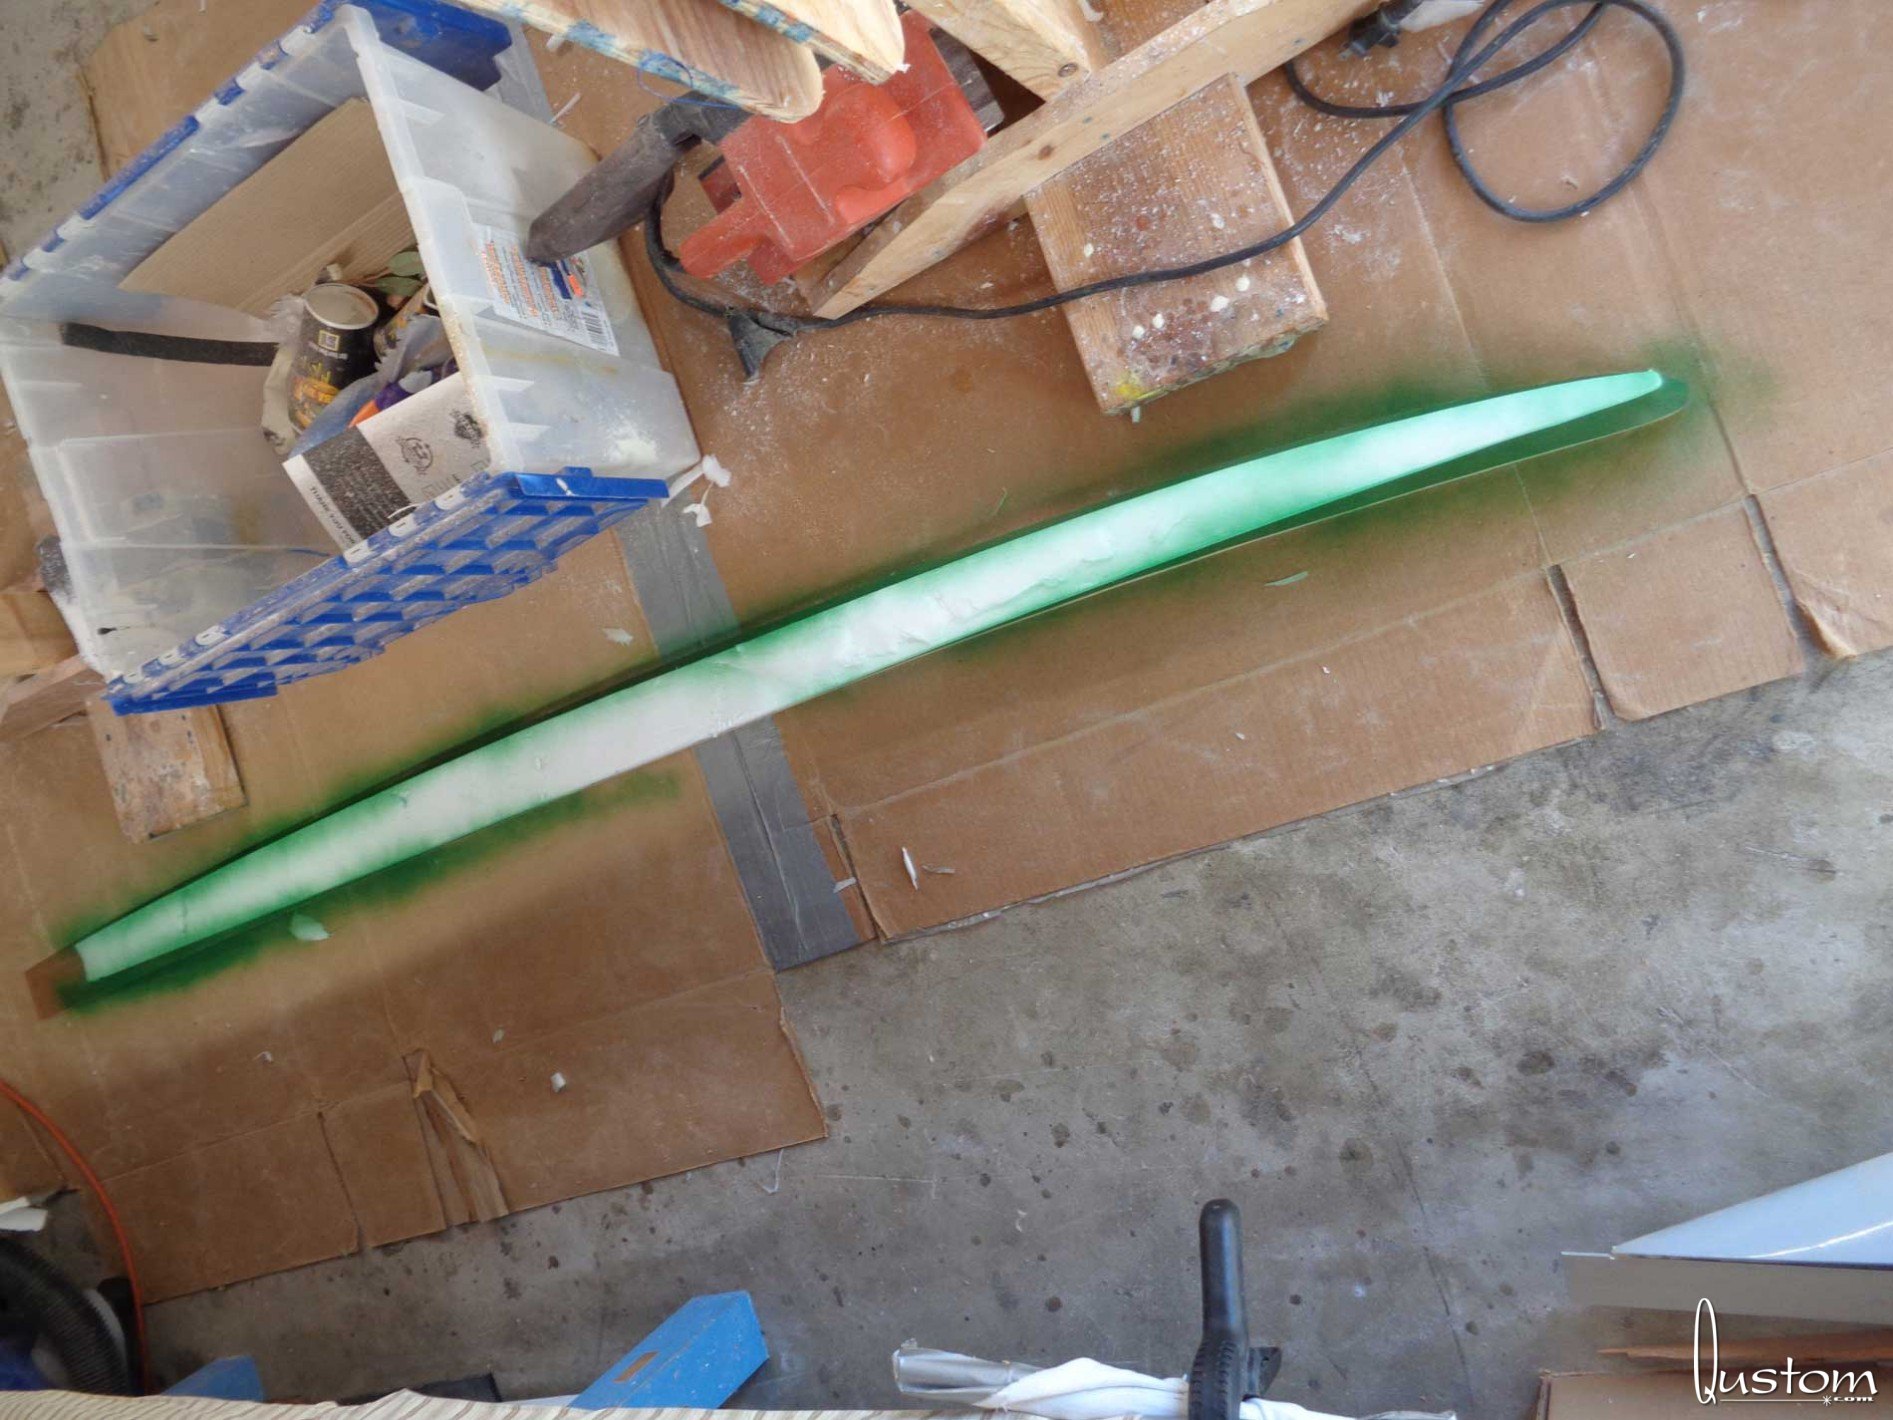
To get rid of as much rocker as possible without the tail being razor sharp on its trailing edge, I removed as much material as I could from the tail on the top side. The sexy foiled out tails of the Michael boards were definitely going through my mind at this point. To flatten out the rocker on the bottom I also removed a pretty good amount of material just forward of the tail, about where the fin box would eventually go. The bottom rocker of the ass end of the board was pretty much dictated by how much foam I want to leave in the tail.
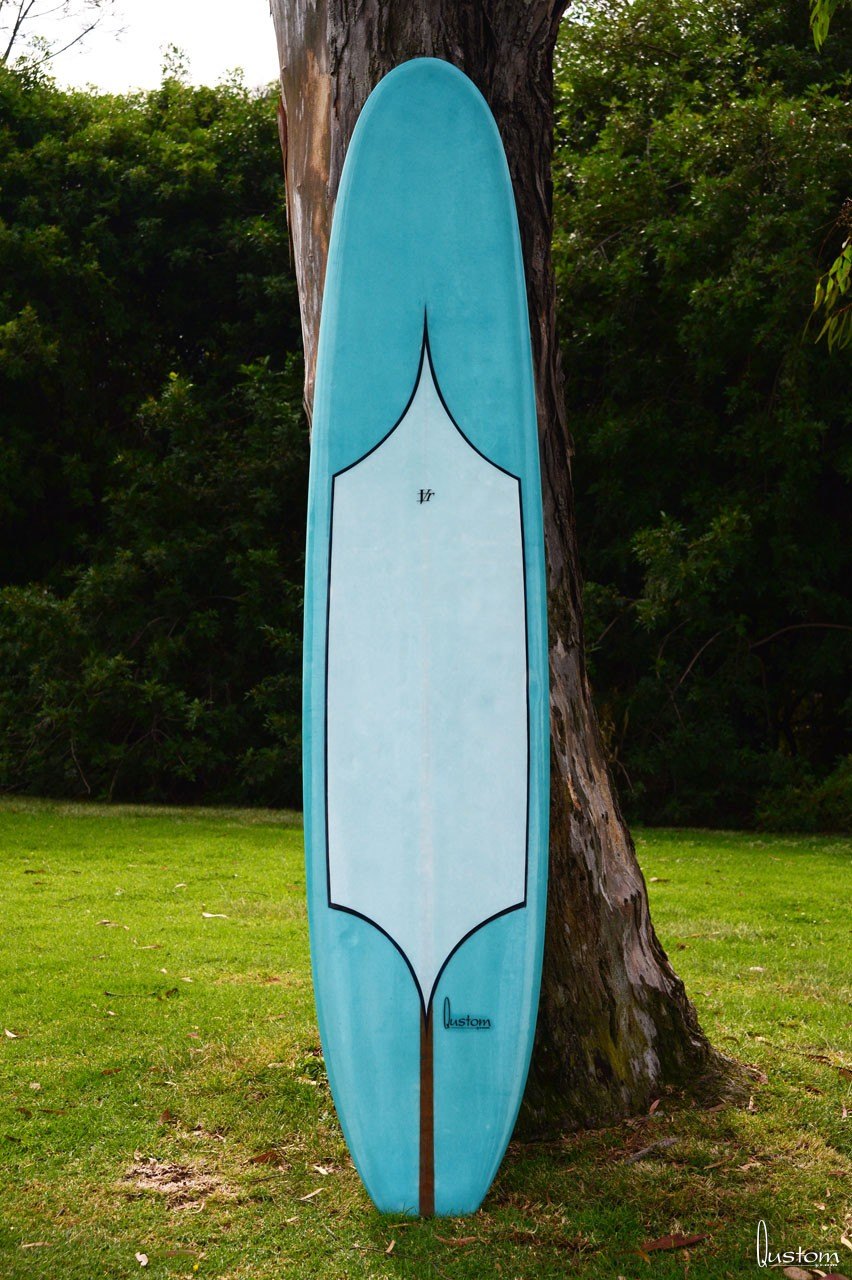
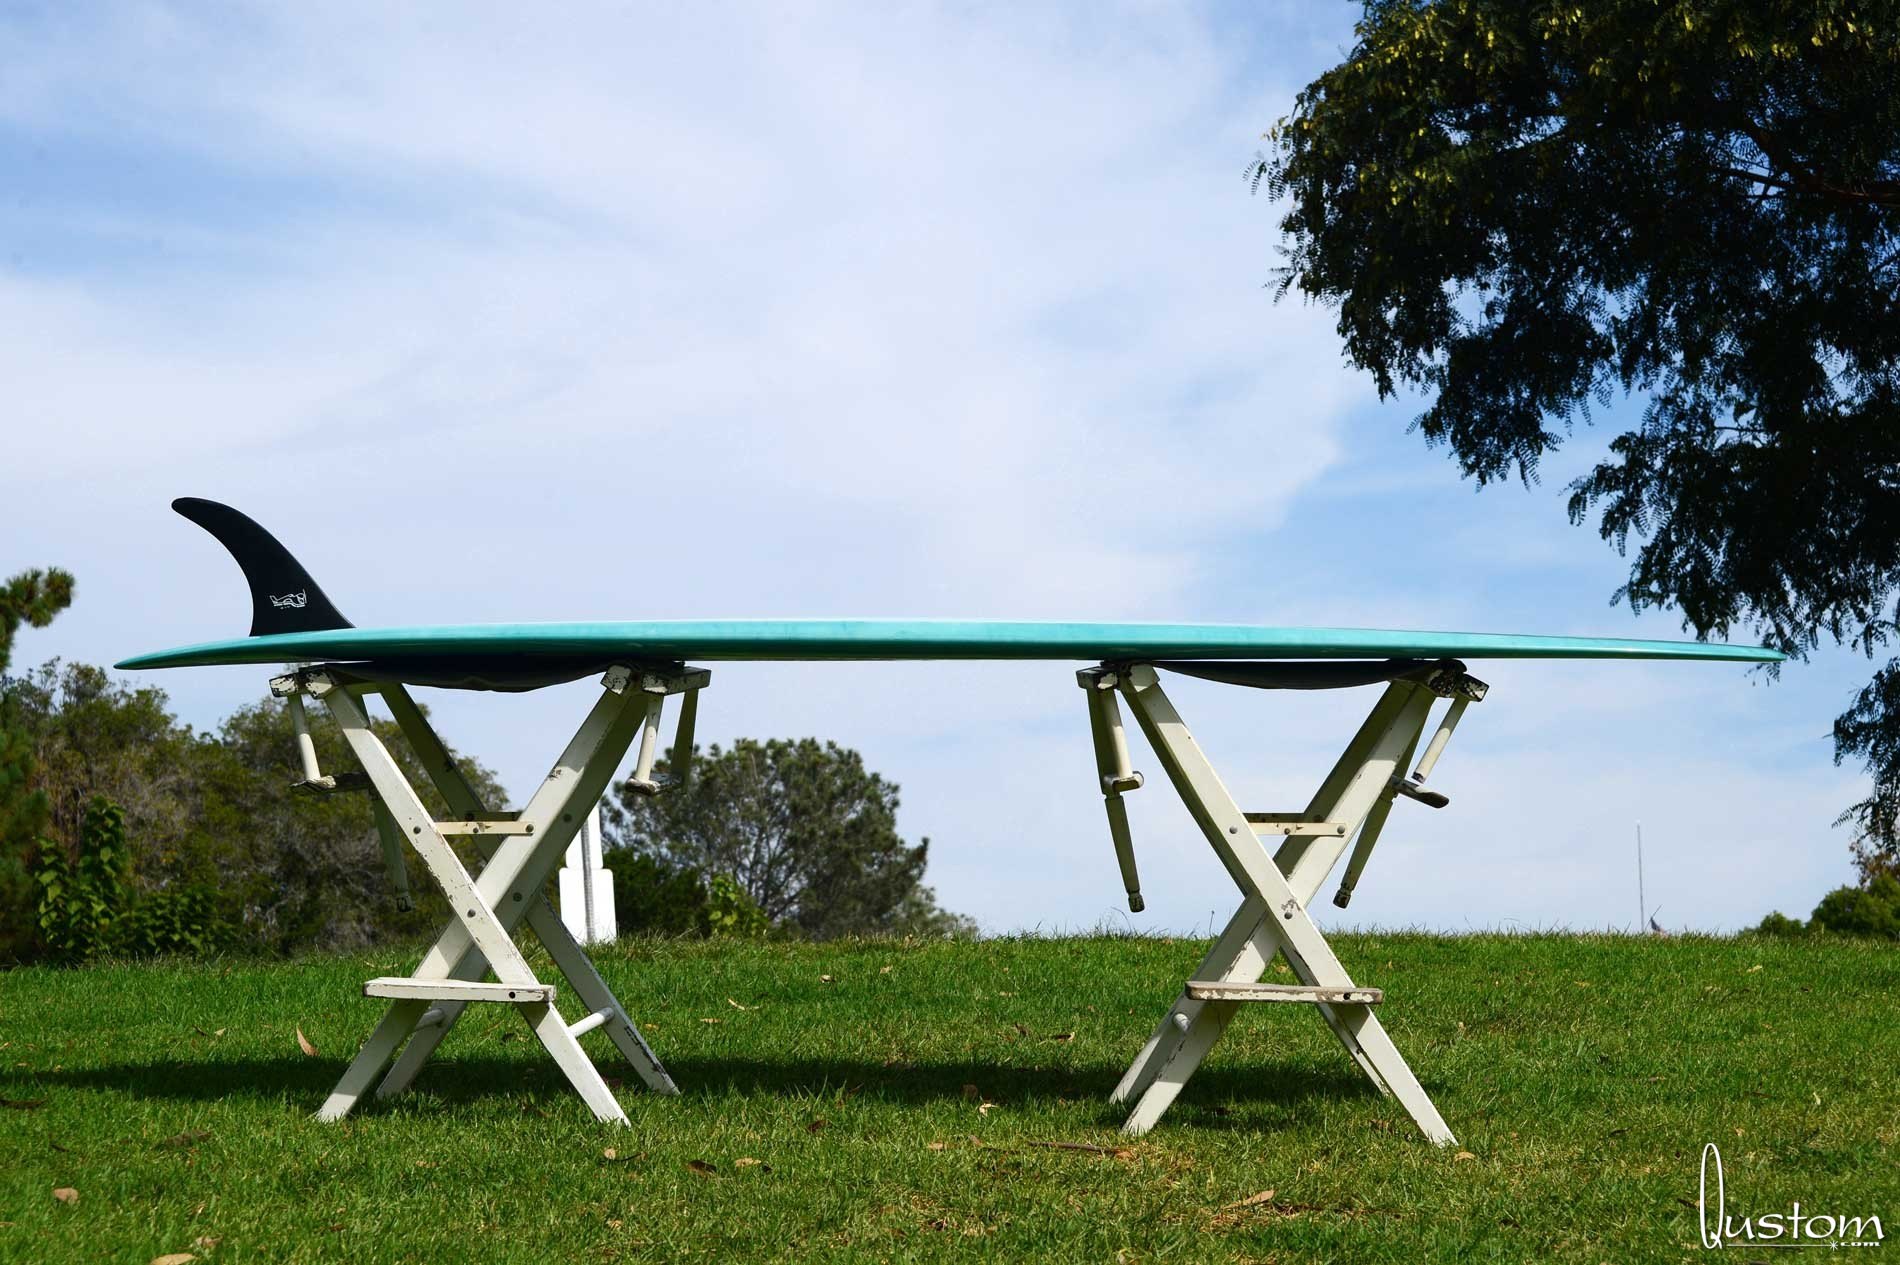
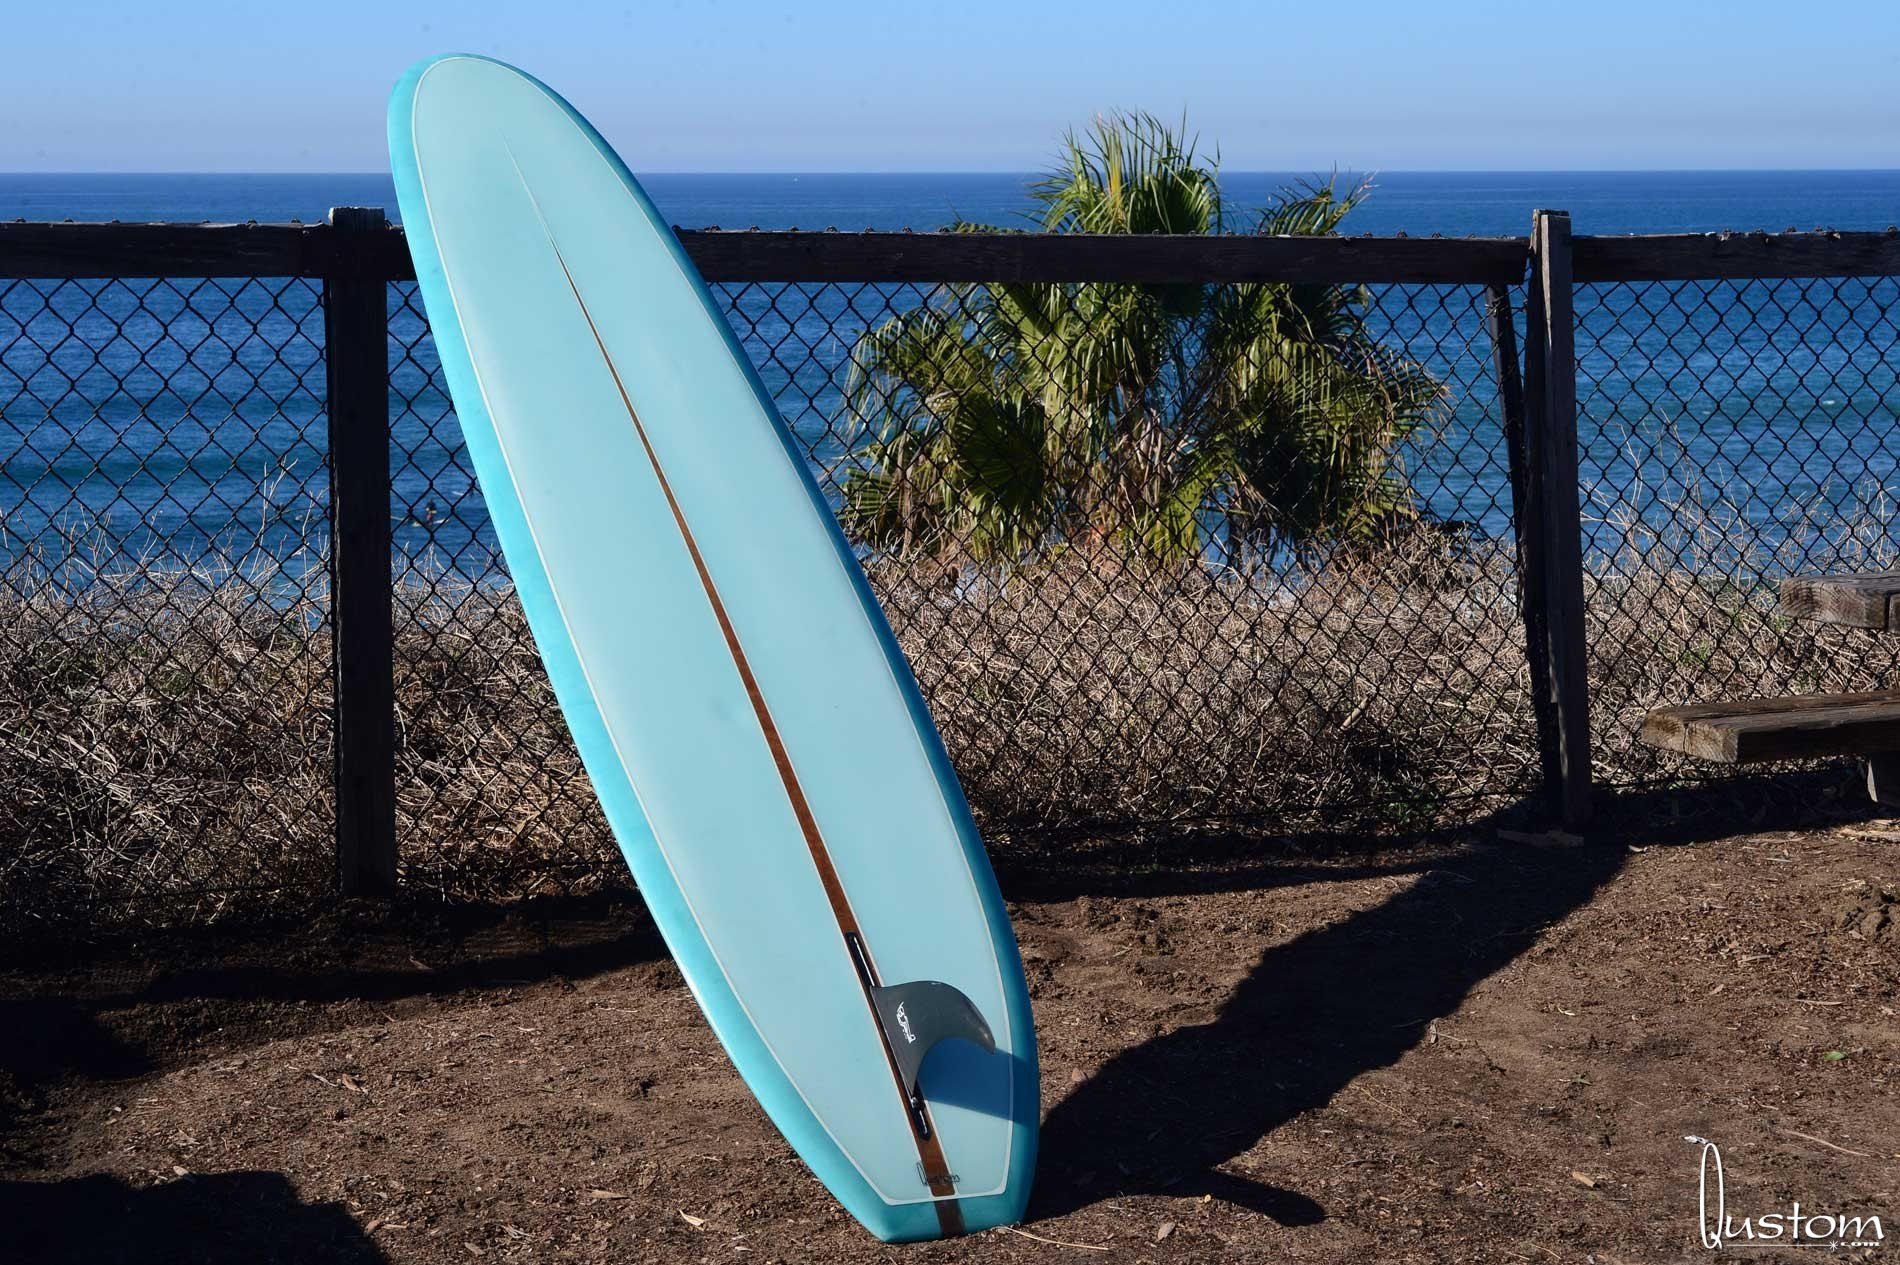
As an homage to Mr. Cooper's Hornet model, I put in a slight step deck up front to lighten up the nose and incorporate some flex. This would be further enhanced by the tapered stringer setup that I planned to use, à la the Russell. Knowing that I would have all that rigidity from the fat stringer at the back, I also thinned out the tail up top, leaving most of the "meat in the middle" as per the Hornet.
From the midpoint forward I had a lot more foam to play with, and this is where I spent most of my time. At first I wanted to try to mimick the Seebold shape as closely as possible, but after starting into creating a little concave up front, I changed course and stopped when it got dead flat, and I left it right there. The next version will get a little more of a hull entry for sure.
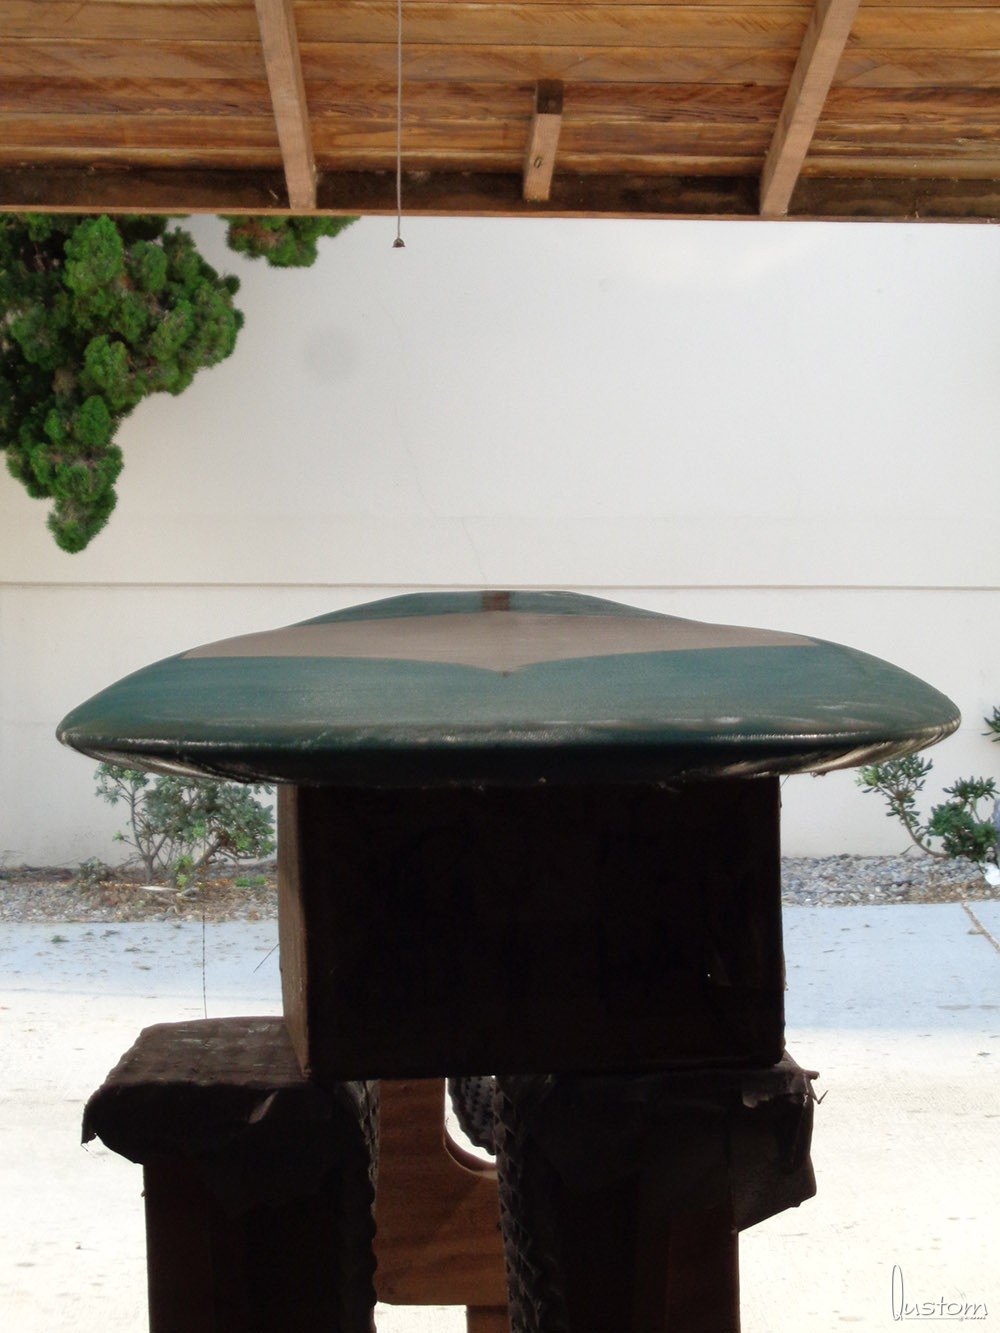
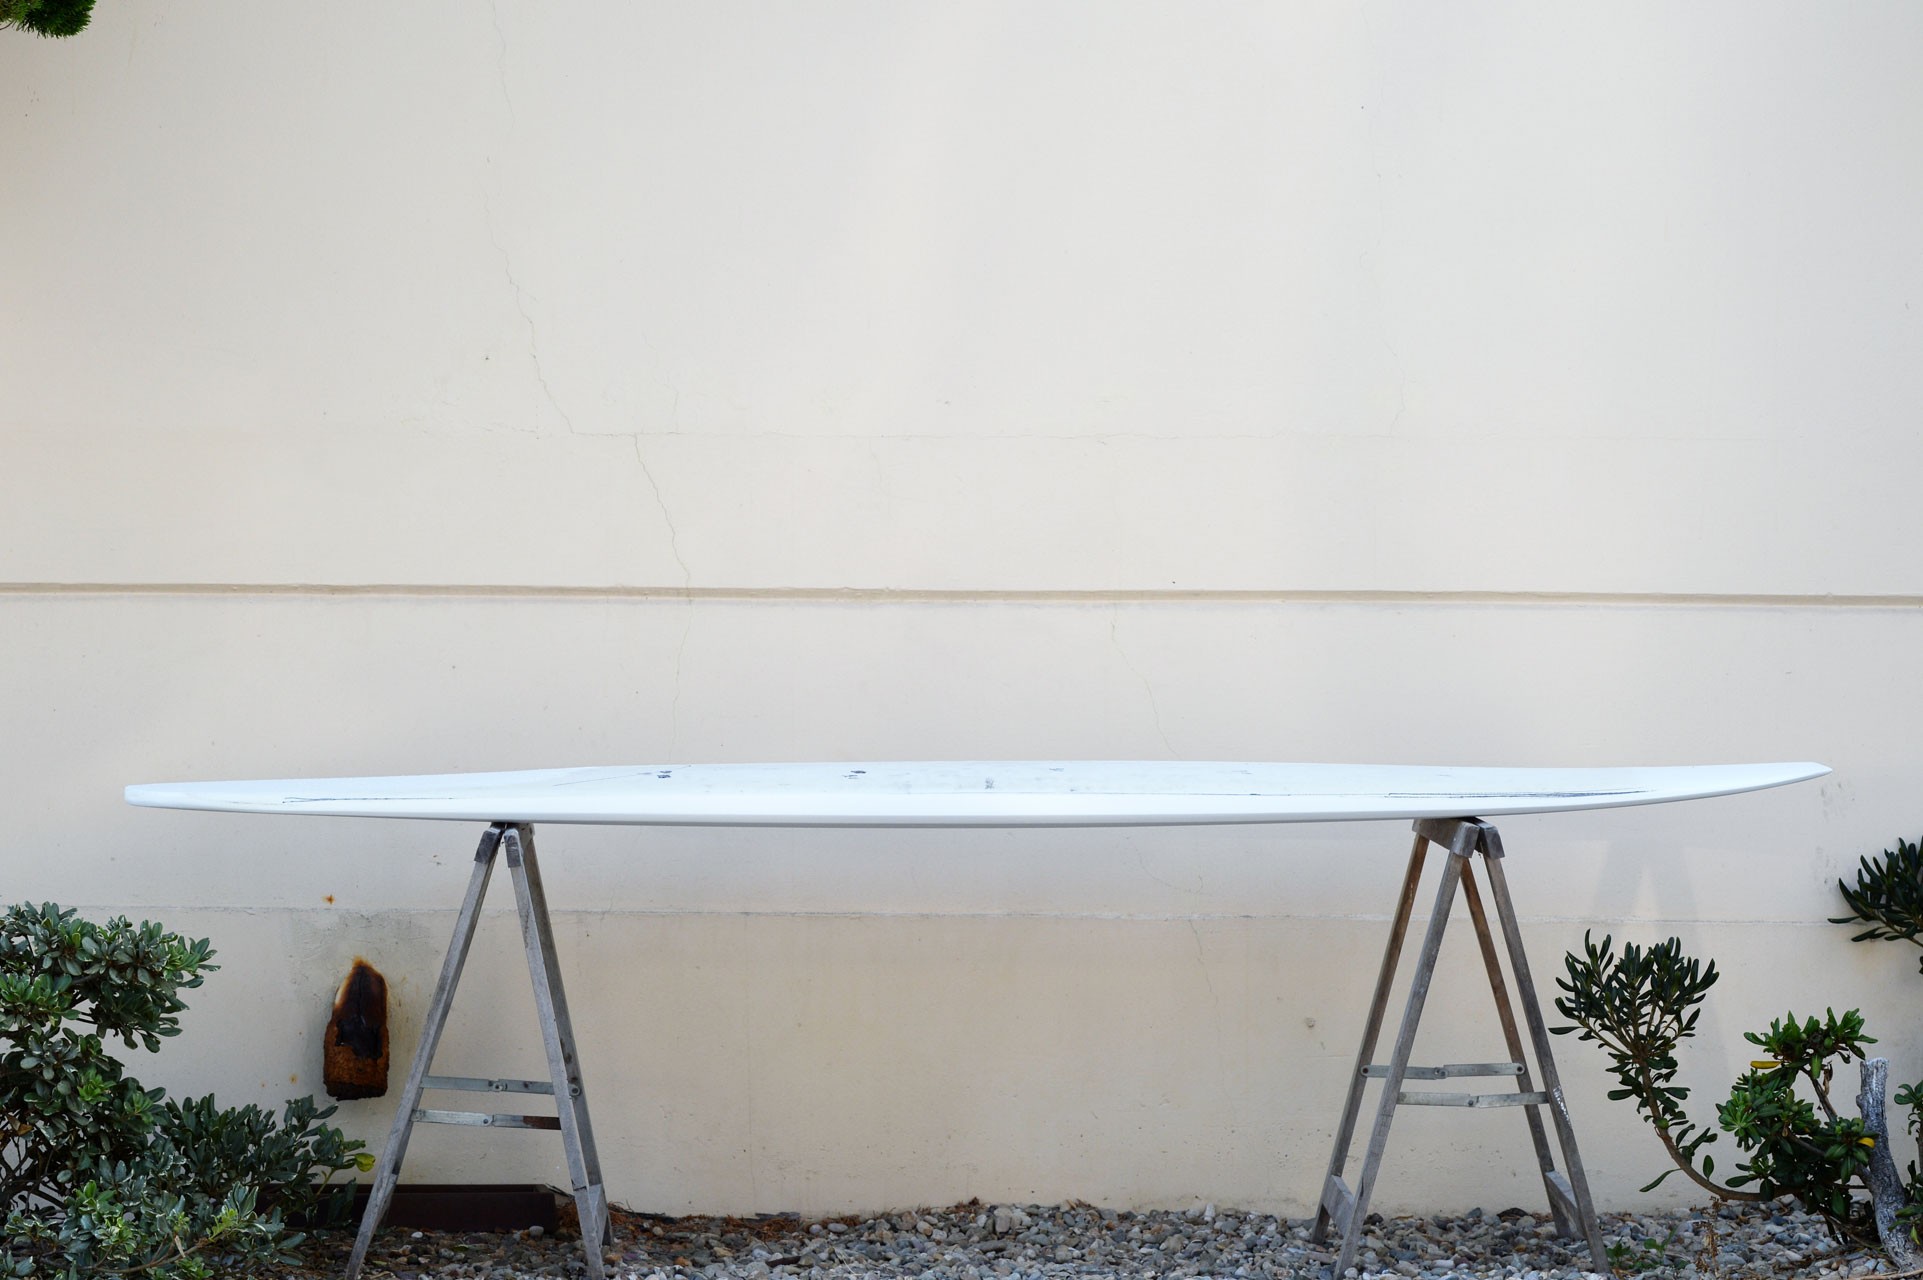
In contrast to the Speed Demon (which has the most insanely subtle transition from concave to convex you will ever see), I left the bottom pretty much dead flat rail to rail all the way through. I really wanted to see what all that tail rocker would do without being affected by any roll off, vee, or other such trickery.
I also knew I wanted some pretty foiled out rails like the Hornet, but slightly upturned like the Bahne (maybe 40/60) to keep them from digging too hard. I also wanted plenty of flotation where it counts, and not wanting to make the bottom rocker dead flat, the end result is that while the rail line makes the board look almost as flat as can be, there is actually a fair bit of rocker down the mid secton of the board that blends into these upturned rails. This is where the Andreini influence came into play - getting two distinct rocker profiles to blend together as one, only without the double edge of his designs.
Then there is the matter of weight distribution. One of the things I loved about the Russell was how light the nose was. It seemed to take a foot or so off the length of the board when it came to chucking it around a bit. That rearward weight bias is something I really like, because it seems to always keep you engaged in the wave at the rear and really let you point the nose where you want, when you want to.


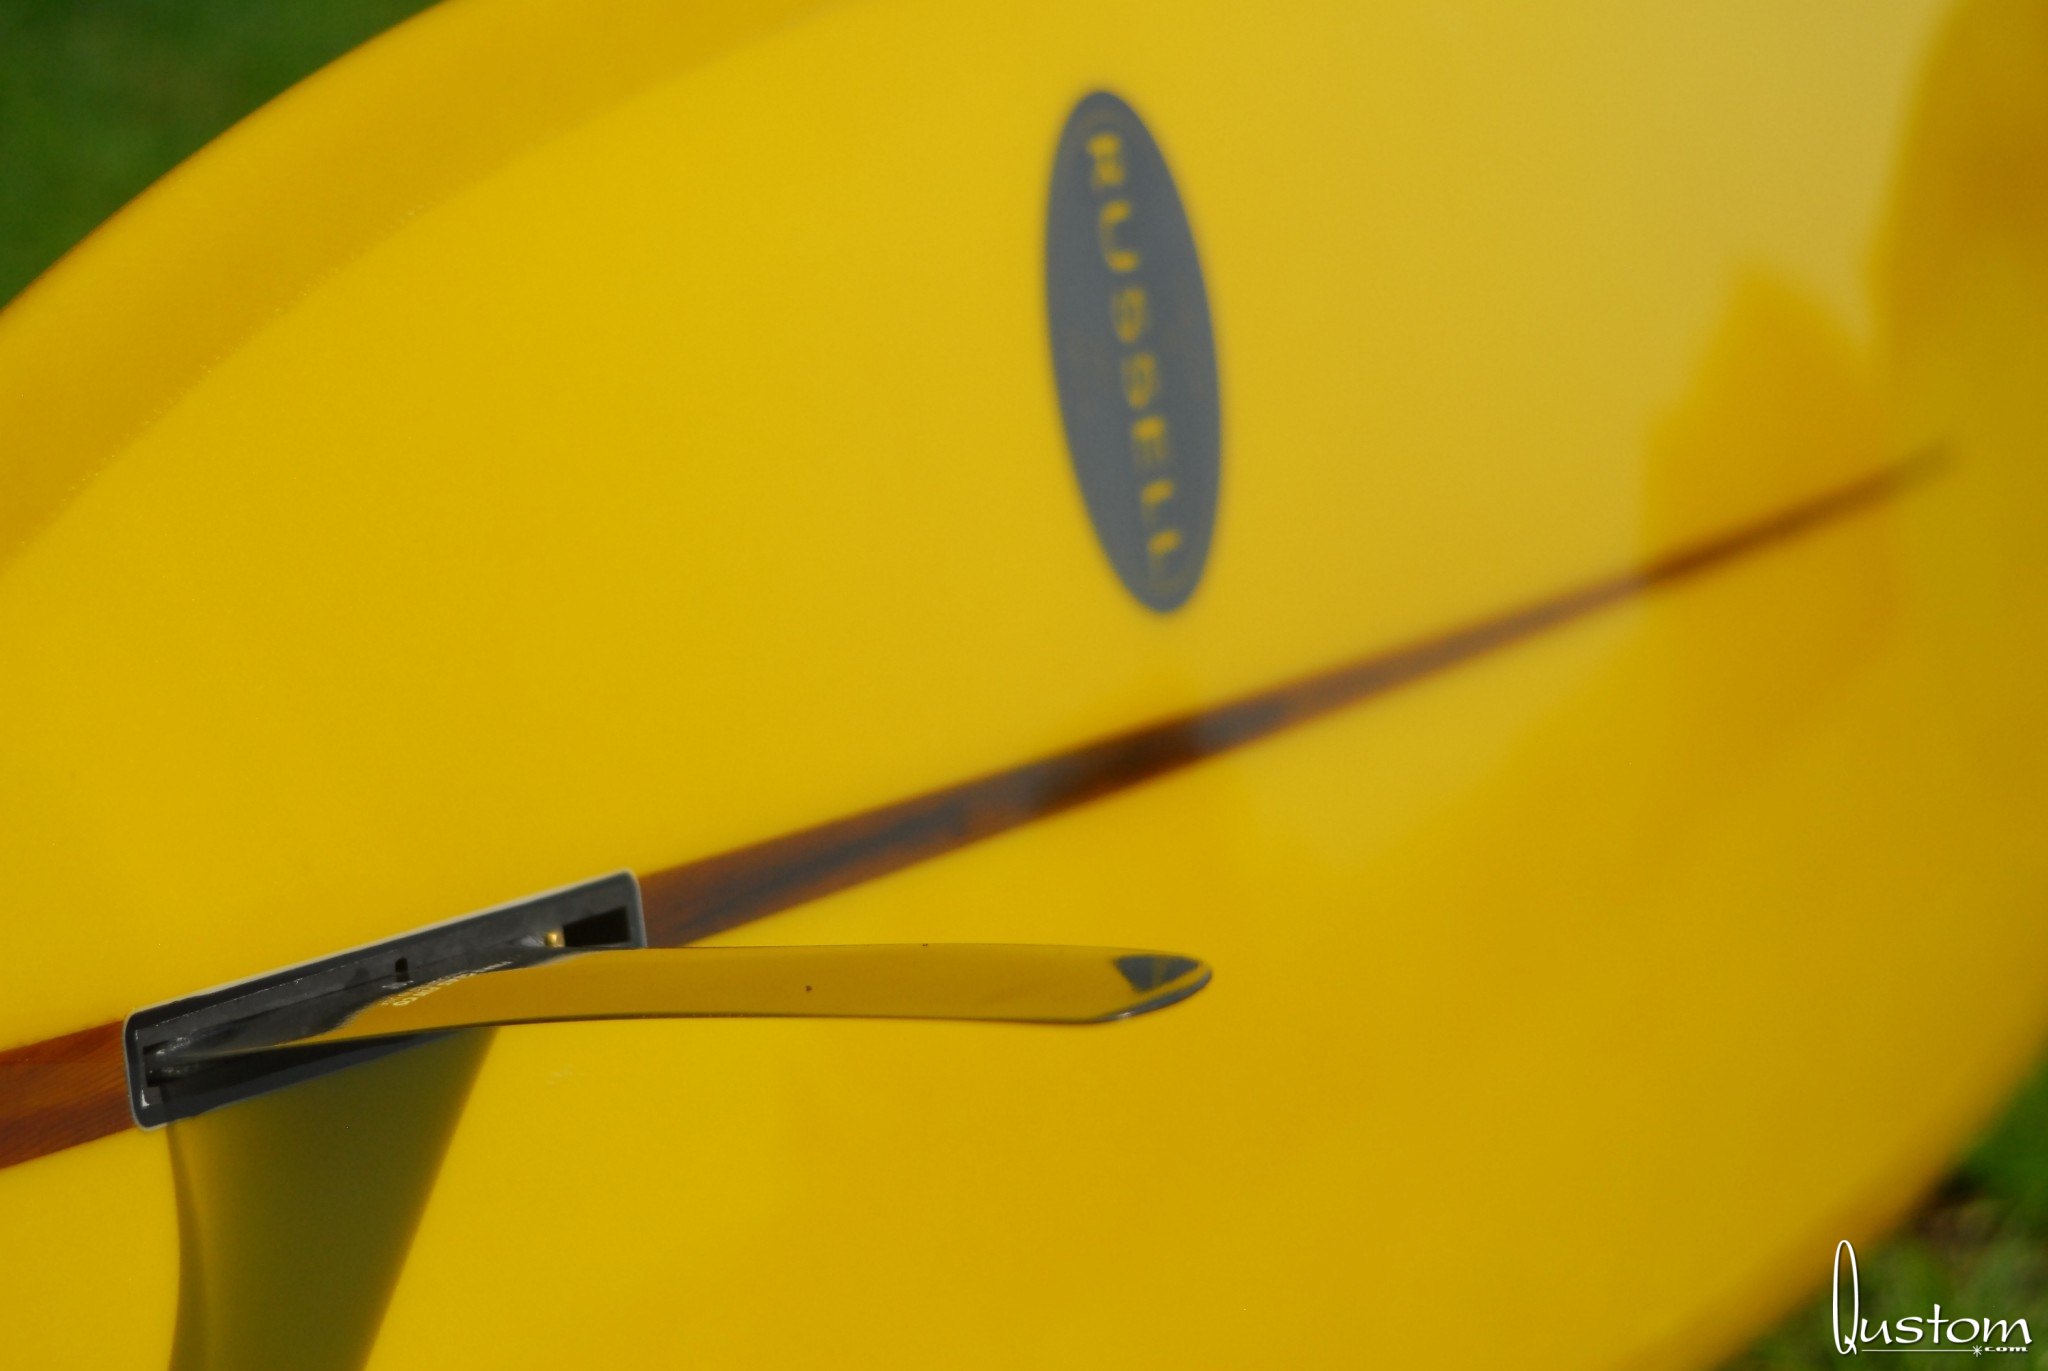
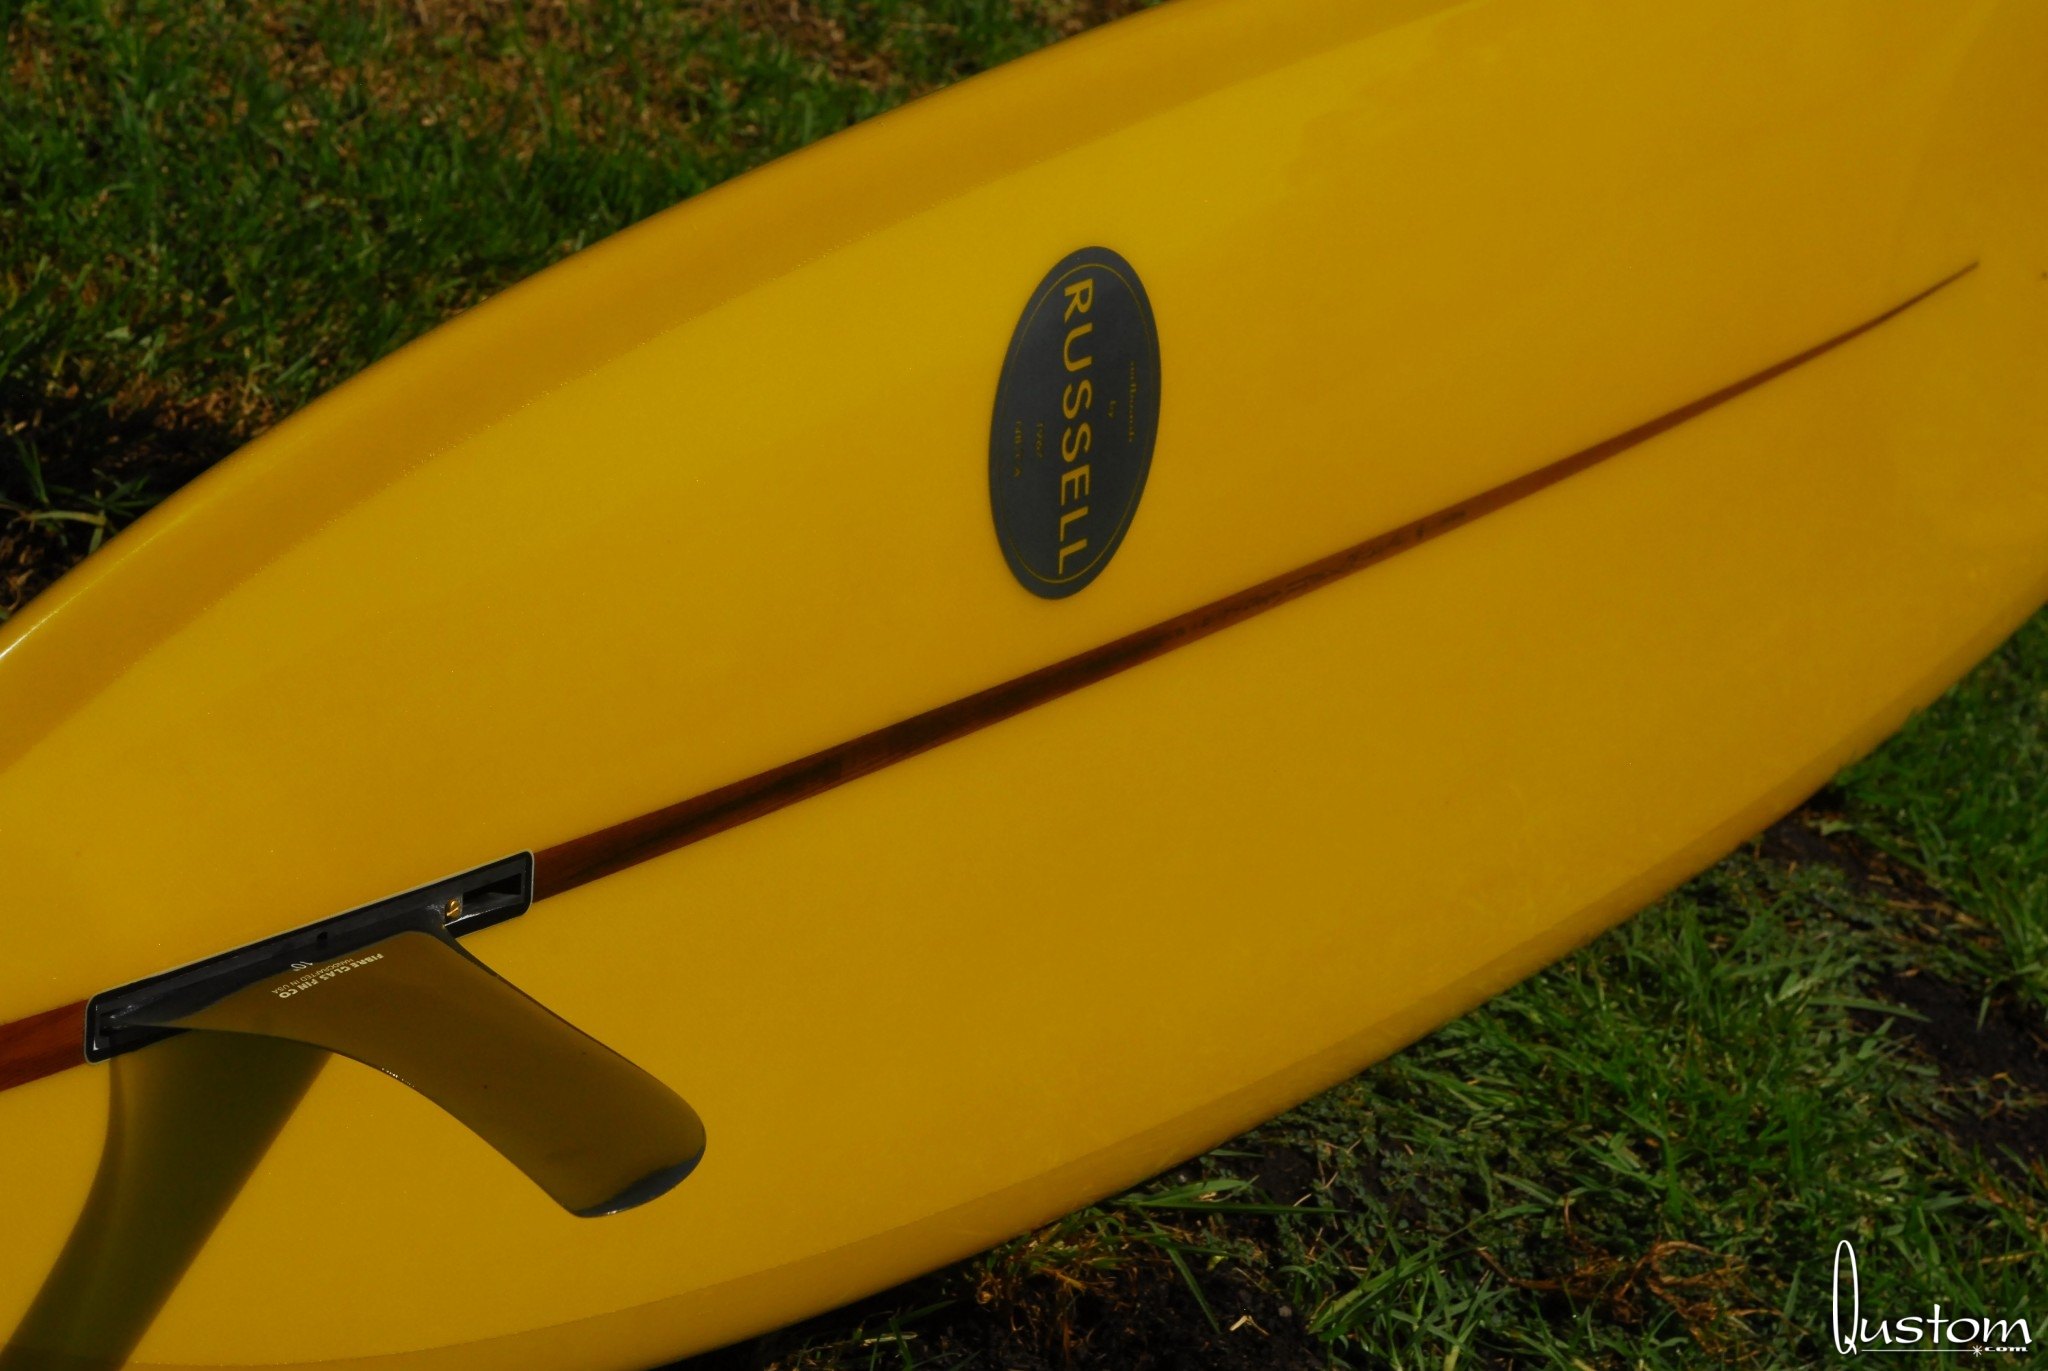
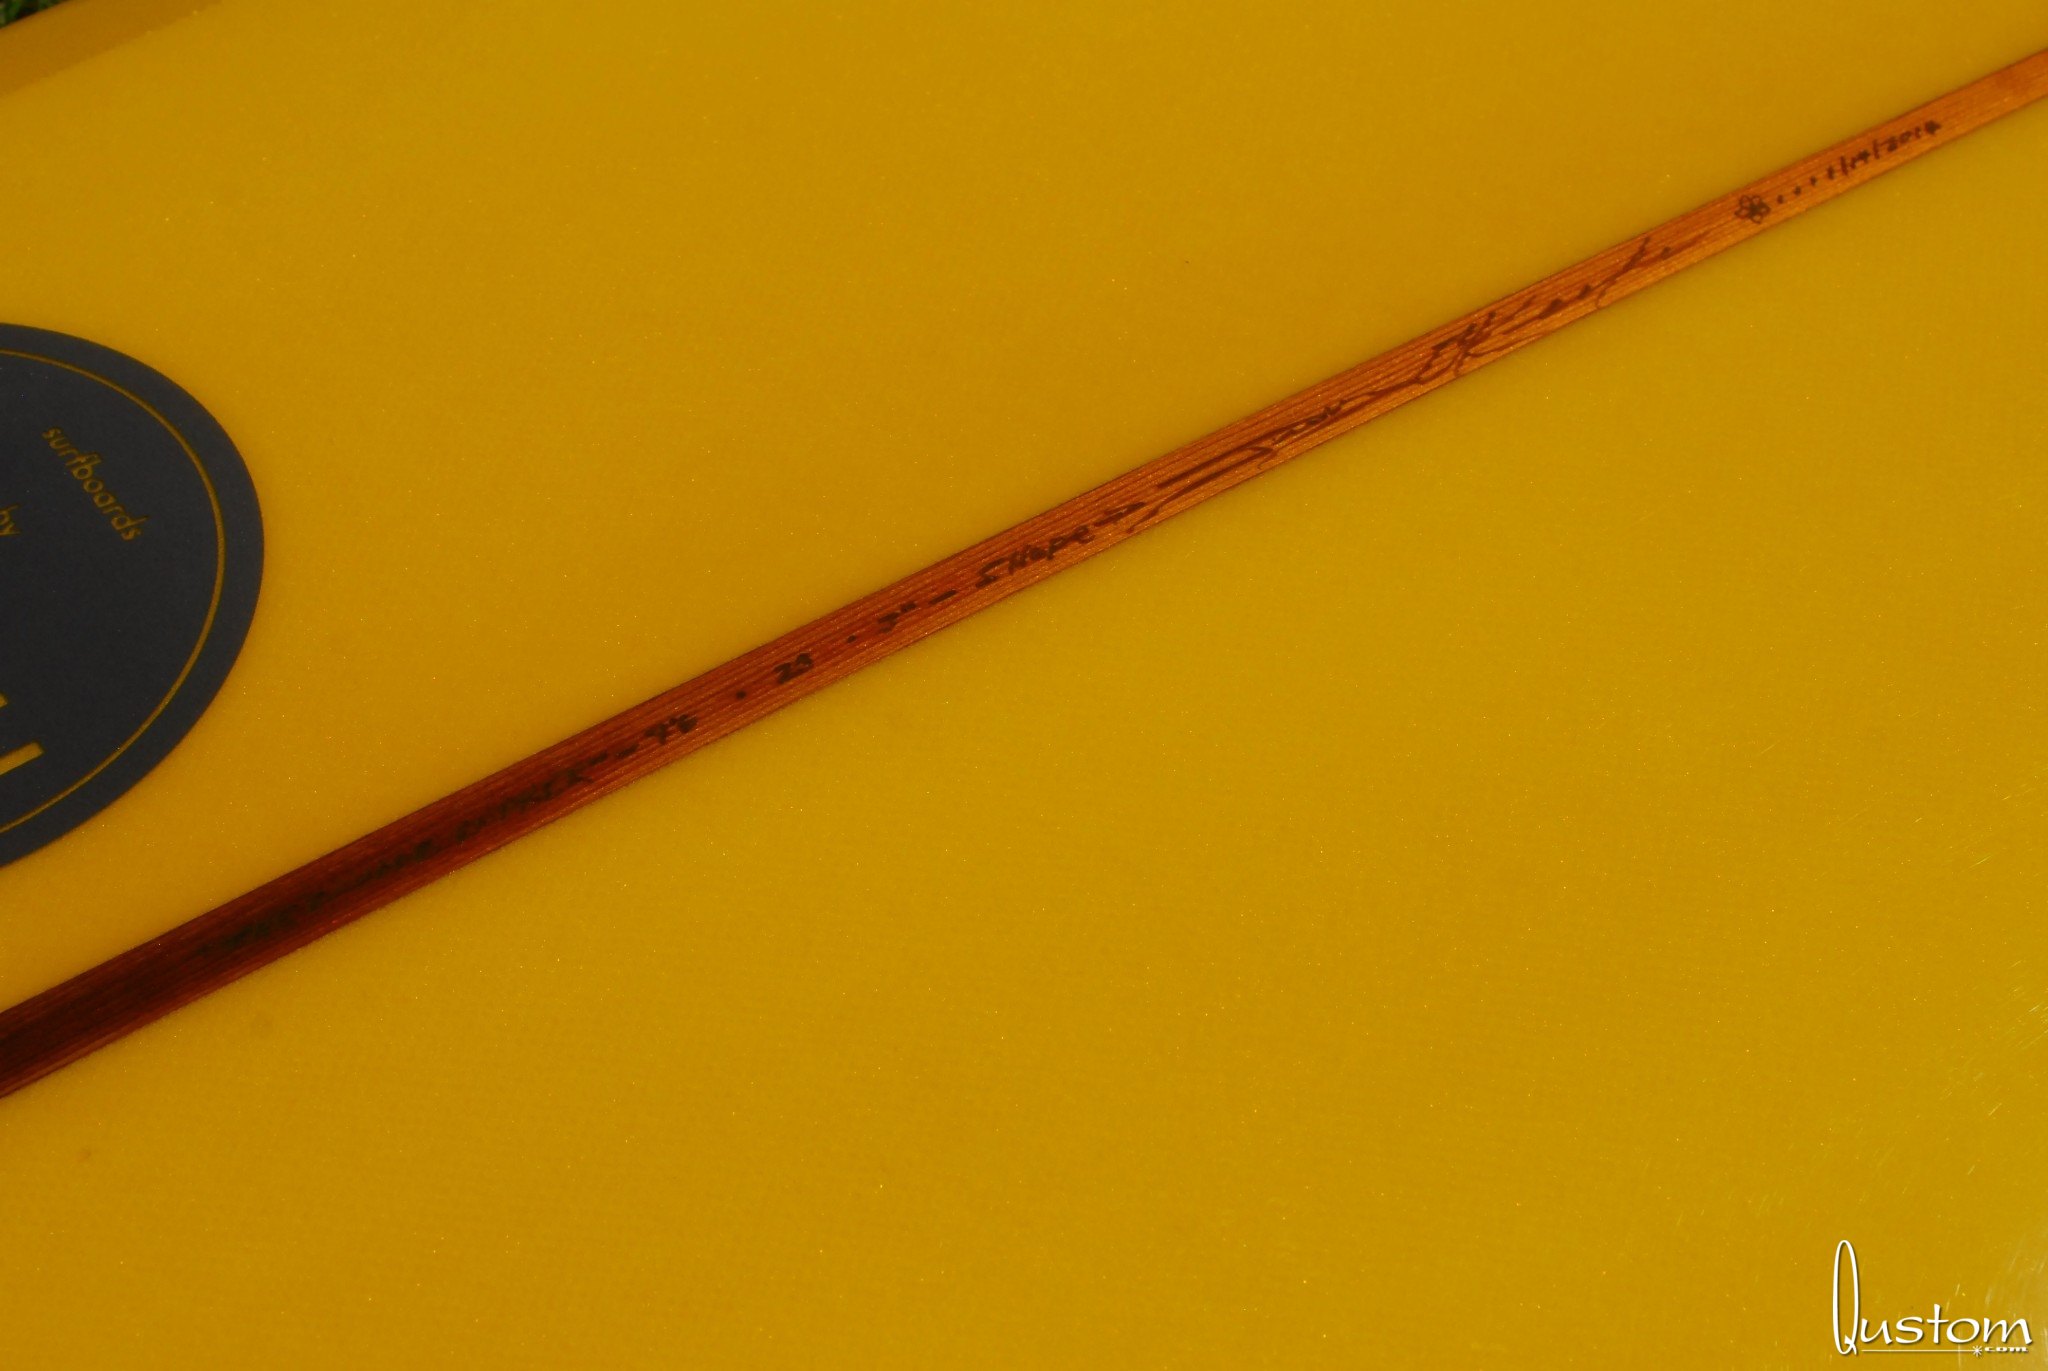
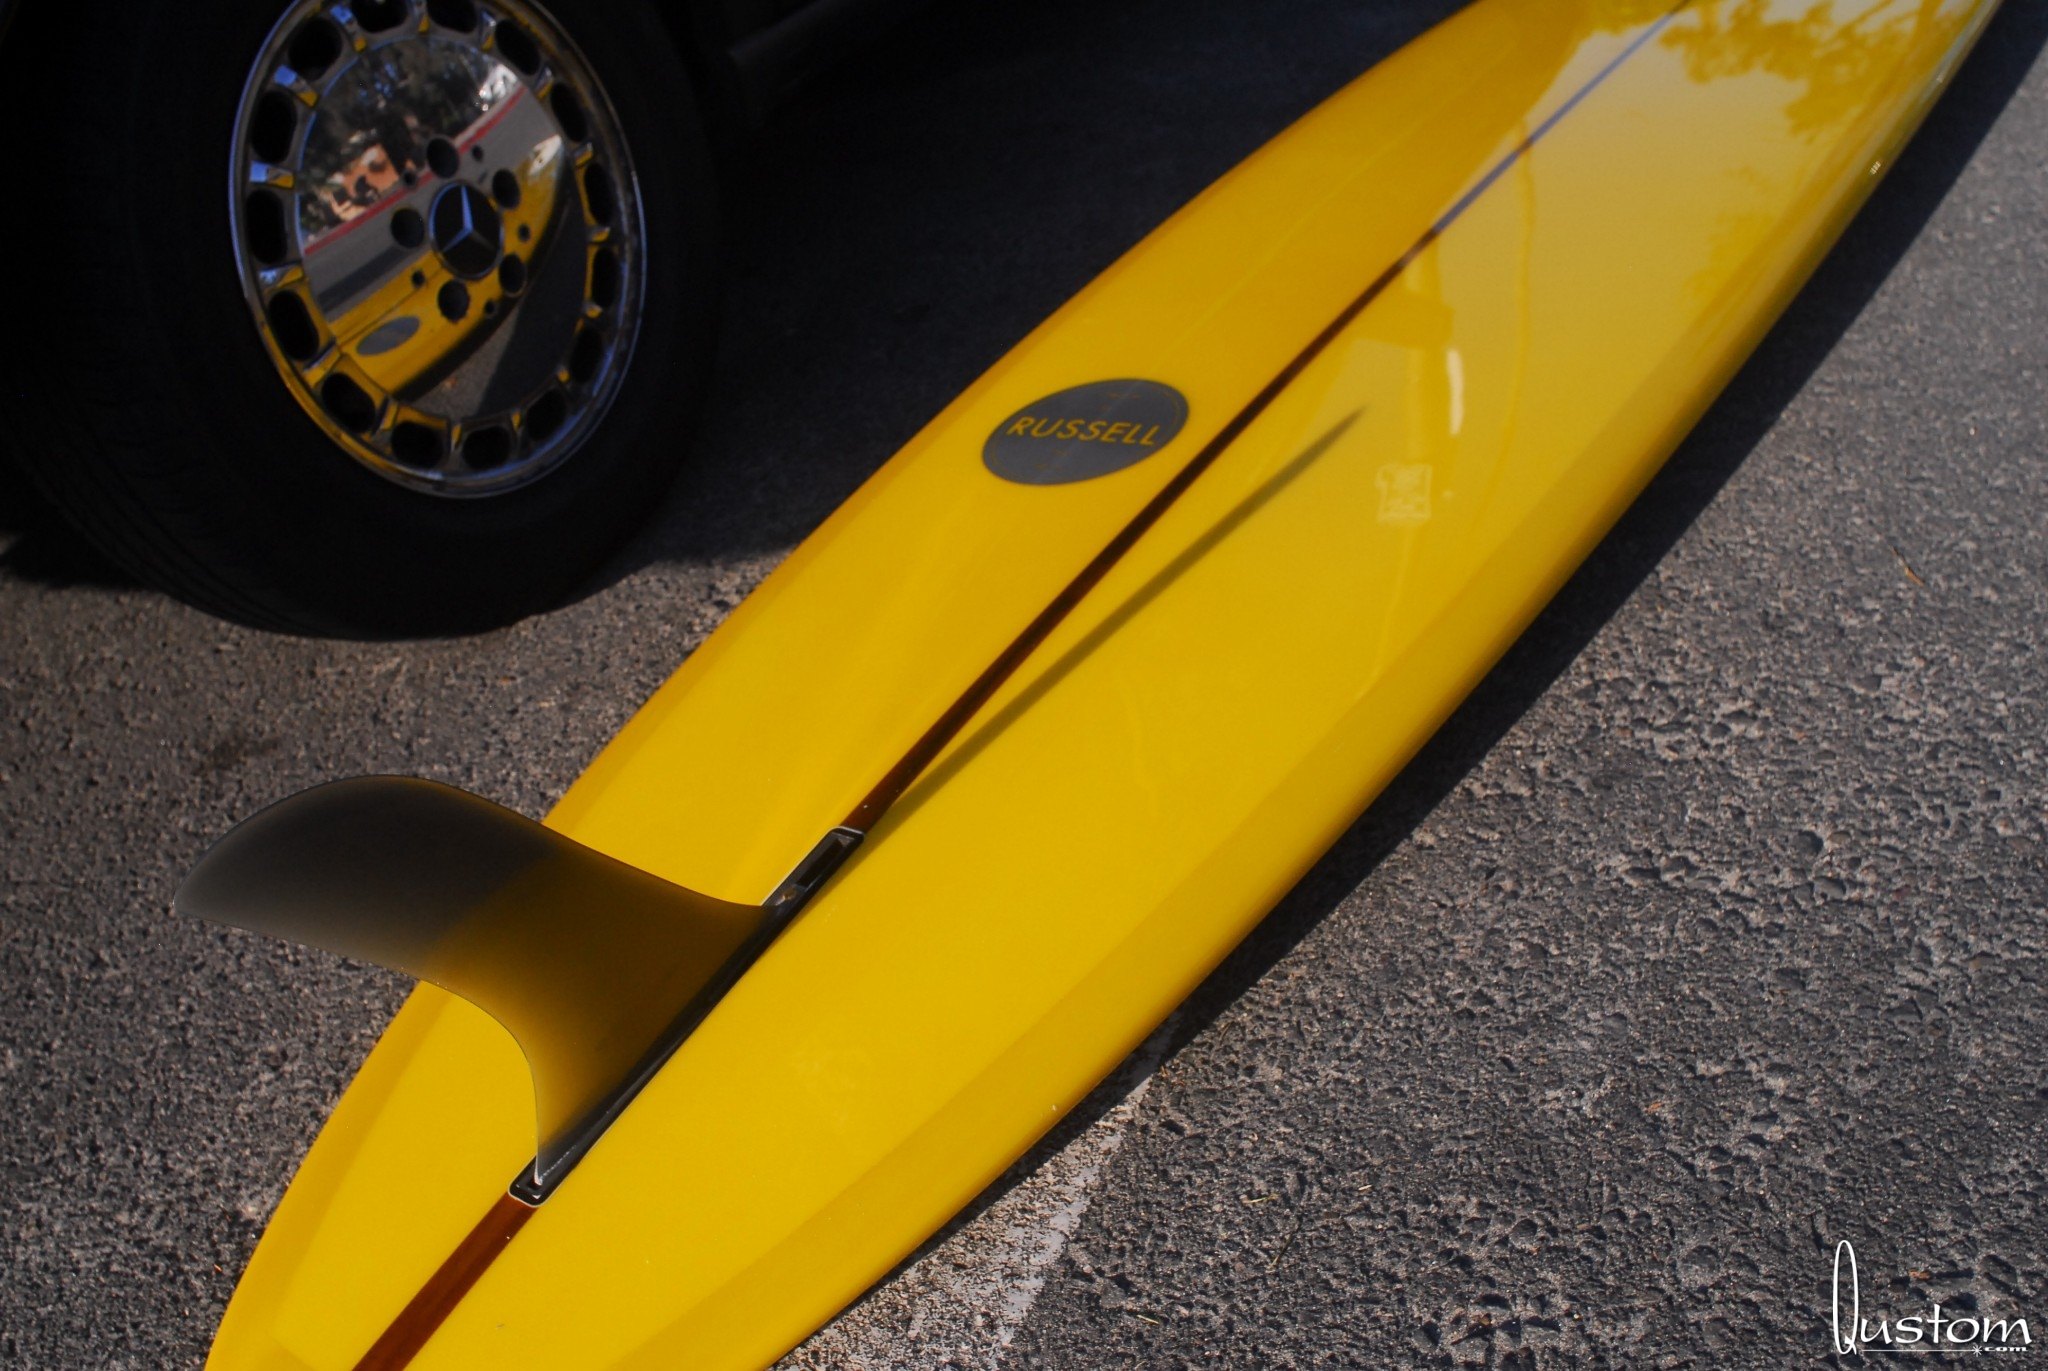

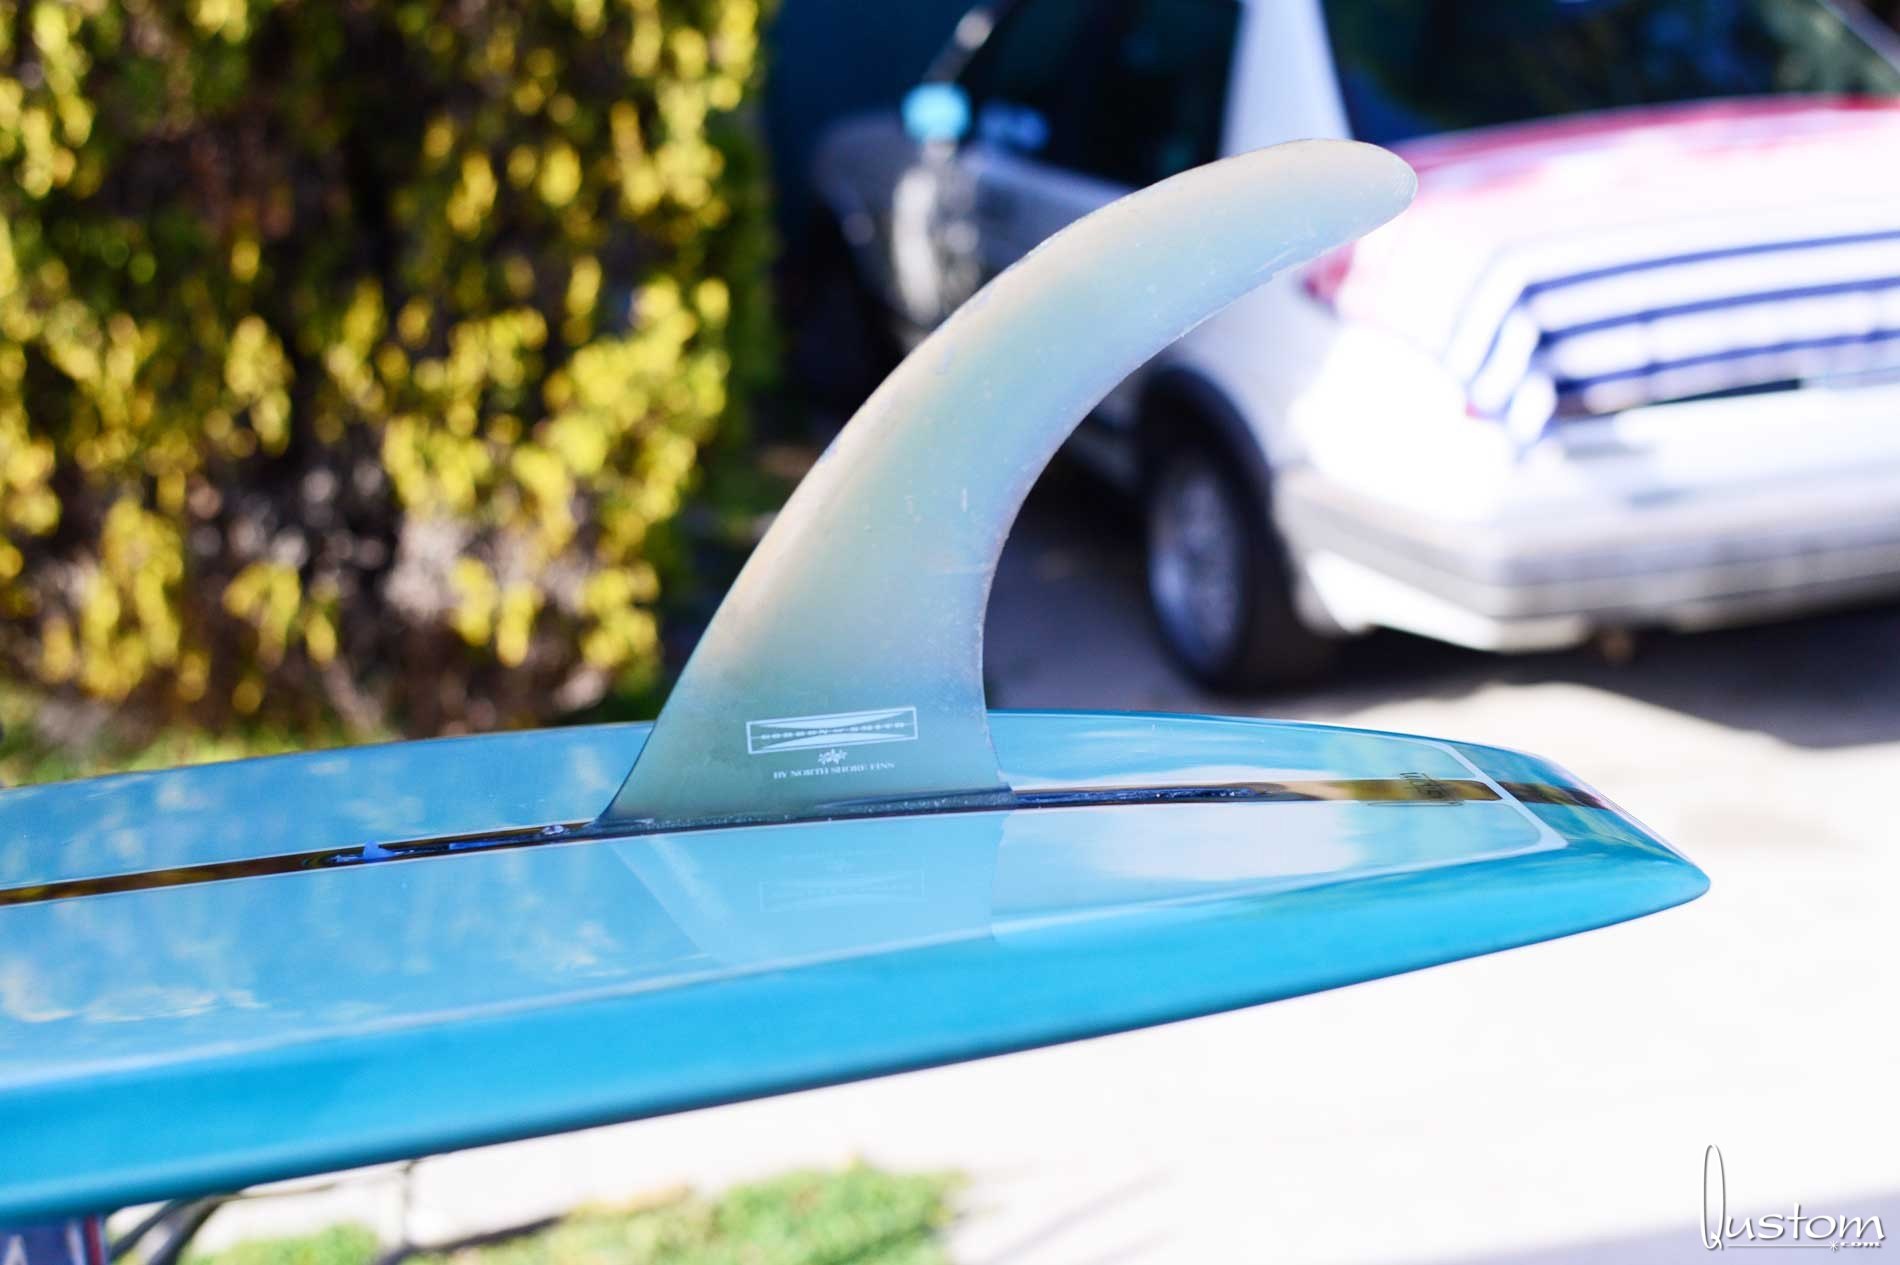
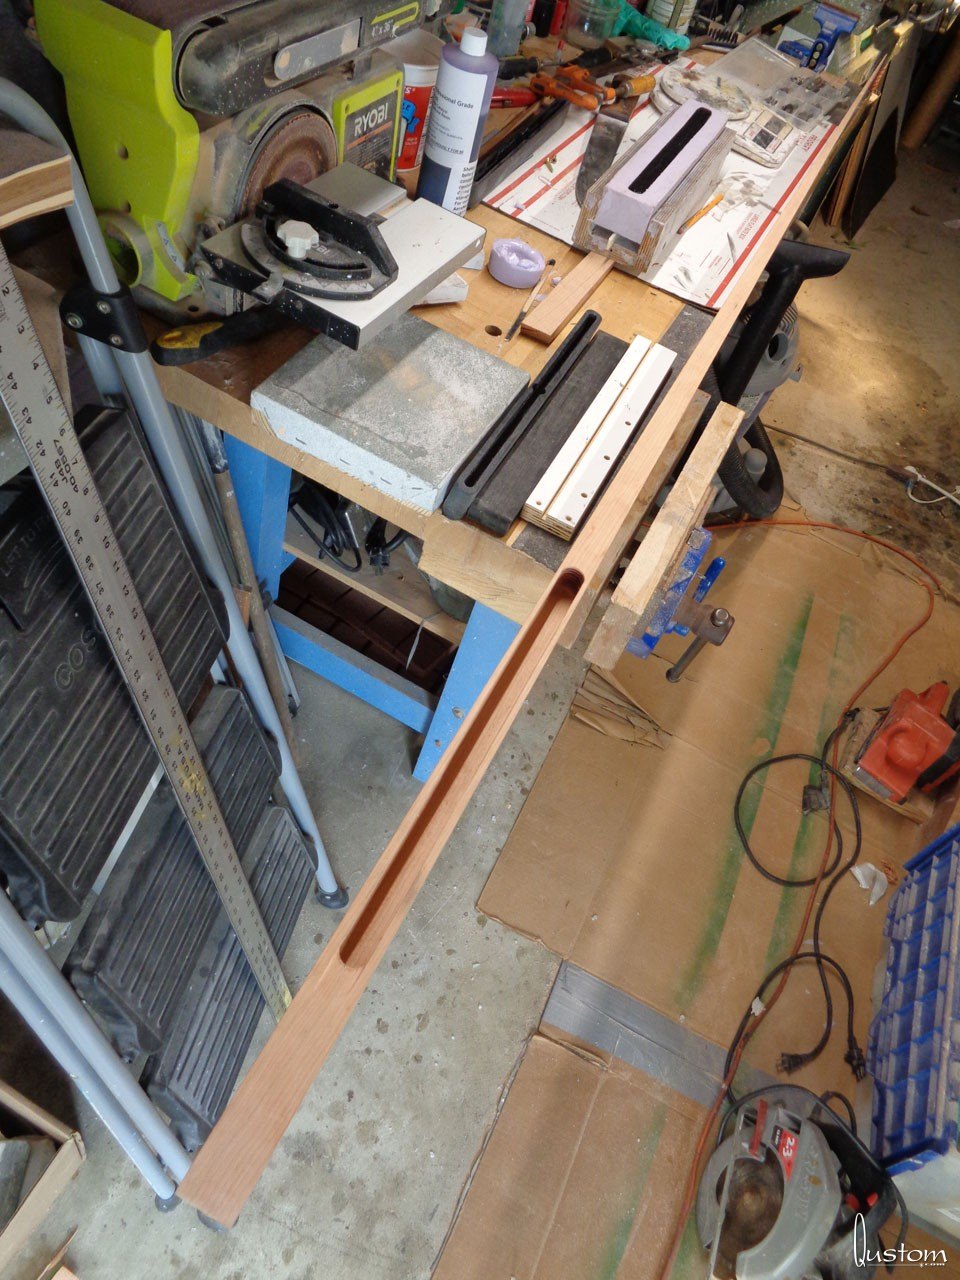
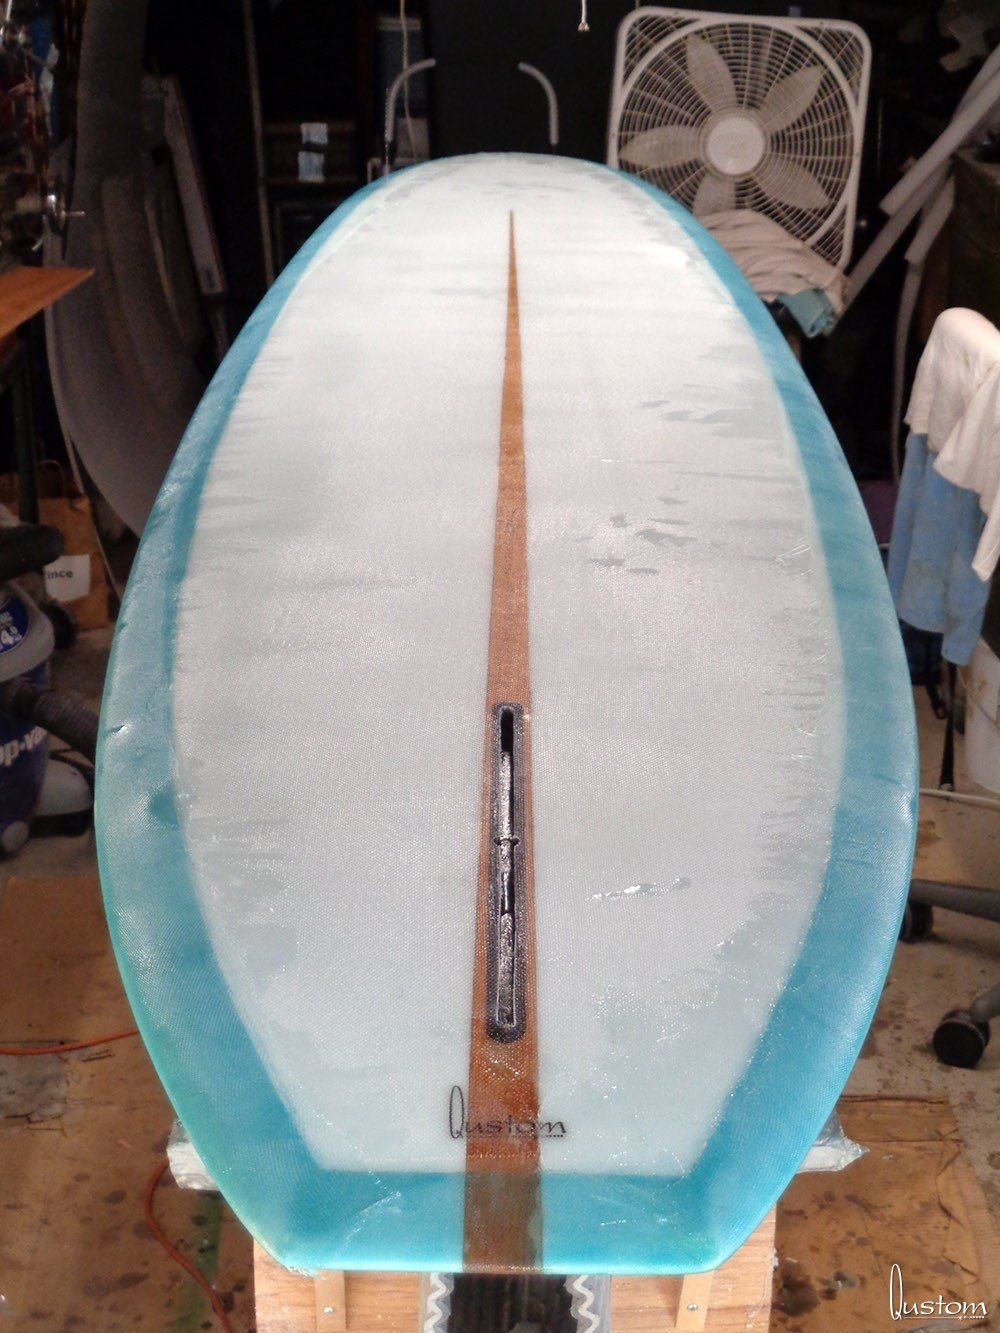
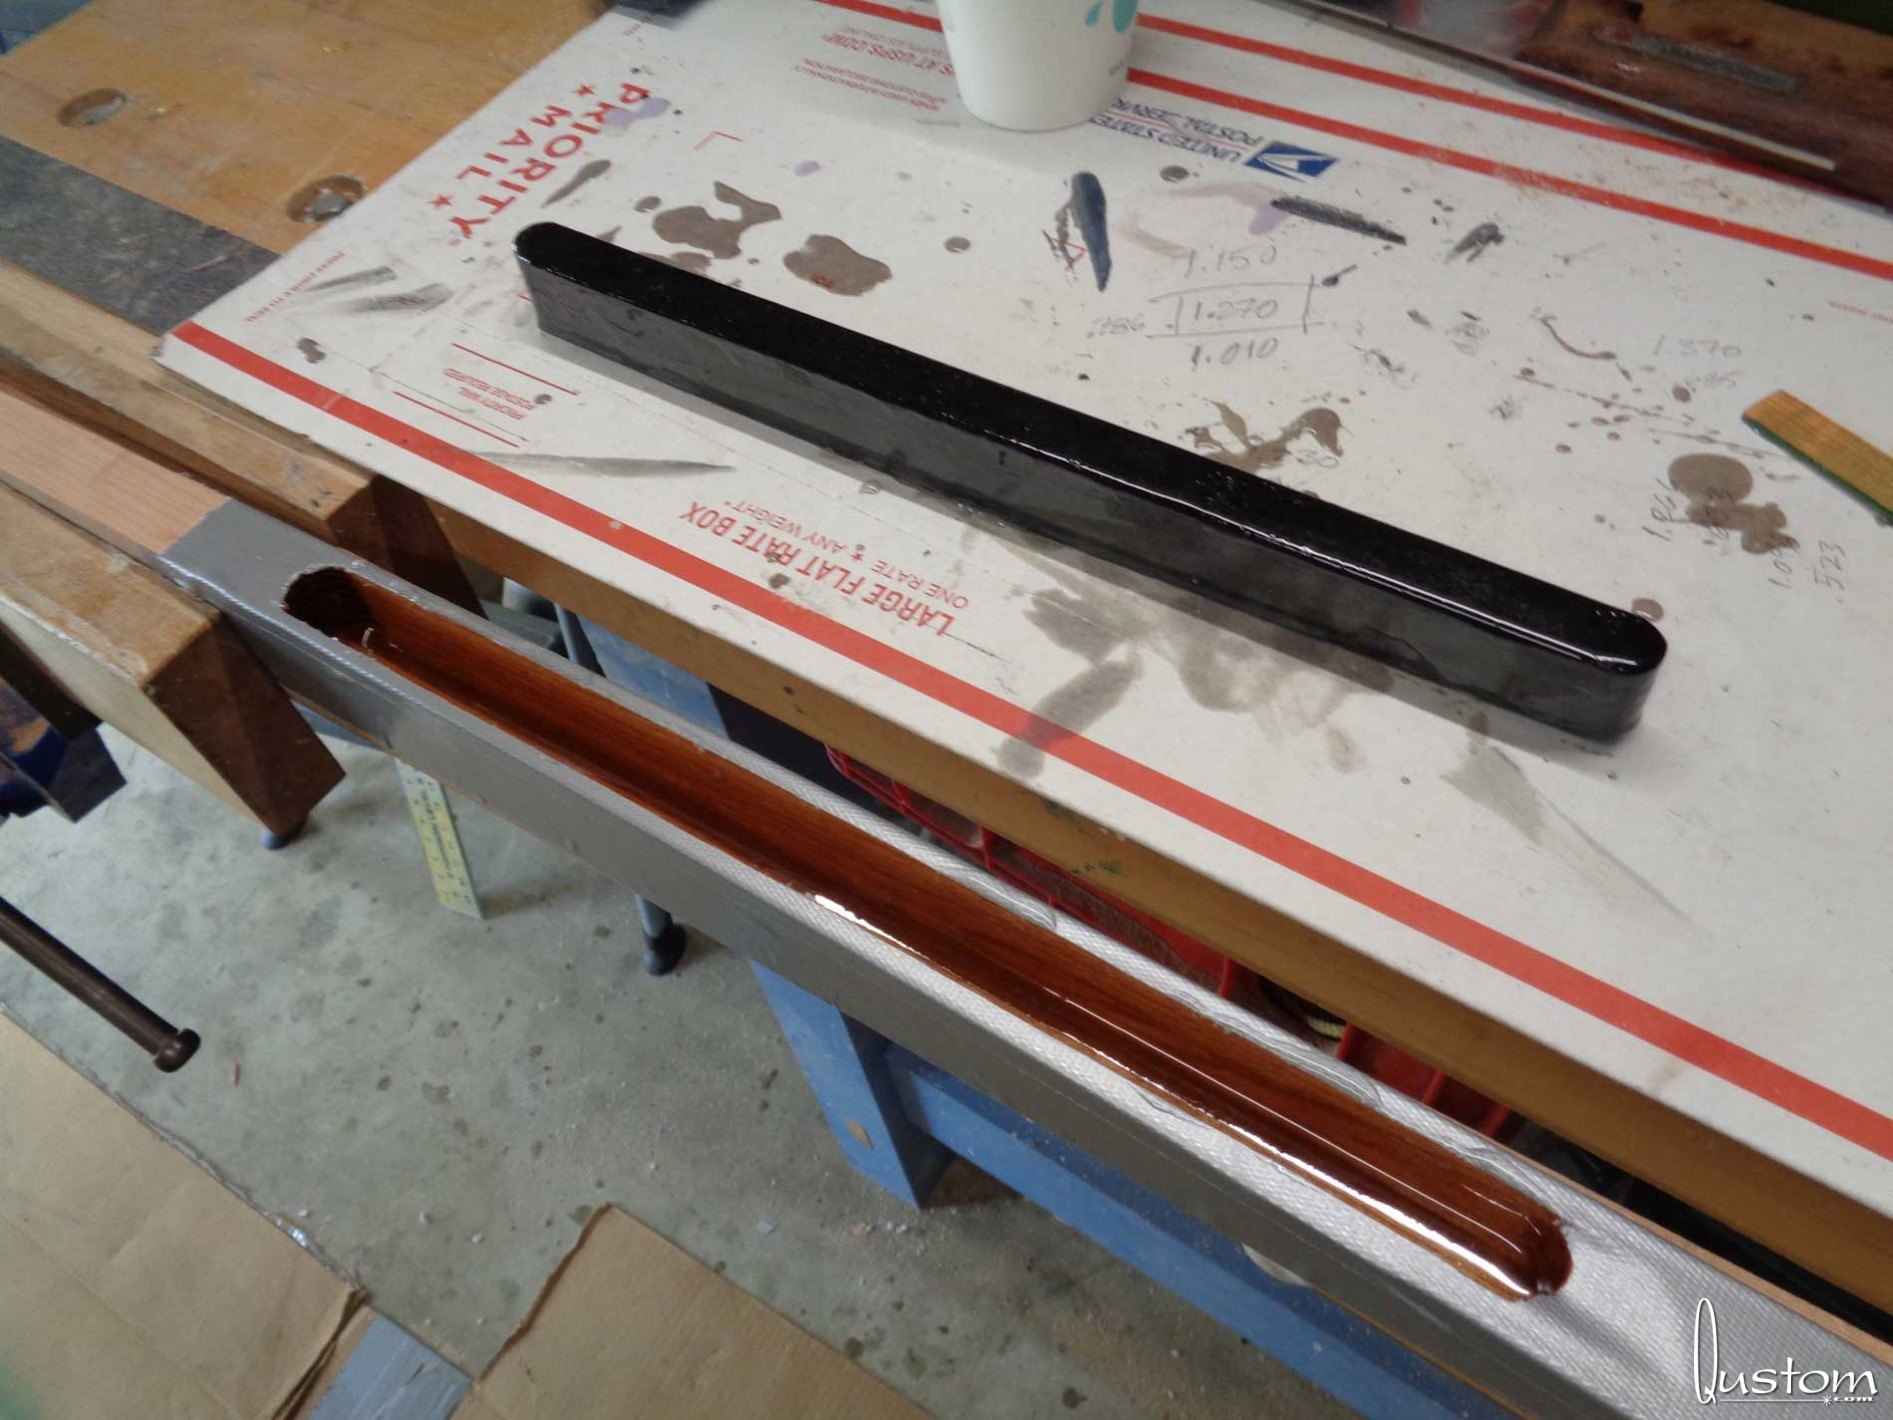
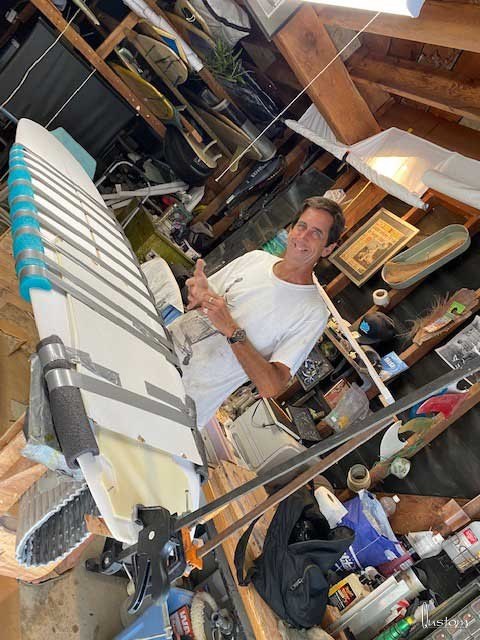
The stringer was a joint project between myself and my good friend Shawn "Chuk" Woolery of San Diego Sash Company. It's cherry wood I sourced from TH&H in Clairemont Mesa, and Chuk helped me rough it out at his shop. Ripping a 6" deep cut on a diagonal down an 8' long board is not for the faint of heart, but Chuk's mastery with large equipment made it all happen. He wouldn't be entrusted by the likes of the Hotel Del Coronado if he didn't know what he was doing.
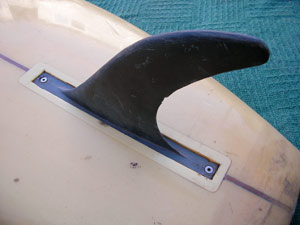
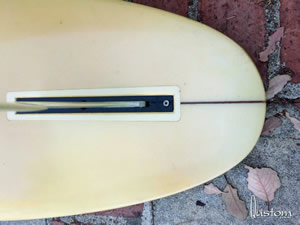
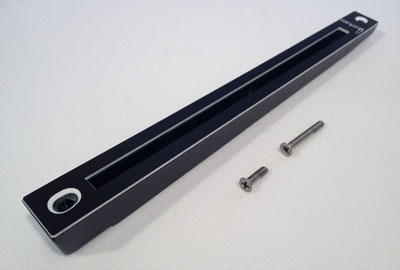
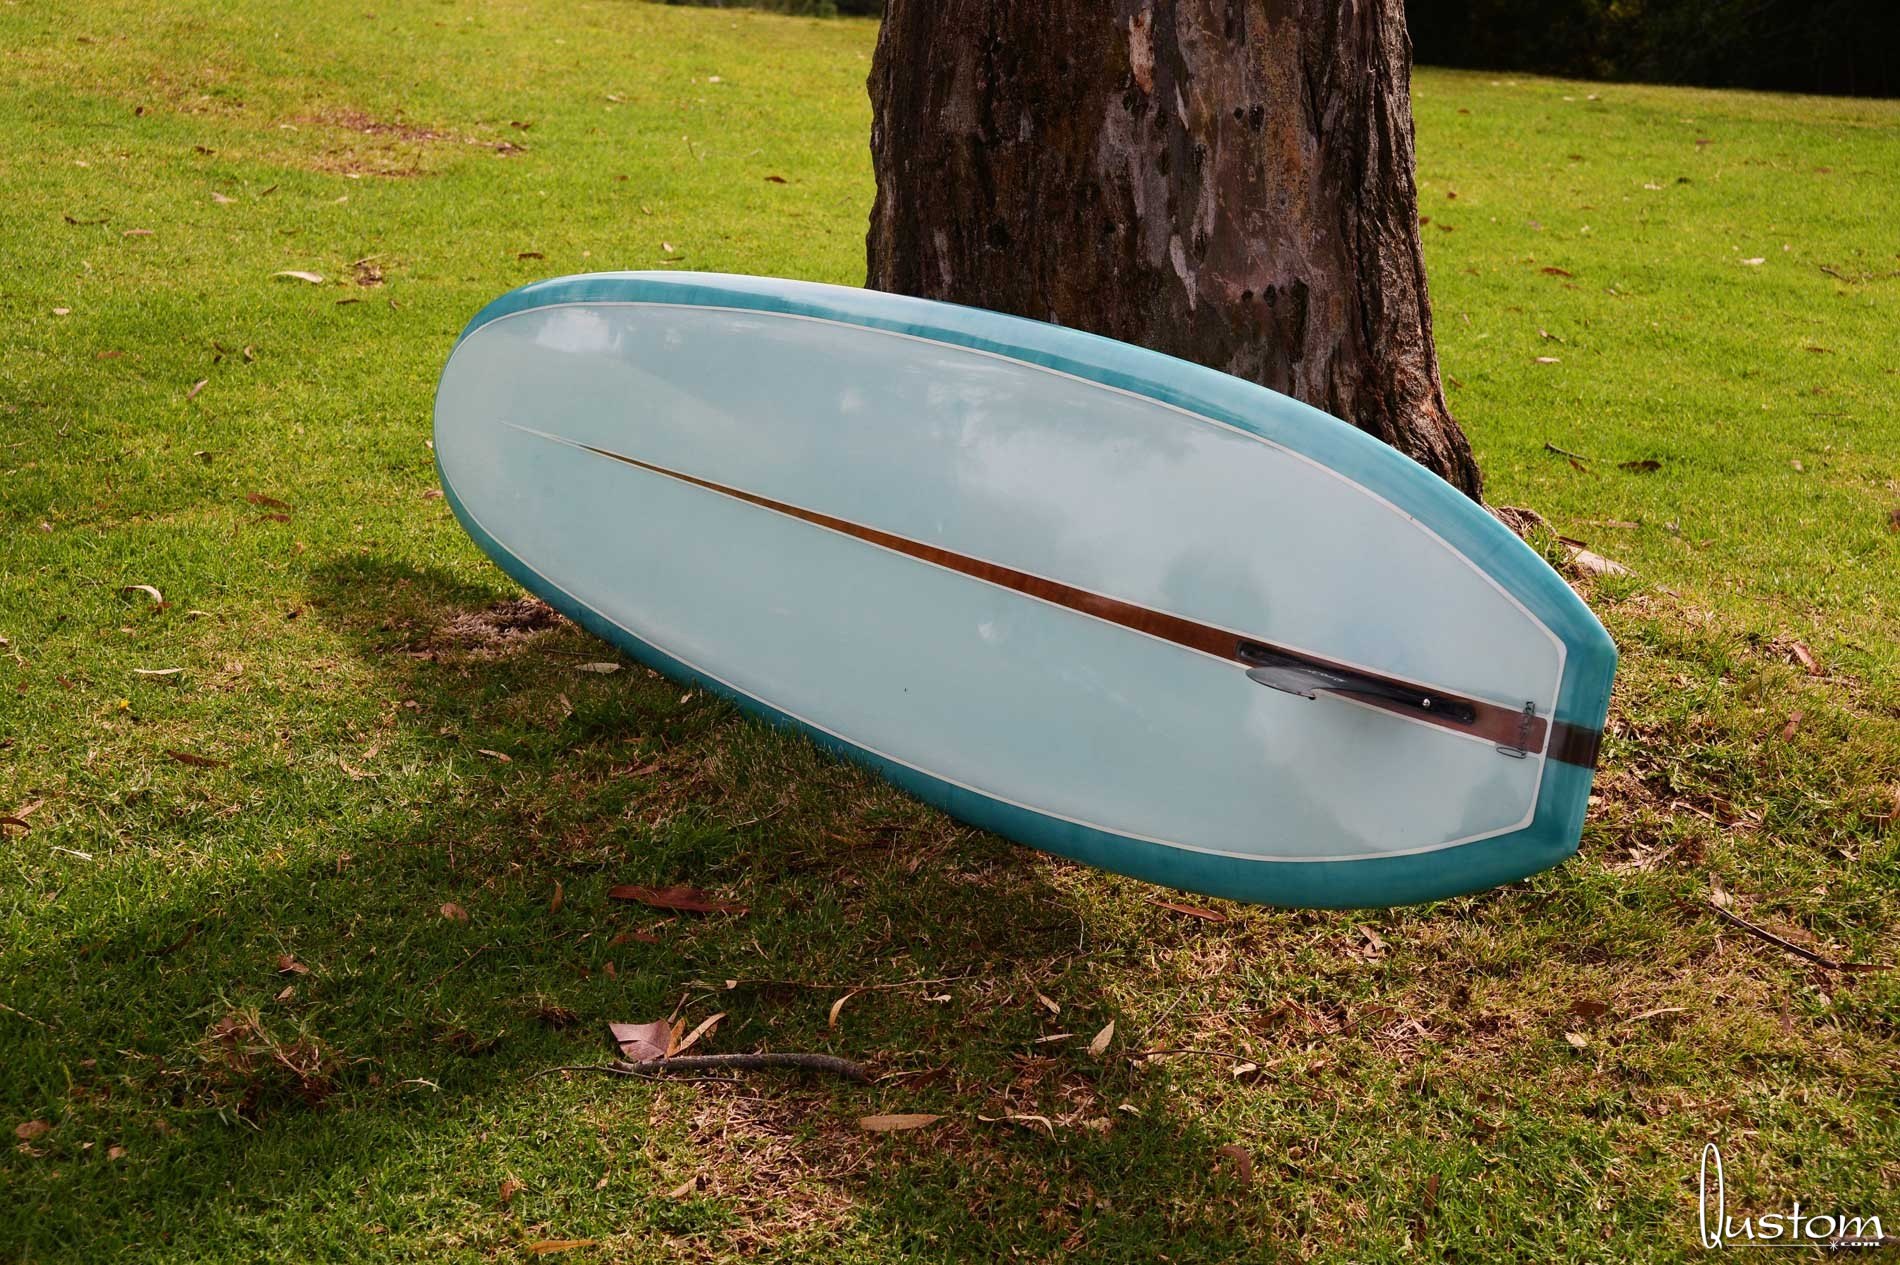
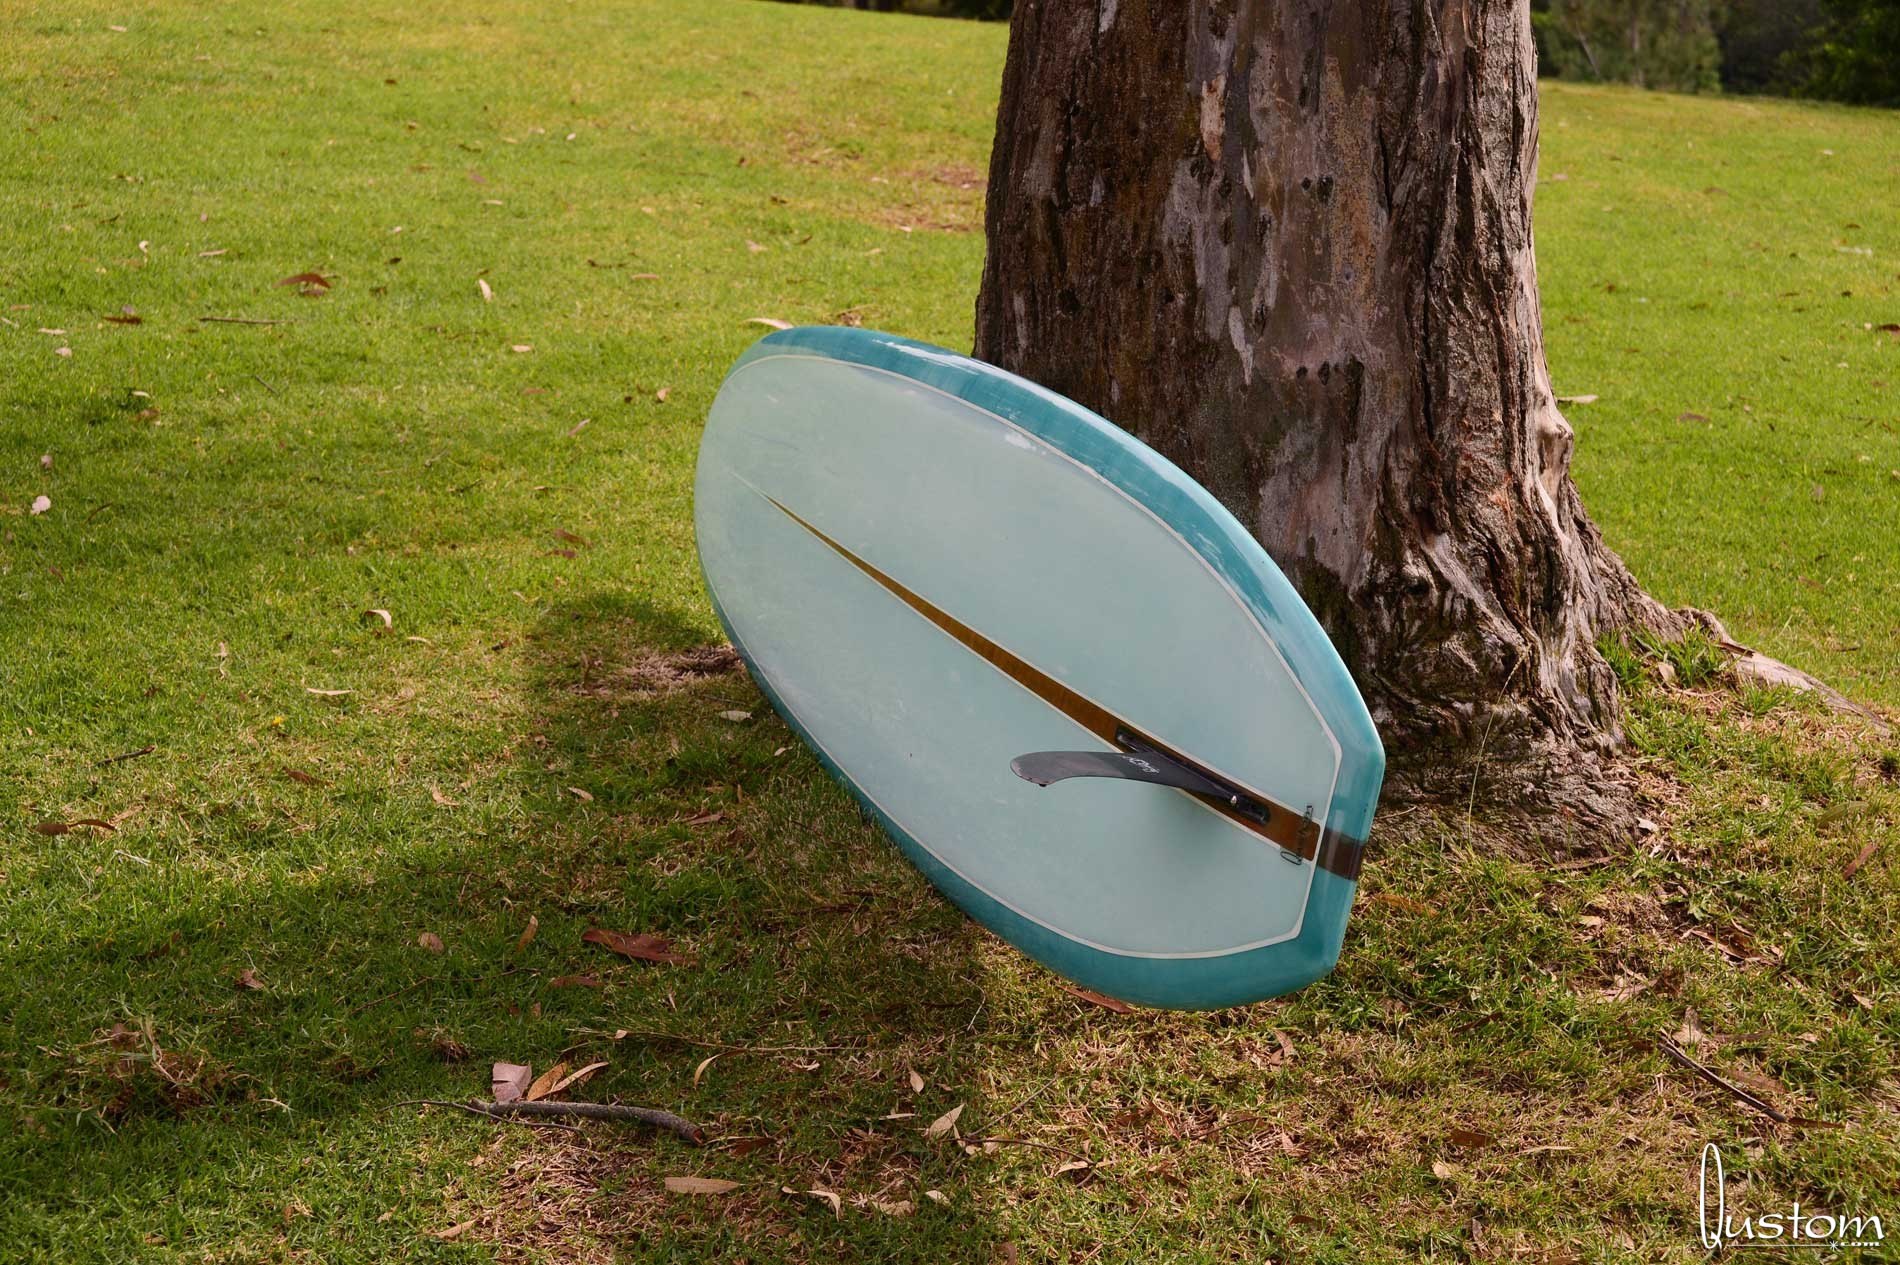
From there I finished the basic shape of the stringer in my little workshop, milled in a slot for the fin box, and chambered it for about 2' forward of the box to get the weight down to about 2 lbs. The custom 13" fin box is my own design, cast in plastic to fit the dimensions of the stringer. I epoxied it into place before the stringer went into the board.
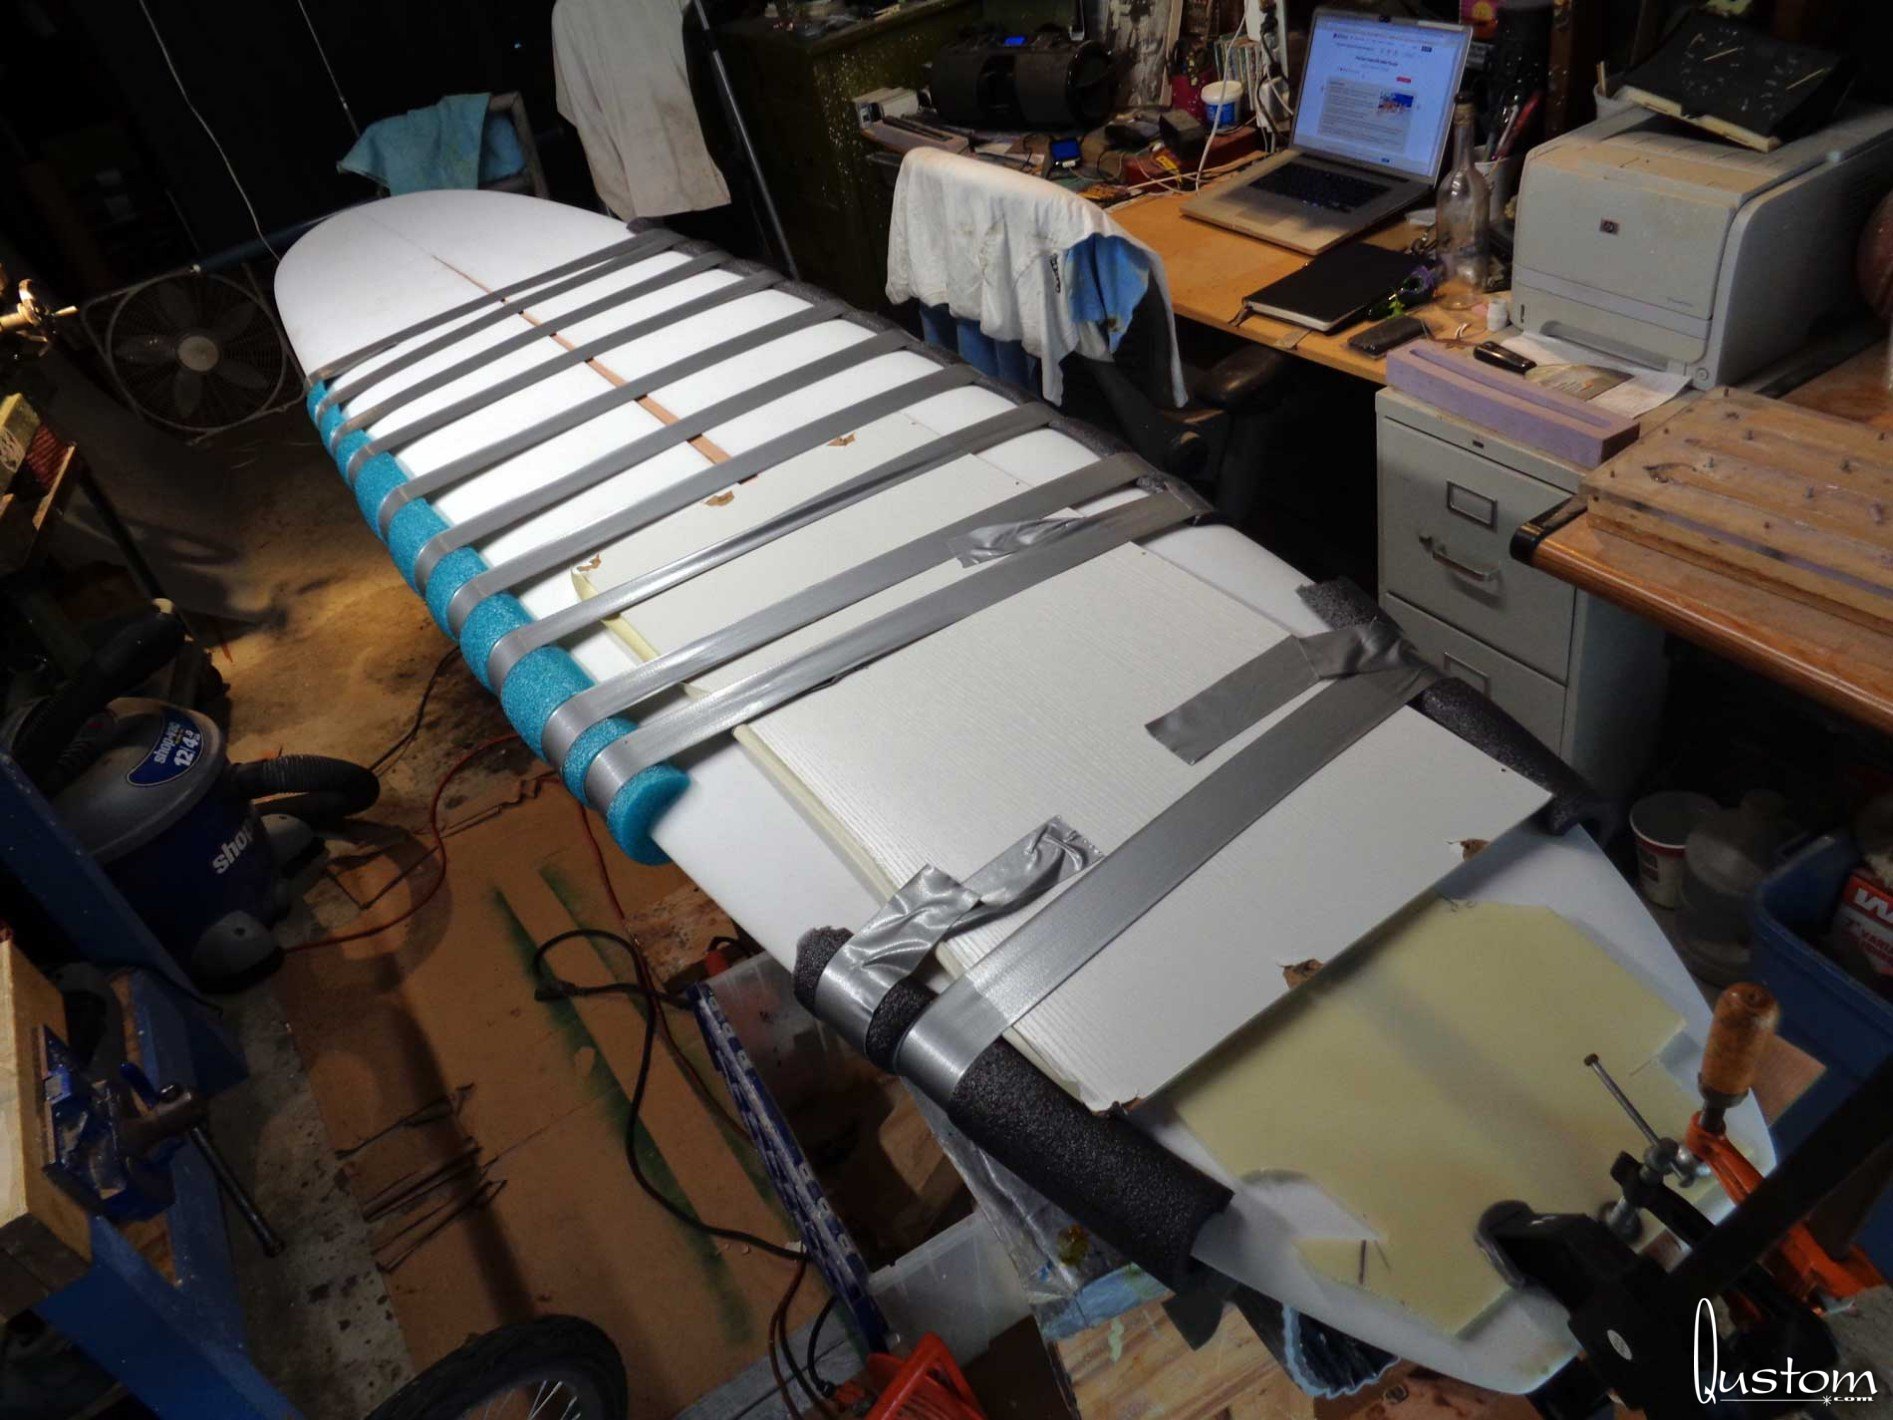
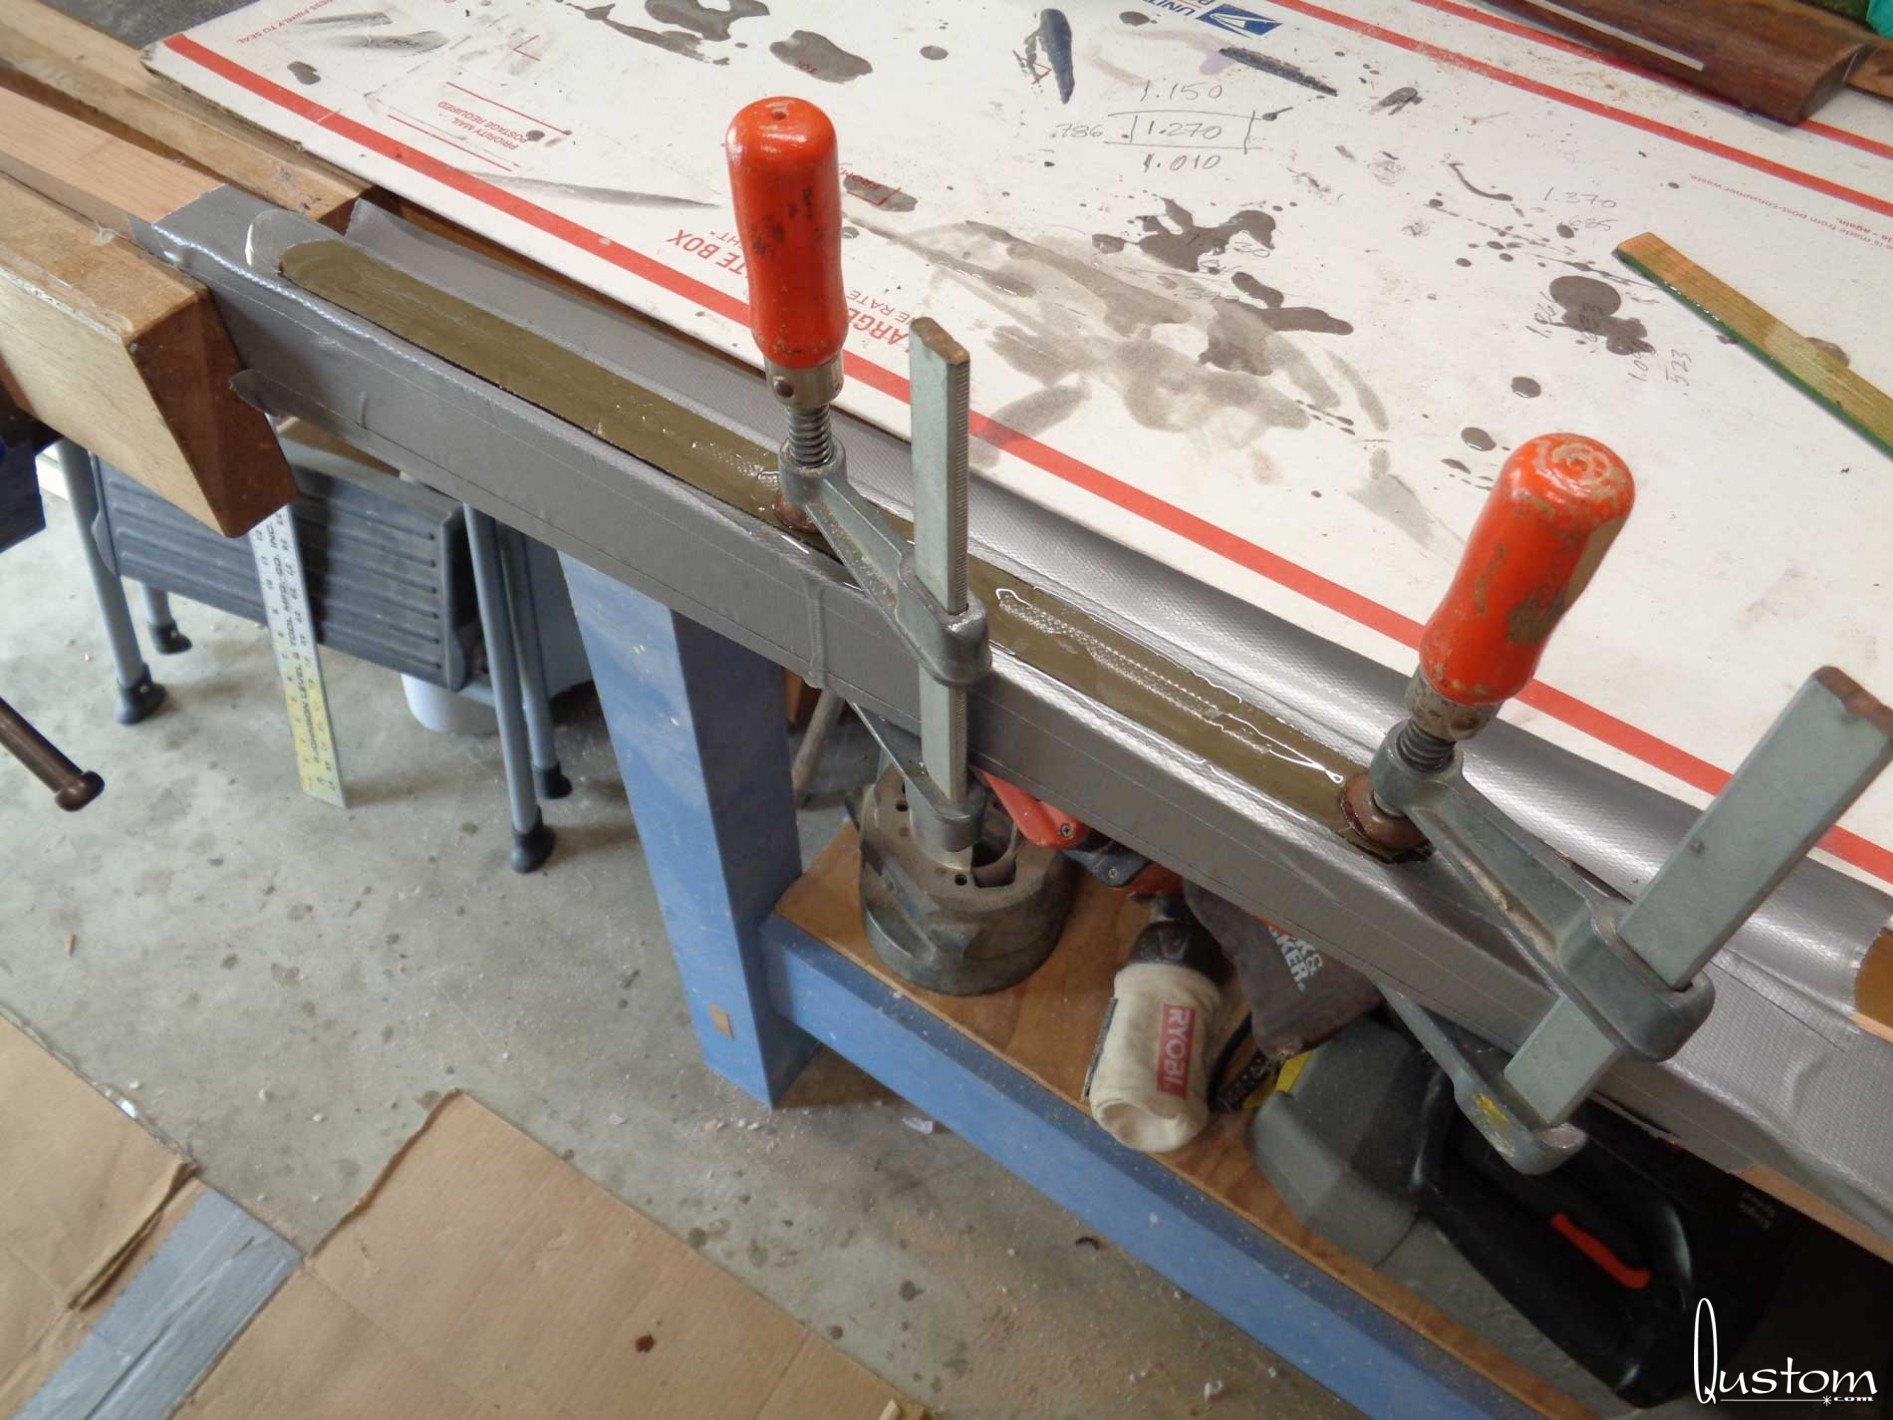
When it came time to glue up the stringer into the blank, I had a decision to make. Standard operating procedure according to some knowlegable people on Jamboards is to make a simple straight cut down the center of the blank to the end point of the stringer, spread the blank apart, slide the stringer into place, and then finish the shape after gluing everything up.
But I had this idea that if I cut a wedge out in the approximate dimensions of the stringer, the resulting piece of foam that I removed would be a great template for getting the stringer that much closer to the finished shape before gluing it in. I also thought it would give me a good visual on the board's overalll deck and bottom contours, and seeing as this was only the third board ever shaped, I wanted to make sure I had as close to the shape I had envisioned as possible.
I was right on both accounts.
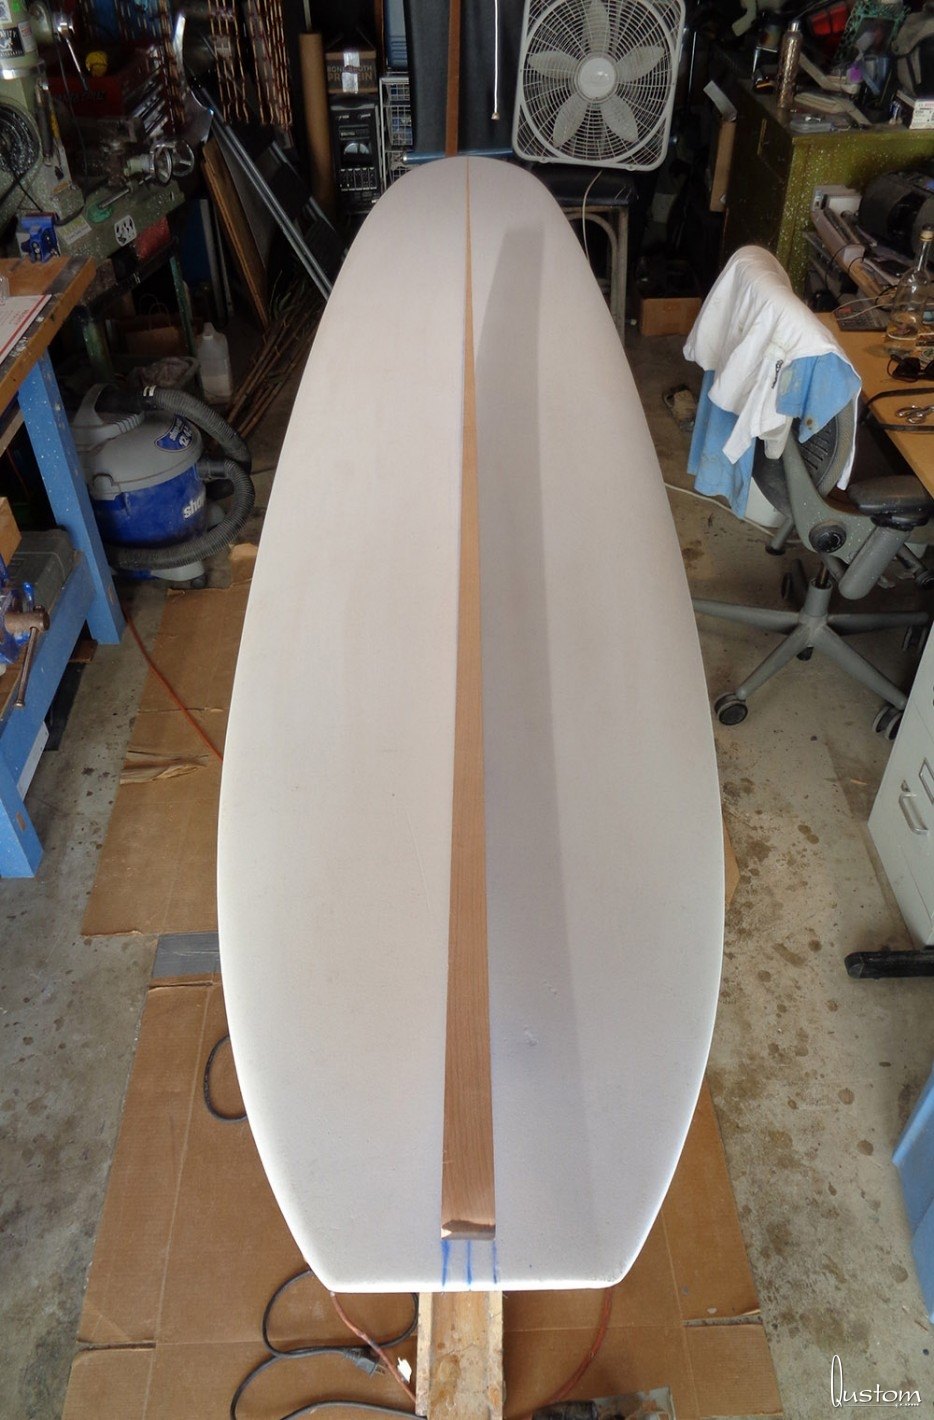
After more shaping of the stringer and the blank, I glued them up with WeldBond, and I have to say that stuff is the business!
My cuts on the other hand were not exactly perfect. Still, the WeldBond filled all the gaps and was easy to work with during the final shaping stages. I used hot water pipe foam to protect the rails and duct tape to hold it all together while it dried.
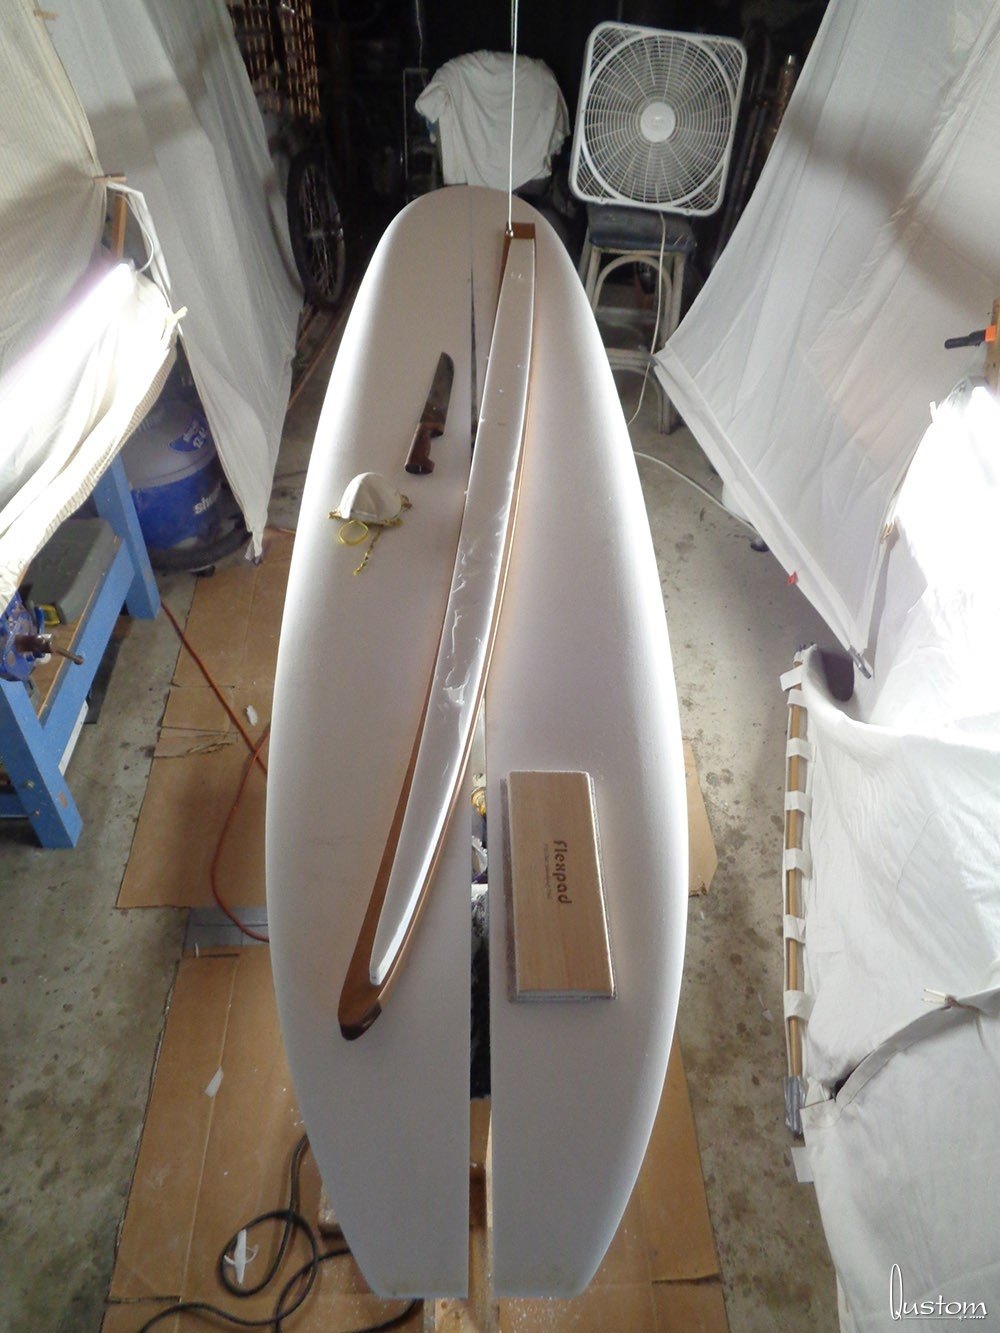

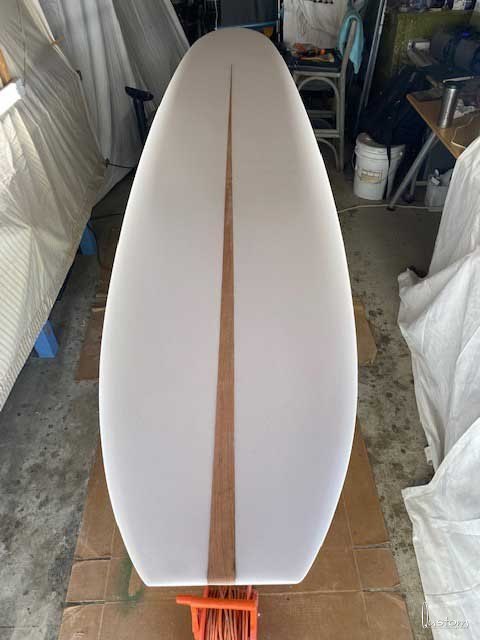
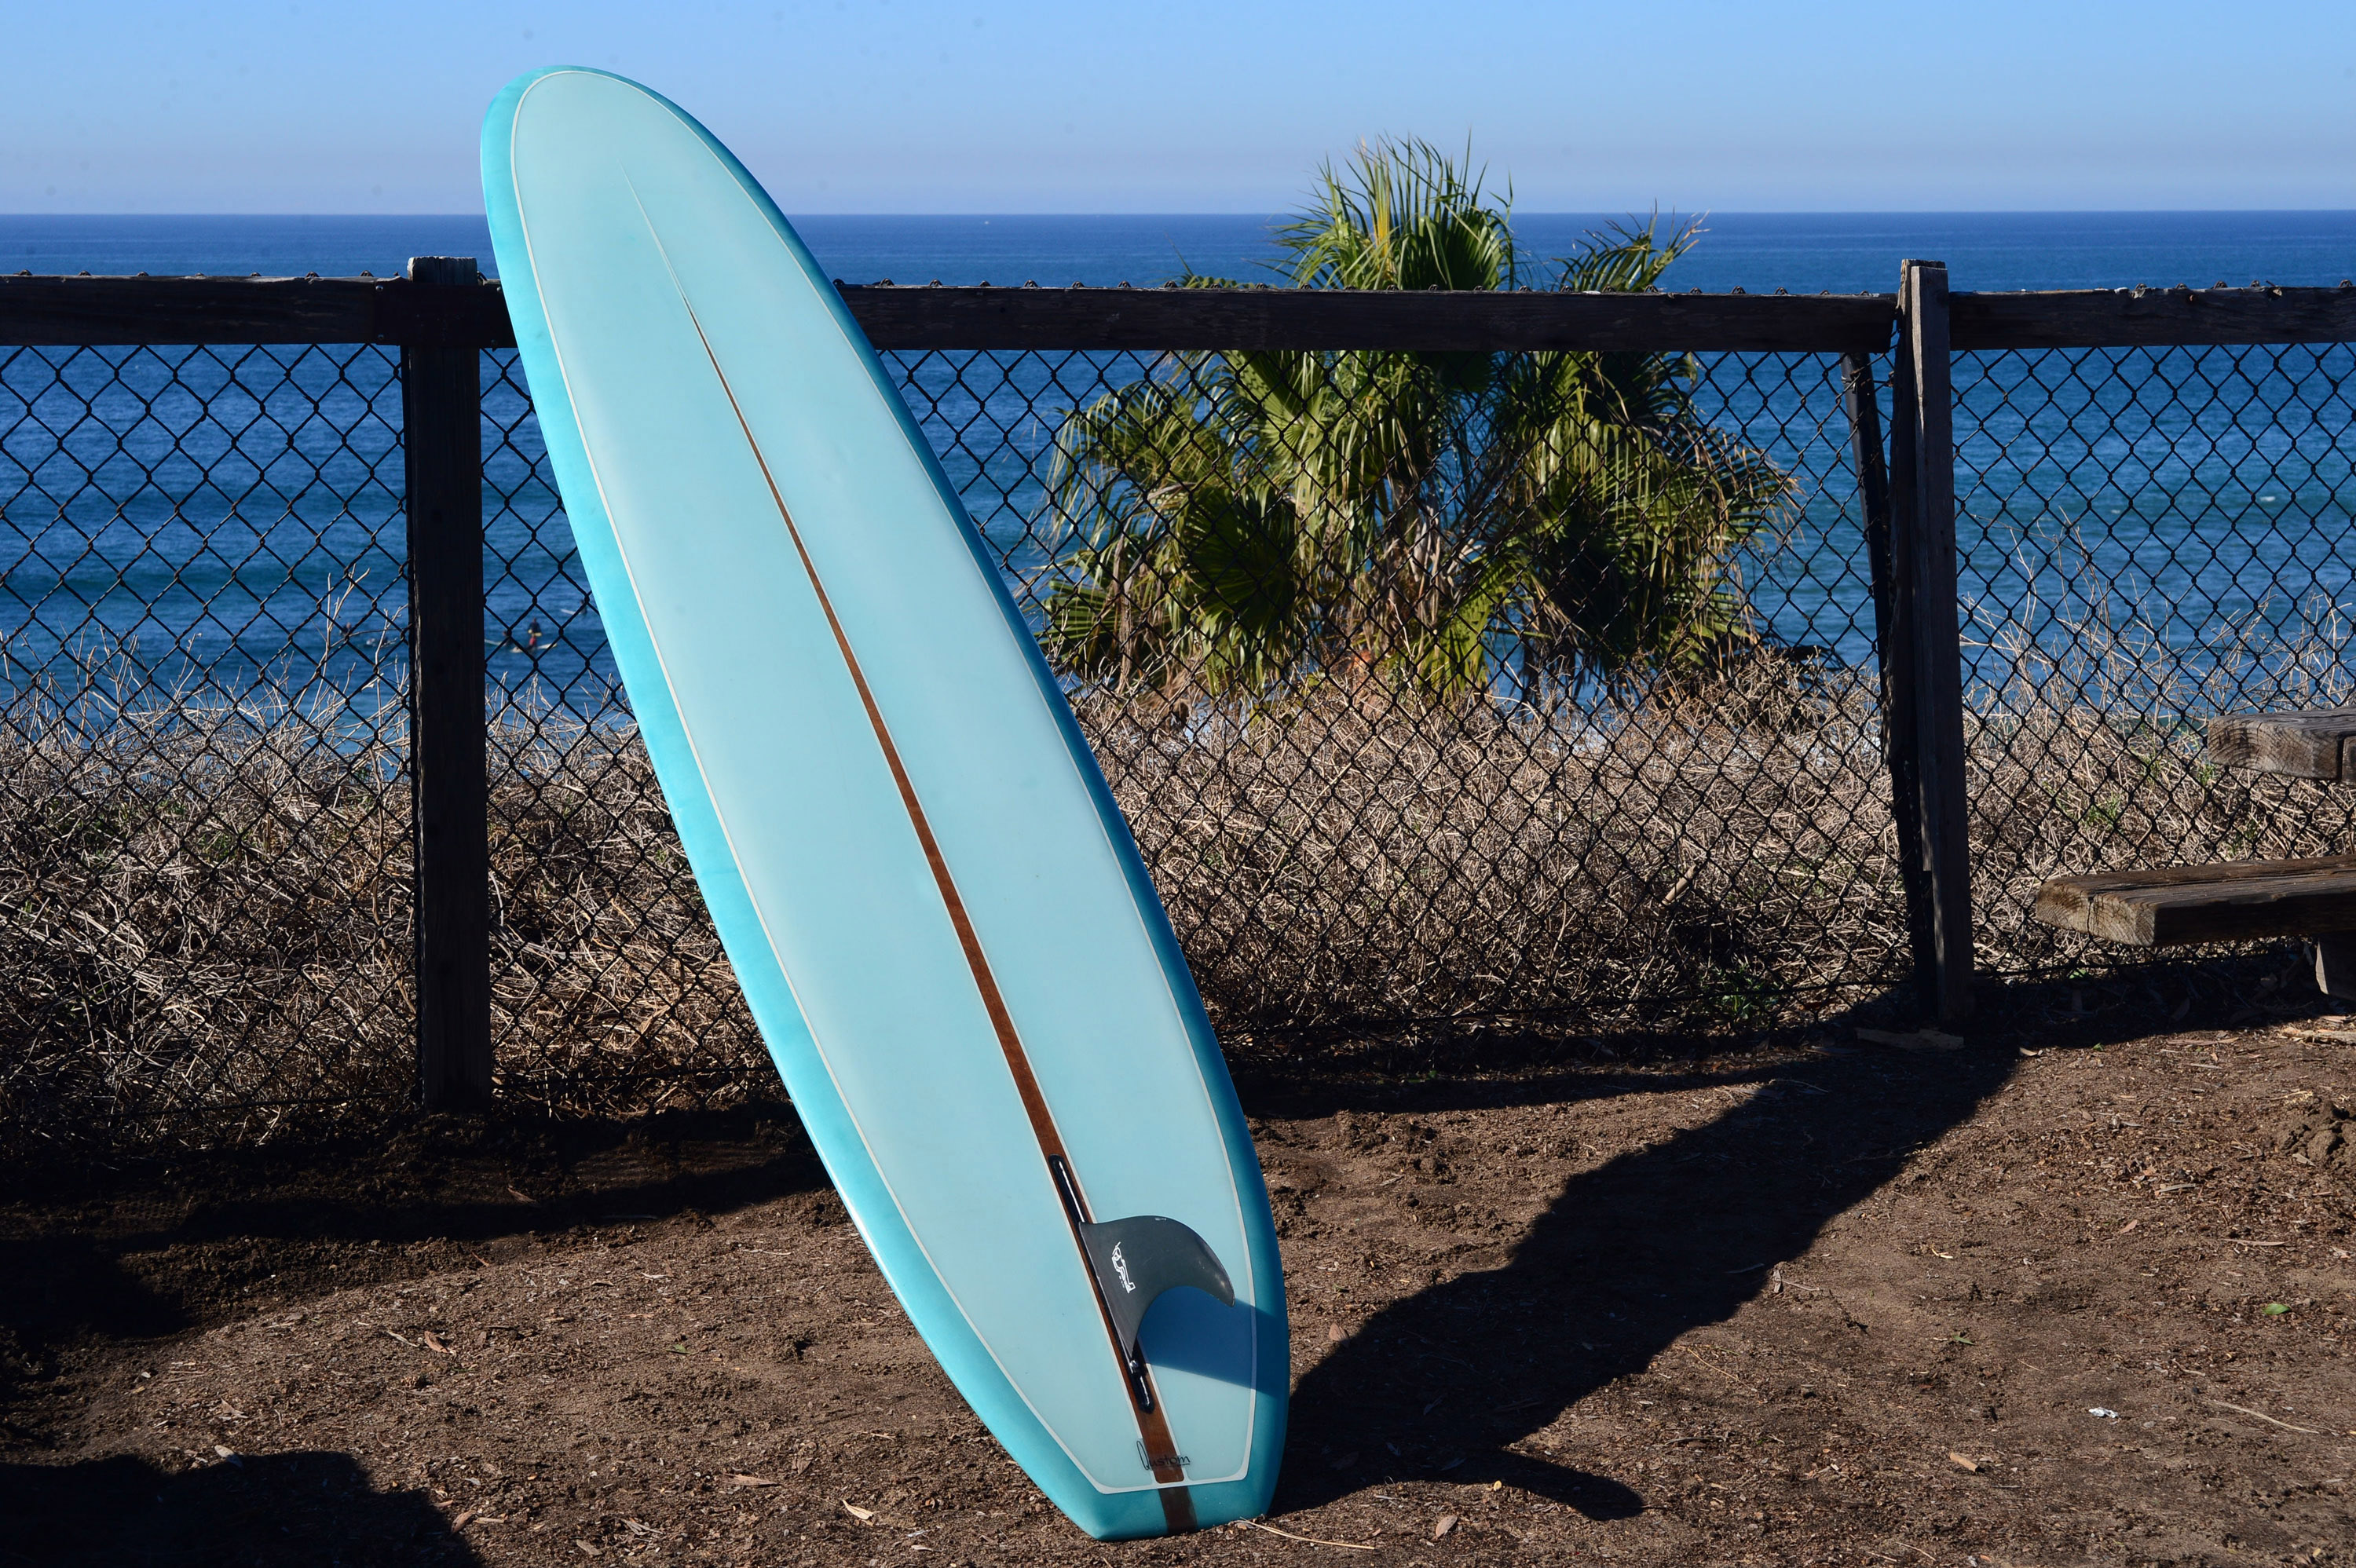
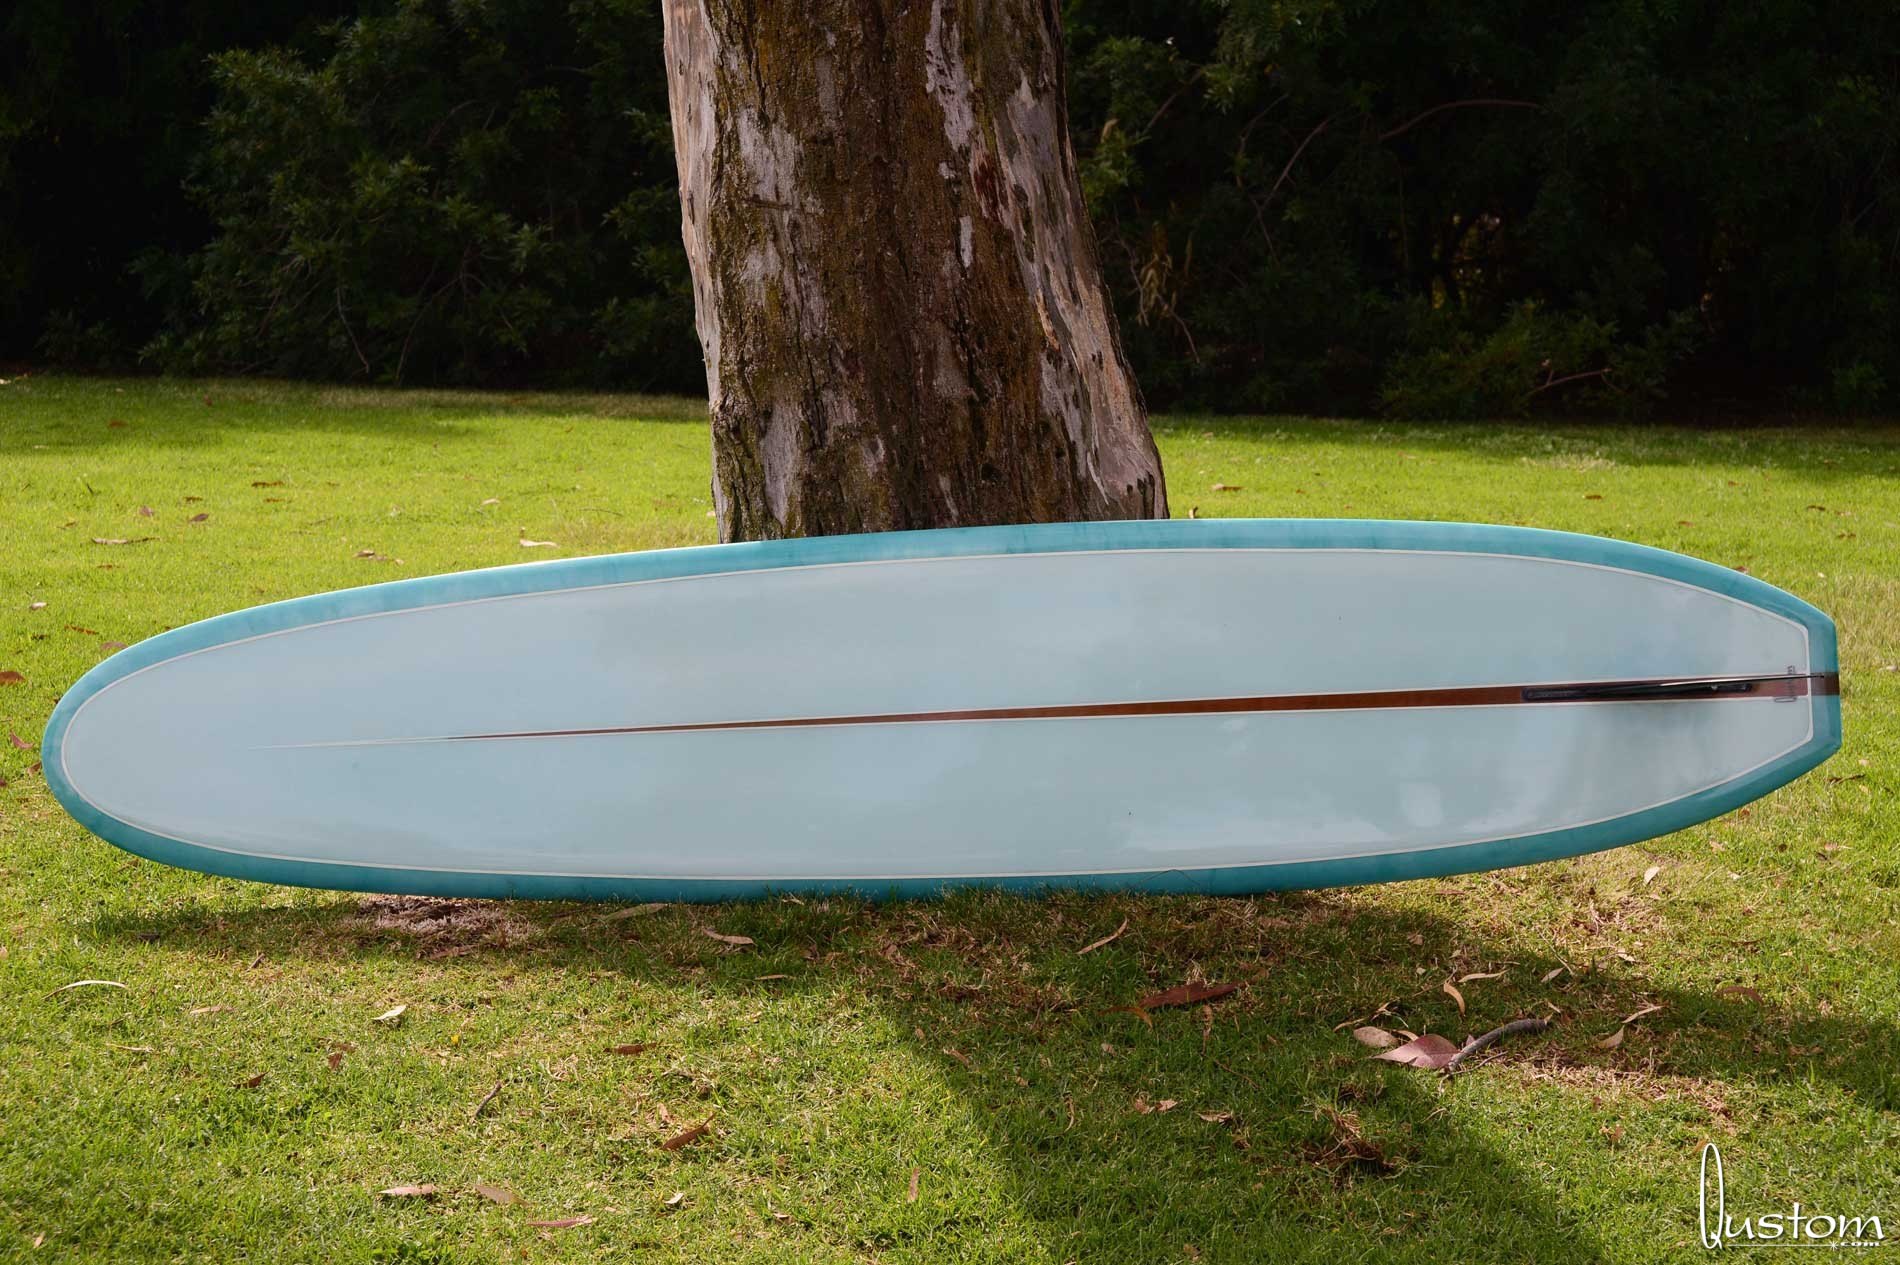
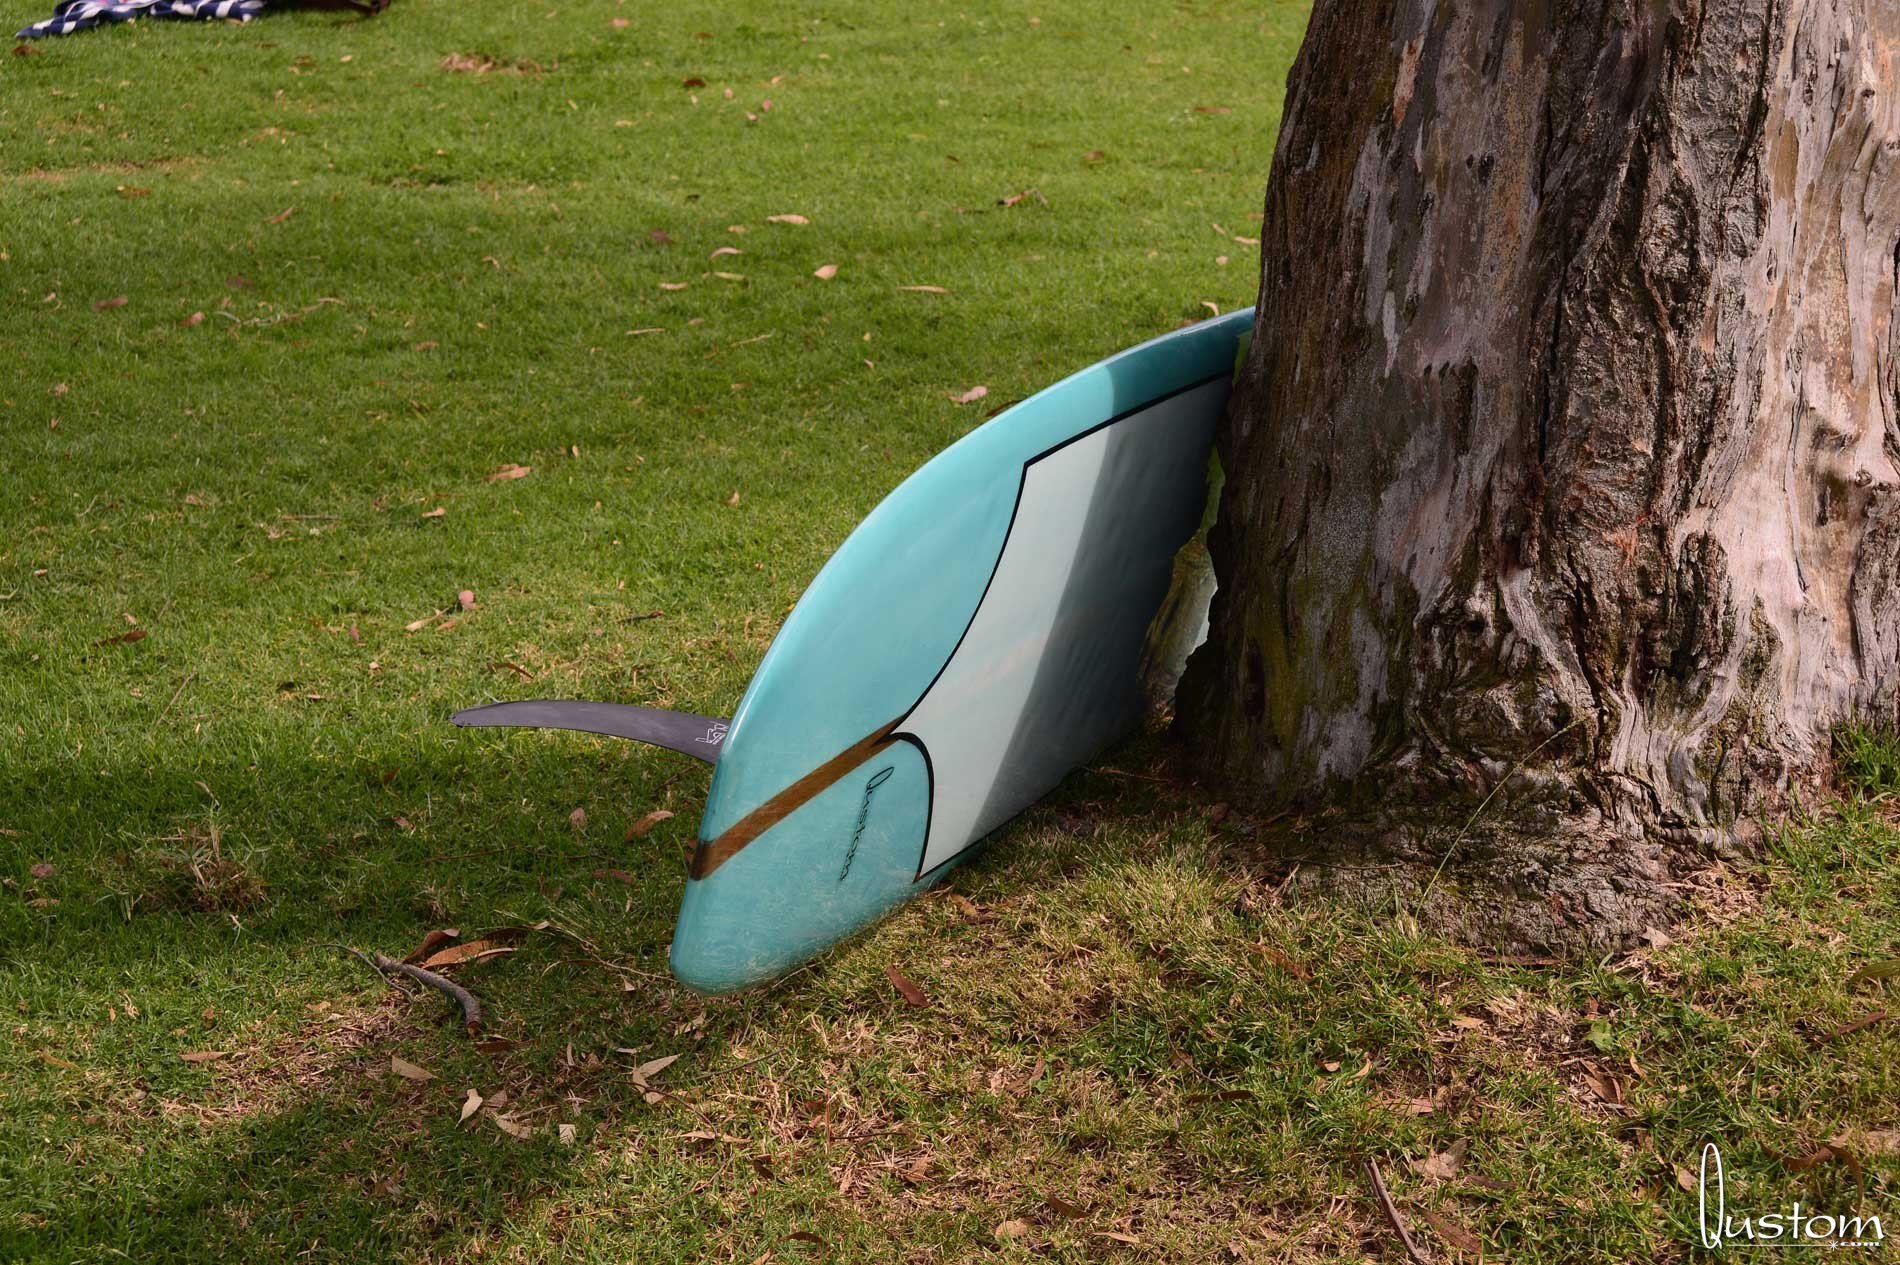
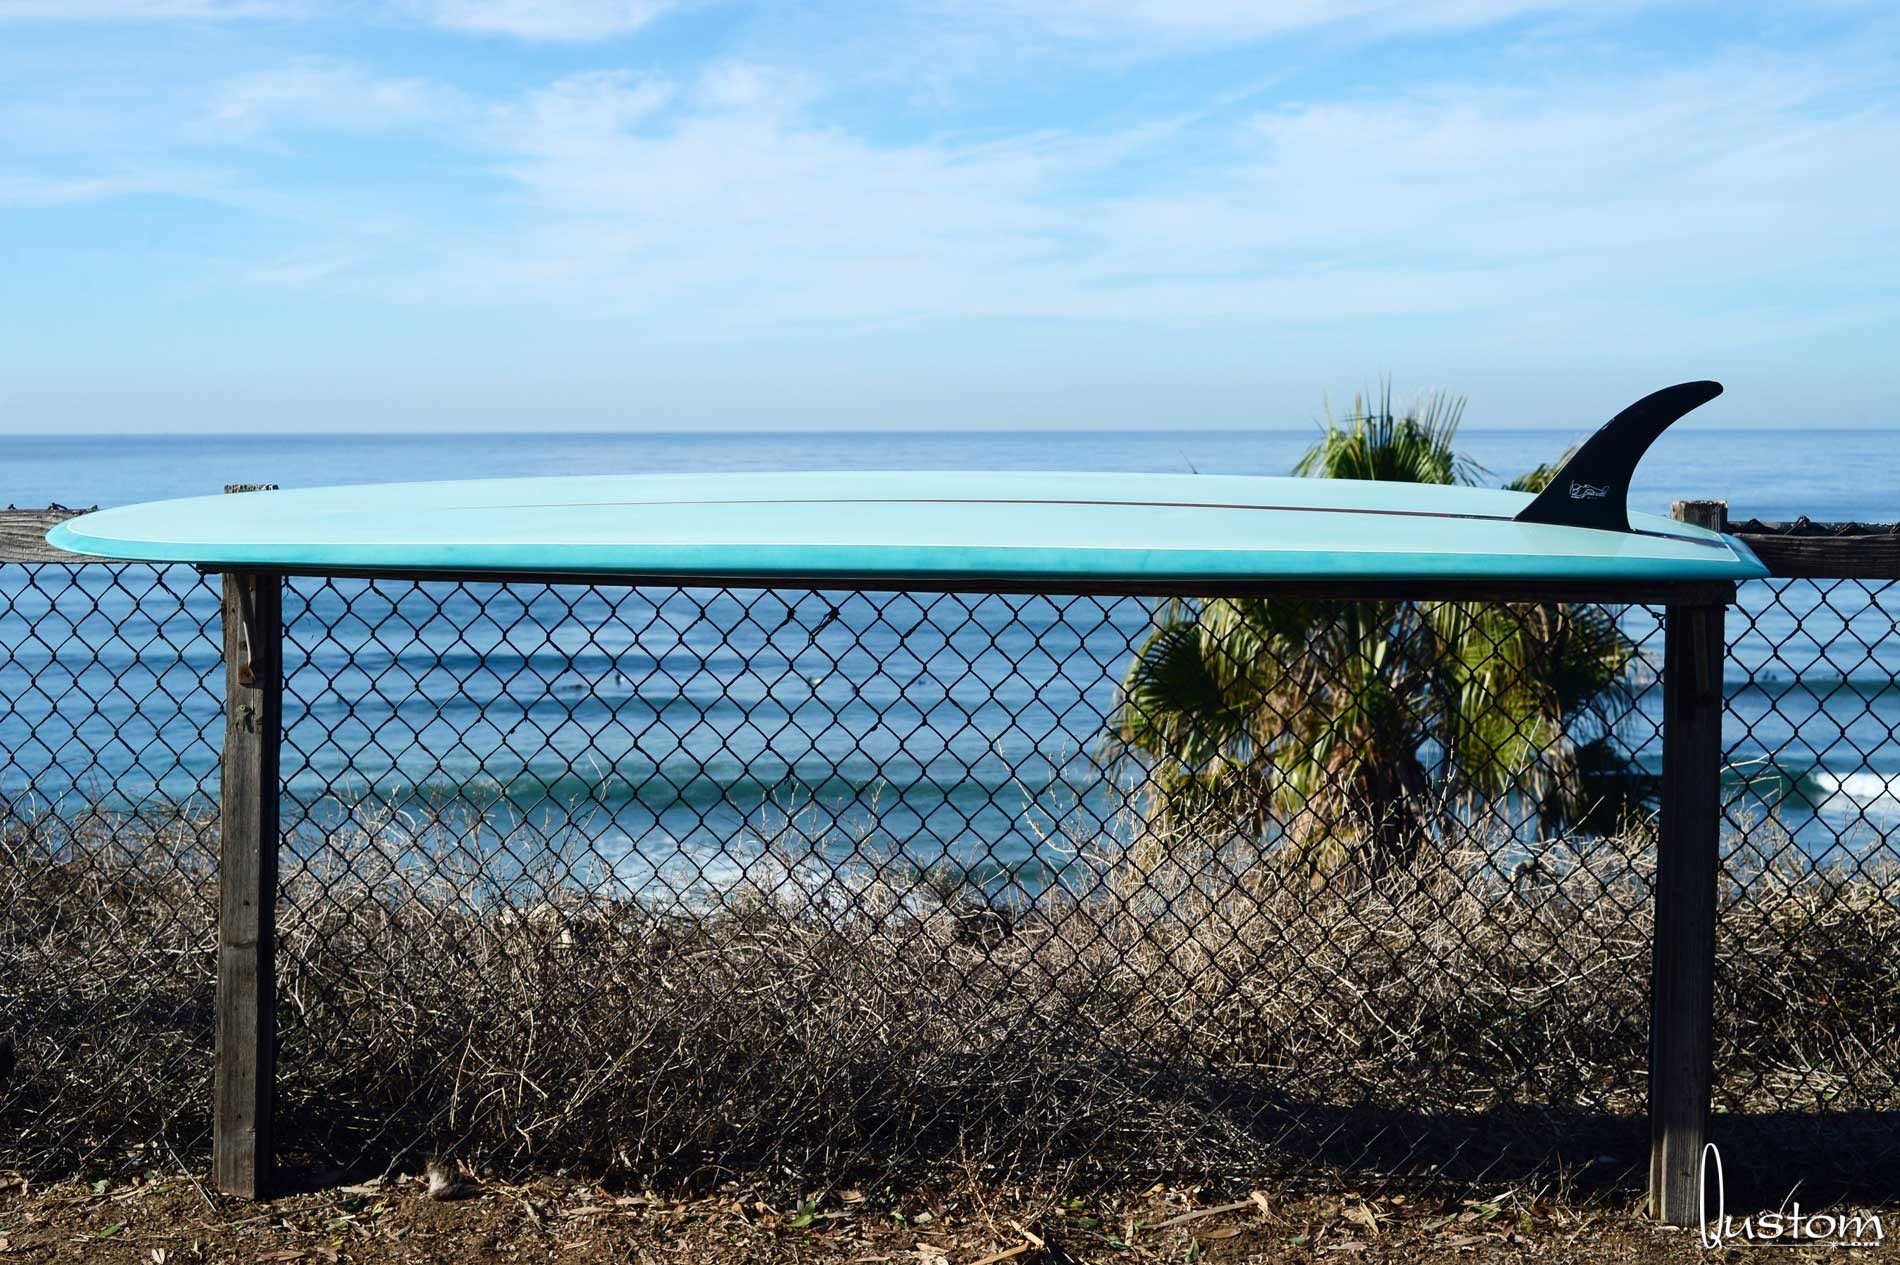
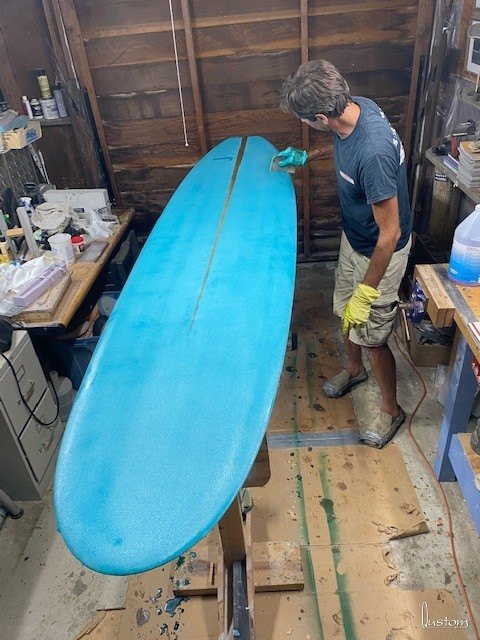
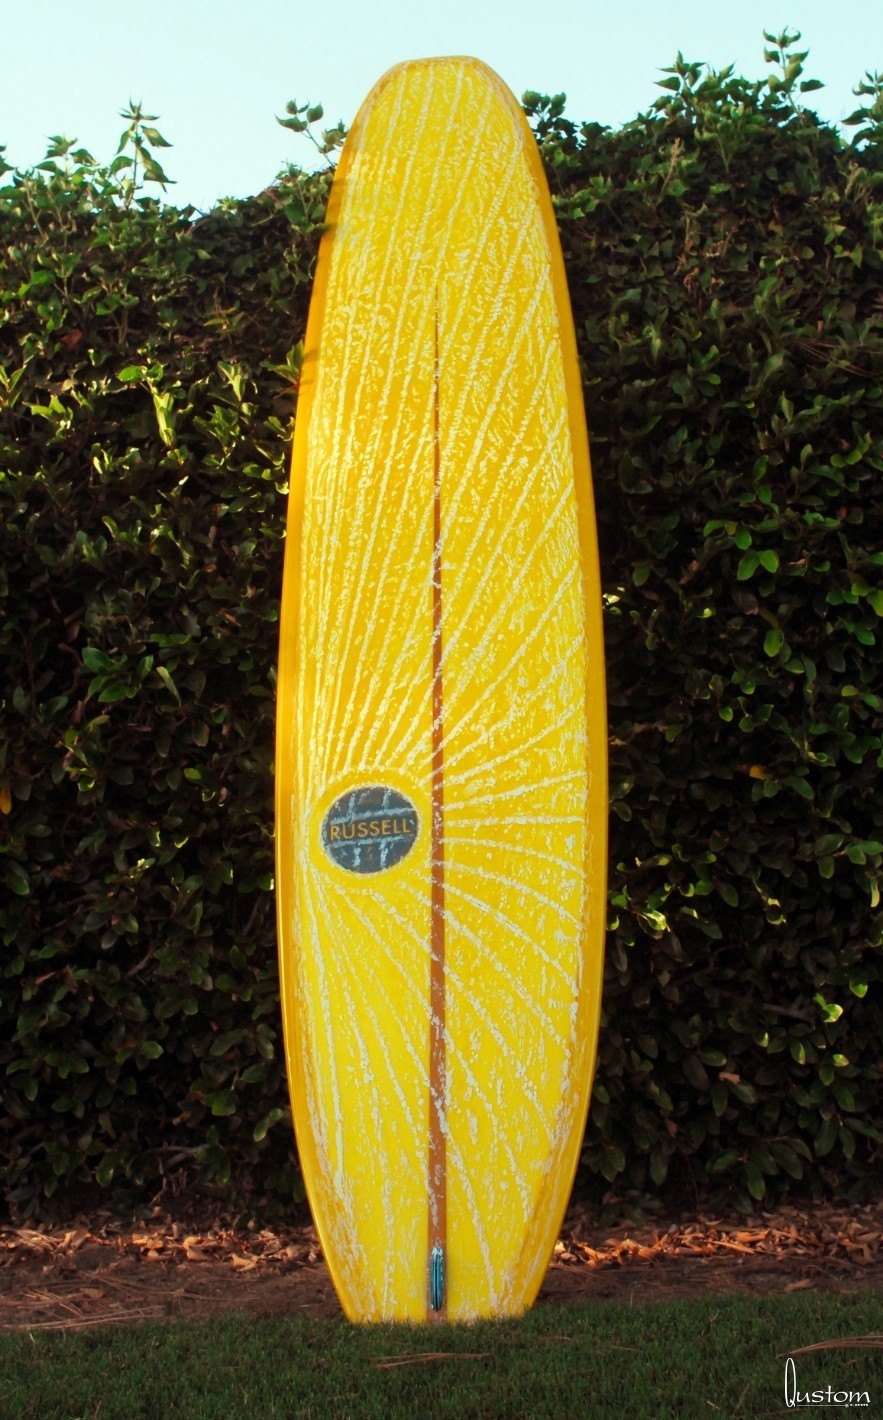
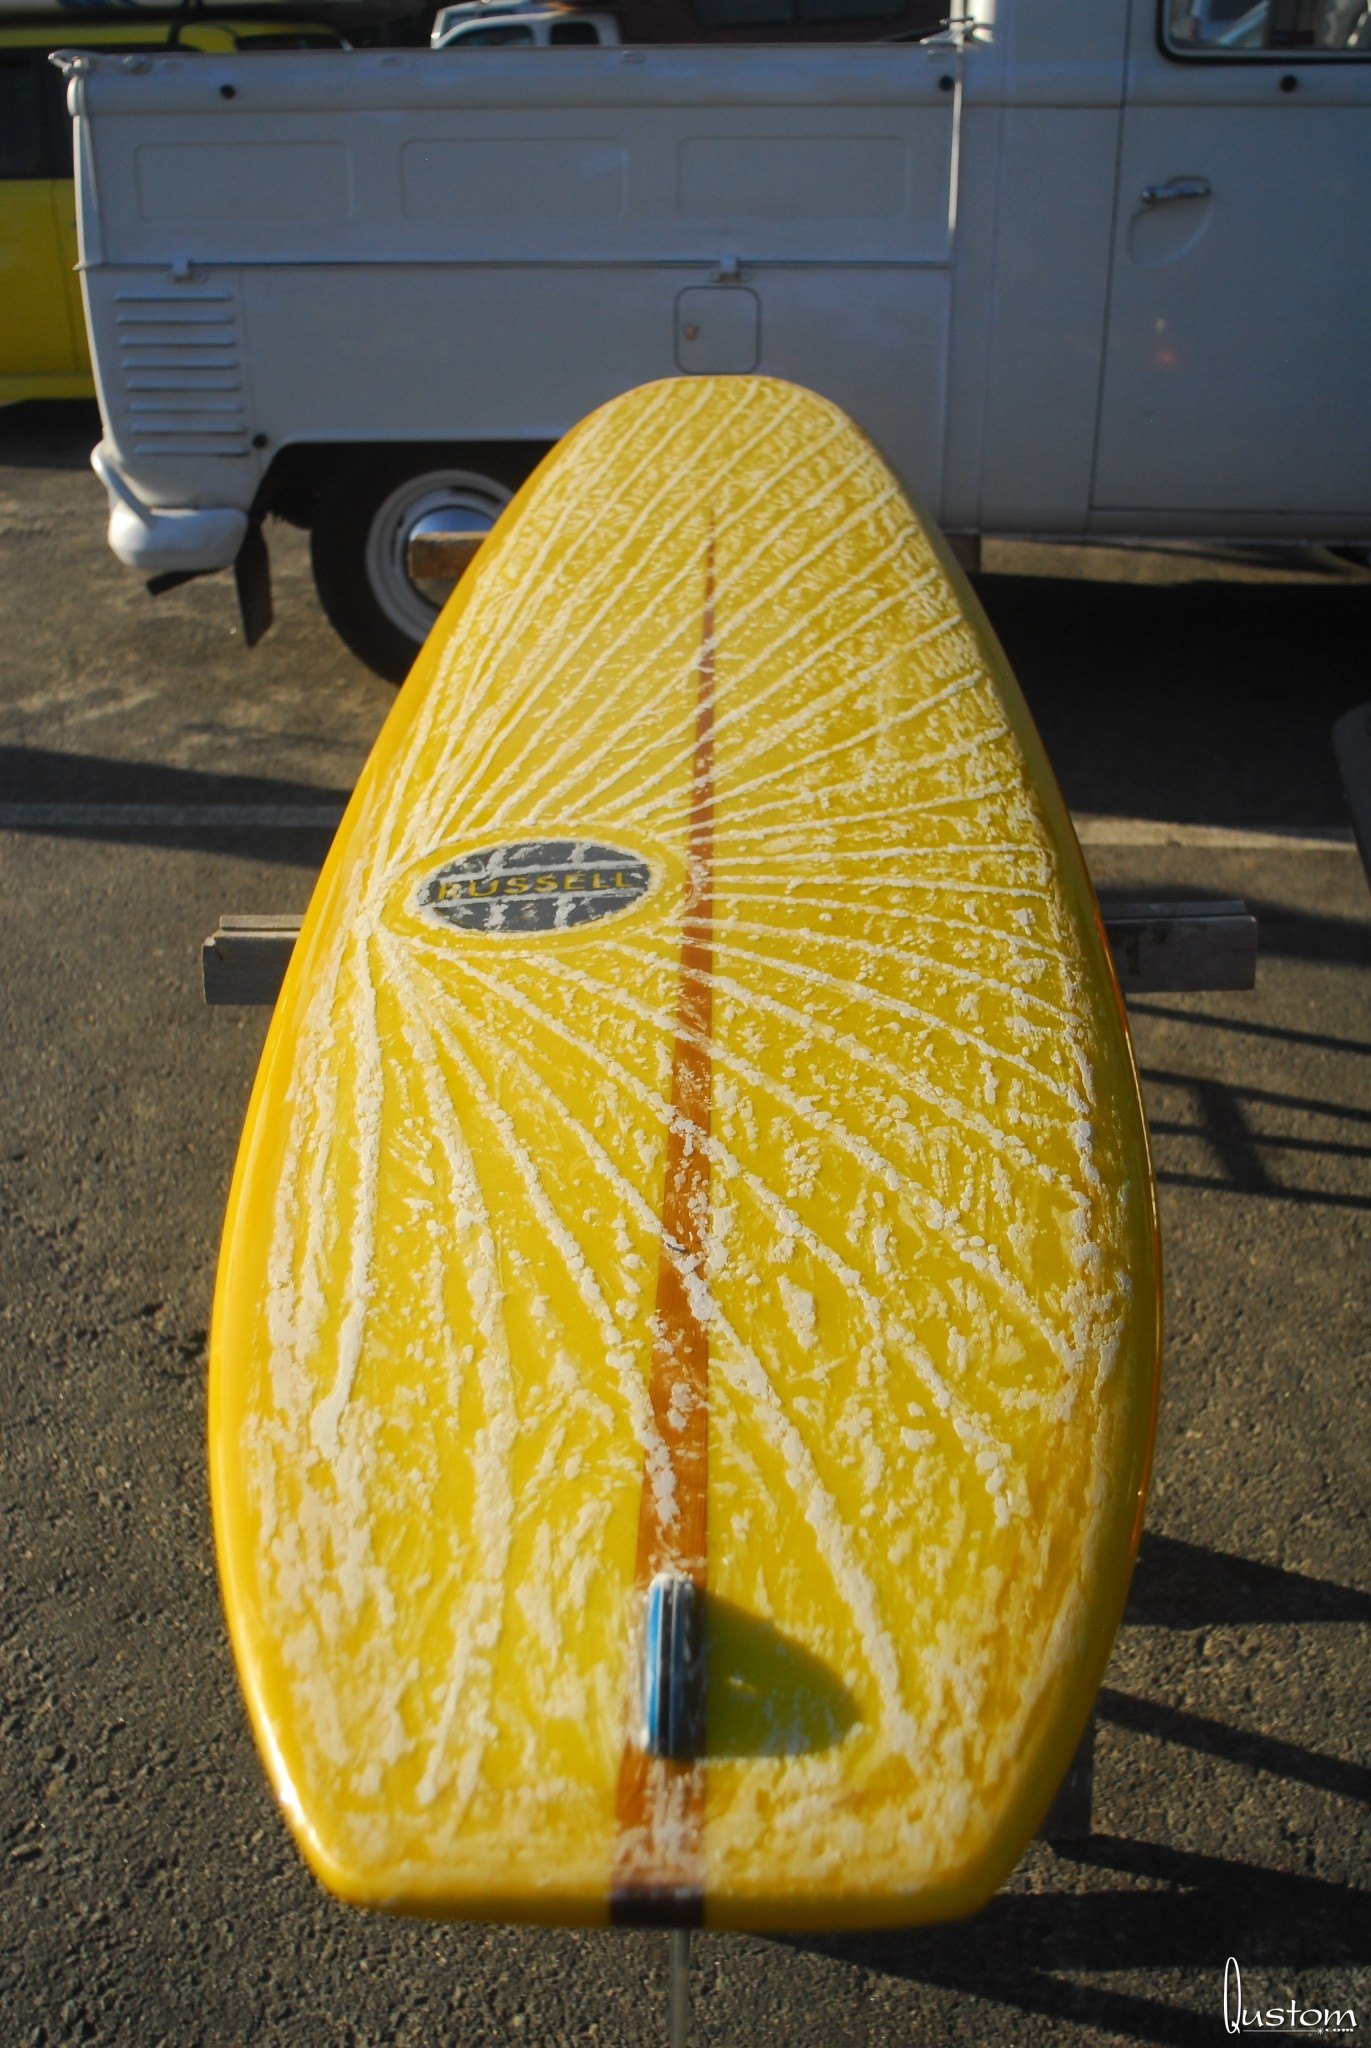
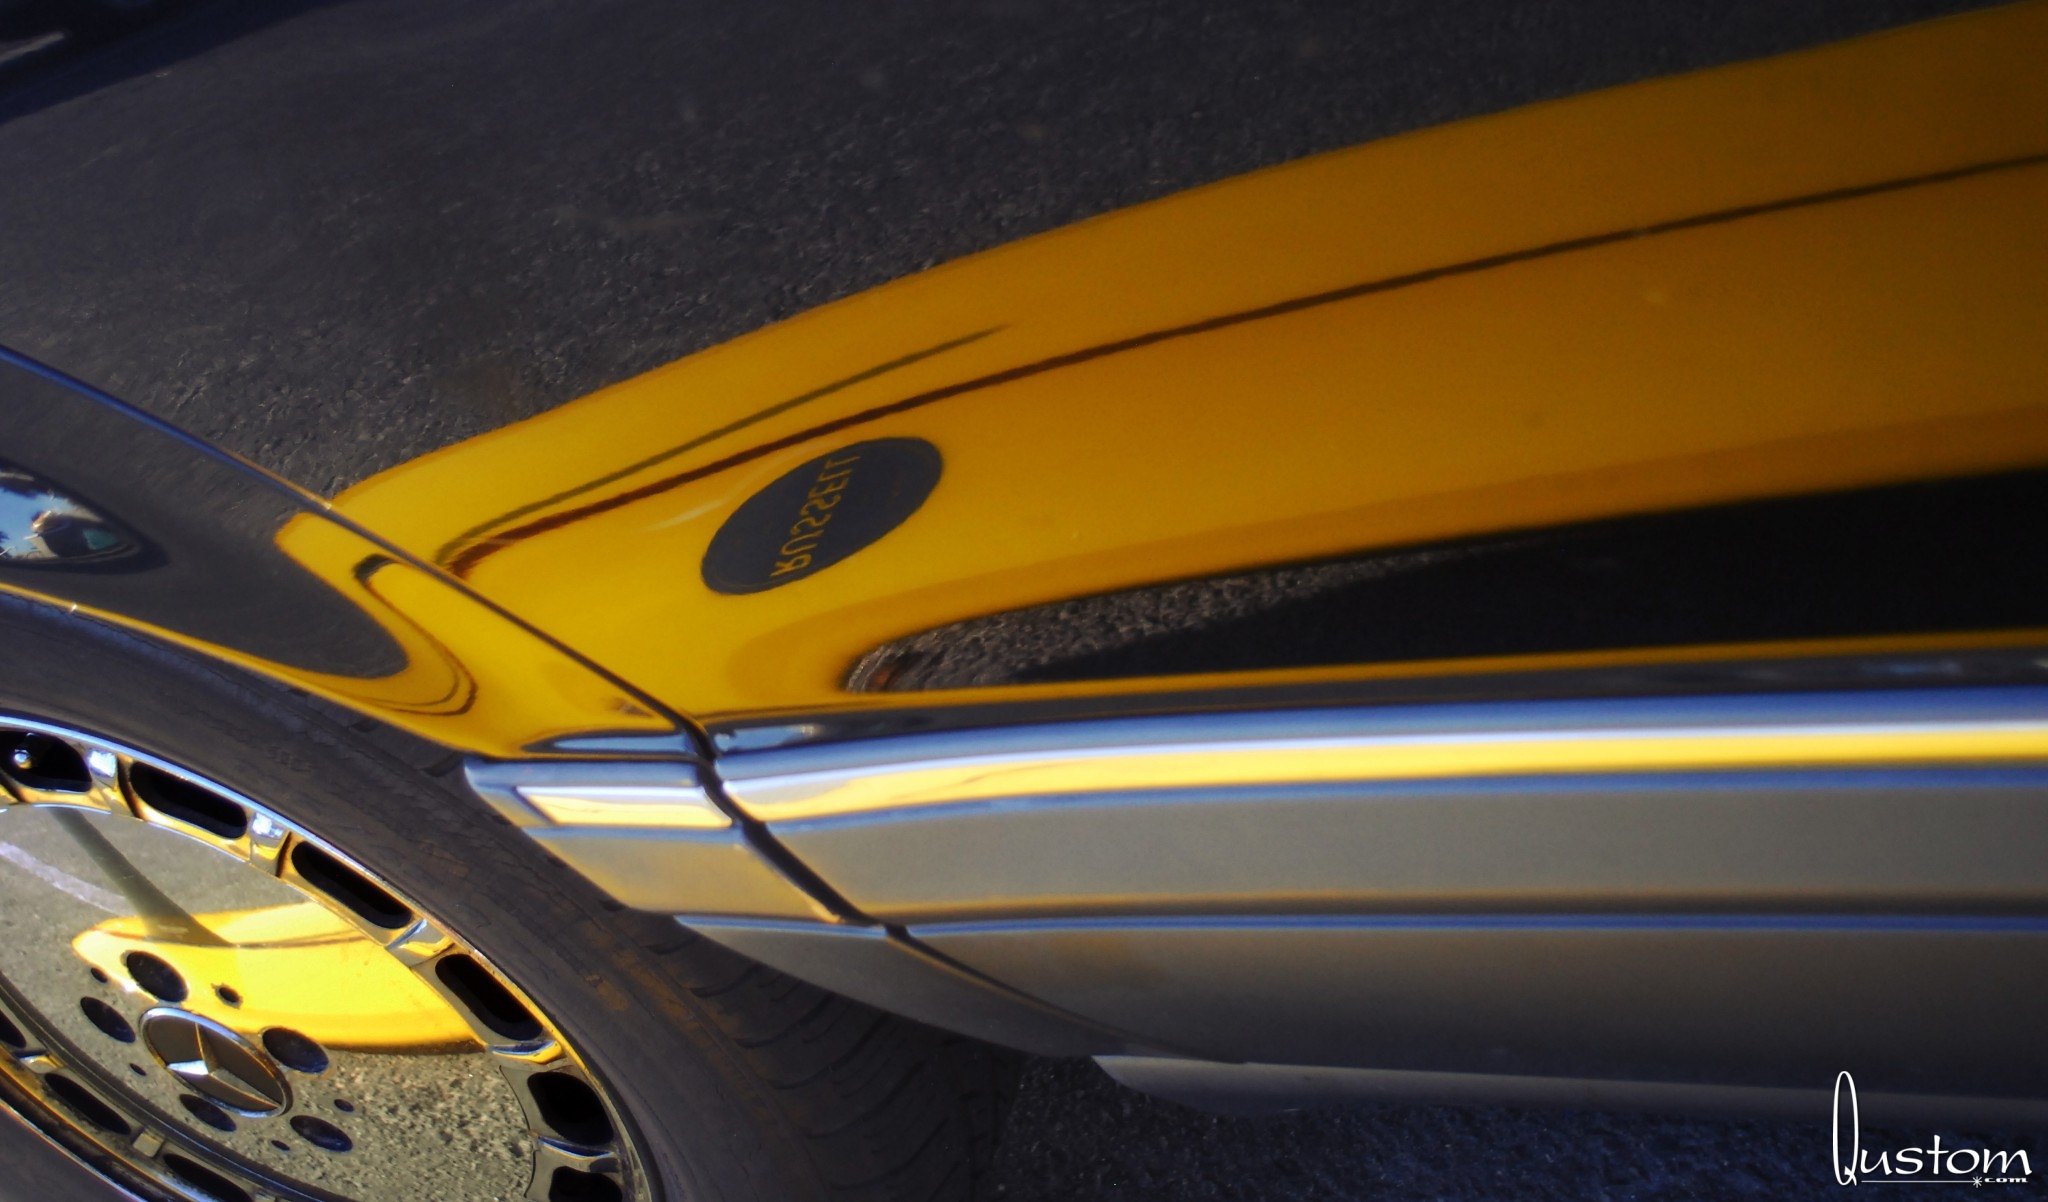
I was hoping to glass the board with Volan, but there was none available in town on short notice and I was trying to finish the board before a contest at Malibu. So I went with standard 8 oz. glass and tried to tint the resin to simulate the look of Volan. A dab of green, a dab of blue, and a dab of black, and I had the exact color I wanted... NOT! It came out waaaay darker than I wanted, so I just reduced it 50% and went for it. And now that it's done, the color is one of the first things people comment on when they see the board.
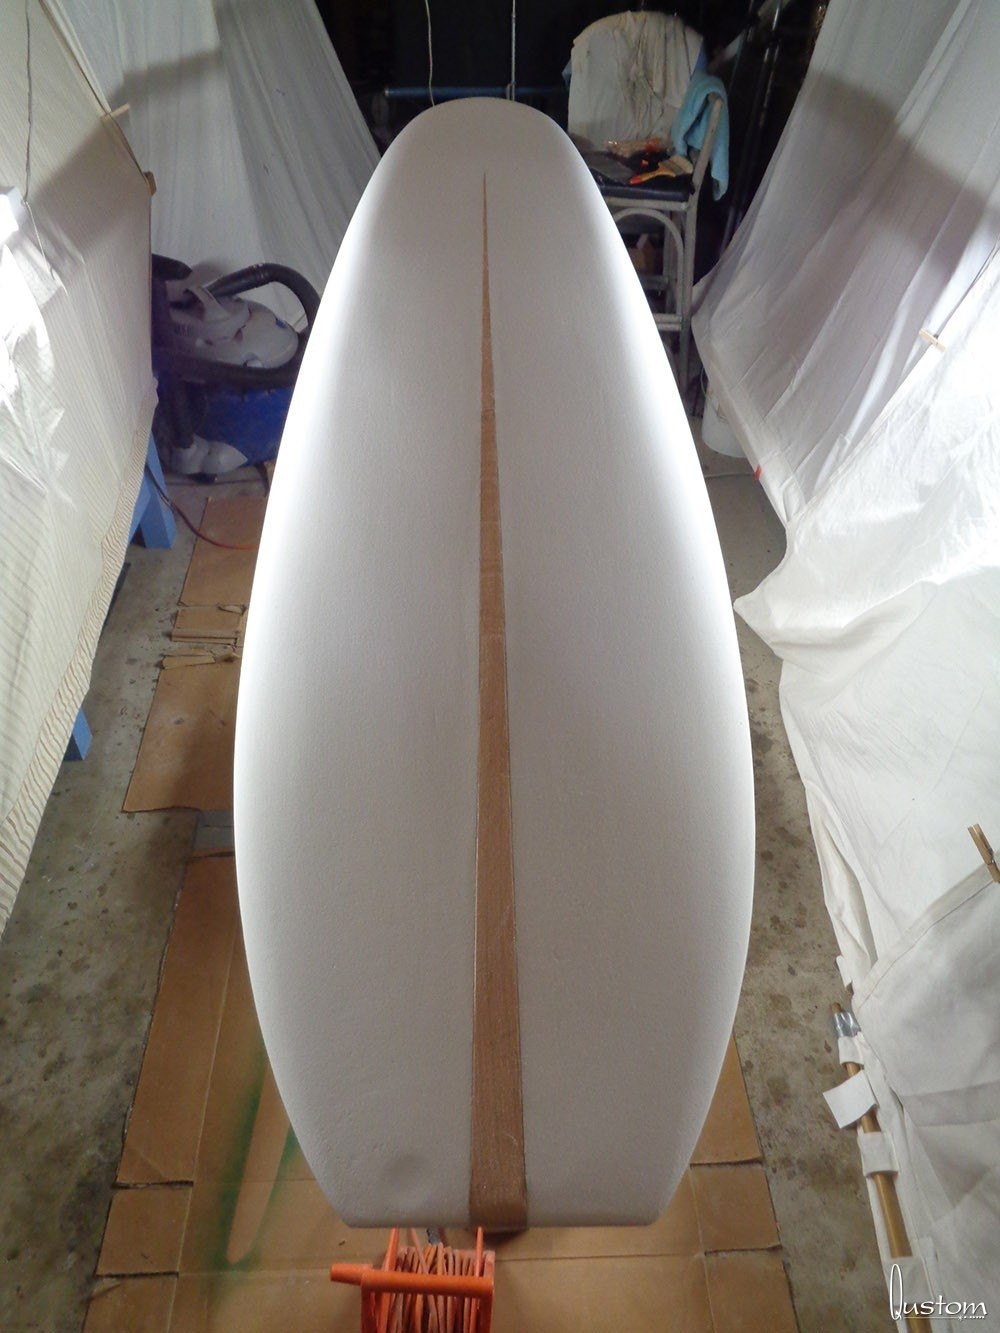
Oh and back to that stringer... because my cuts were so wonky and my laps kinda ragged, I decided to put some white pinlines on the bottom to hide my douchebaggery. Despite being pretty wobbly (Like I said, I was in a hurry!), I think they really work well with the colors of the glass and the wood.
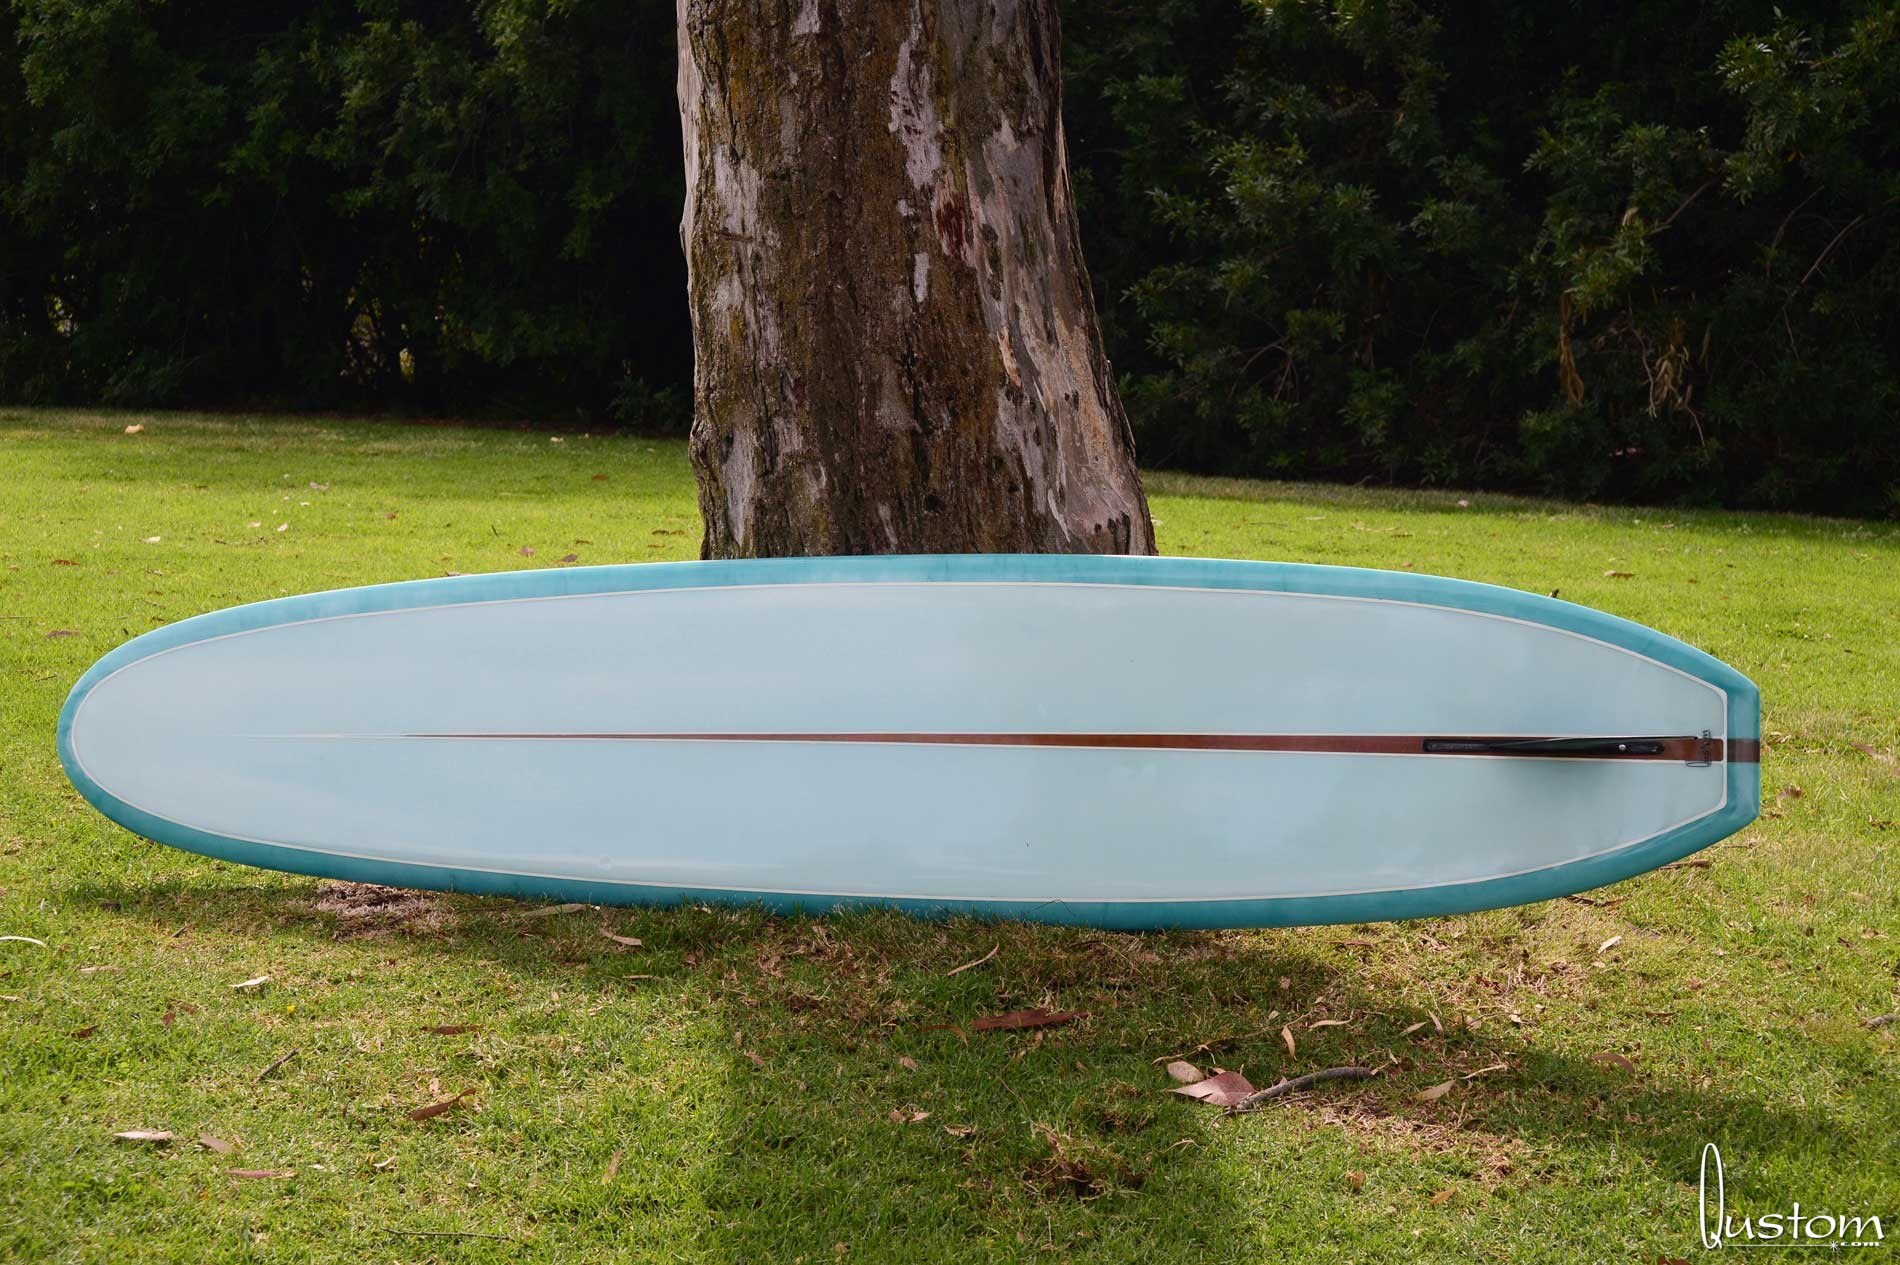
One other little trick I did was use about 10% of the deck color in each of the bottom laminations. I didn't want the bottom to be stark white, and the end result looks closer to the Volan color I was after in the first place. I'm glad I did it this way and I really do think the bottom came out gorgeous.
The deck is another story though... I made the mistake of doing a white deck patch over the first lamination, and the white resin bled under the tape and through the rough cloth like a mother... duh! Hence the need for that big fat navy blue pinline to hide that ugliness. After doing the white pinlines on the bottom I wish I had done the top ones white too. For that matter, I wish I hadn't done the deck patch in white in the first place - it would have shown off the stringer better. Oh well.
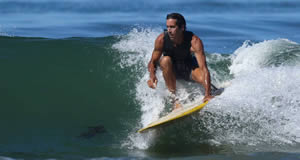
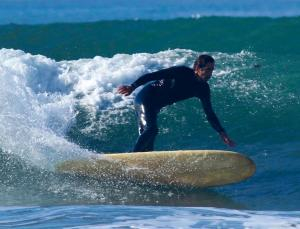
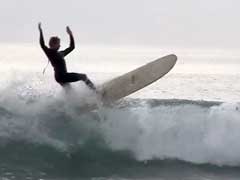
After surfing it for three months now, I love this board! I have ridden it dozens of times since I finished it, and it has never failed to excite. In fact I rode it so much before I ever got around to photographing it that I don't even have any photos of it finished but without all the pressure dings.
When you really bury the rail and get the bottom of the board into the wave, you are now using that little extra bit of rocker that can found starting about 3" inboard of the rail, but when you get back in trim that flatter knife edged rail really holds, and she flies down the line like a missle! I also believe that with the foiled out stringerless nose there is quite a bit of flex available to increase the effective rocker in hard bottom turns.
The wide tail with all that rocker really helps the board get into waves easily by providing a large surface for an approaching wave to push against. Just make sure to find the sweet spot to keep the nose out of the water, and if you get too agressive to the point of pearling, the narrow nose can often be pulled back out of water in time to still get the wave. Yeah, a little more rocker (and perhaps a bit of belly roll) up front might have gotten me out of a few tricky situations, but overall she's a blast and she even noserides a bit in fast sections. I will be using everything I learned to make the next one even better, and that's what keeps me motivated.
Hit me up if you are already - or are looking to become - the monarch of your own wave territory. The Viceroy might just deliver the help you need!
Vince